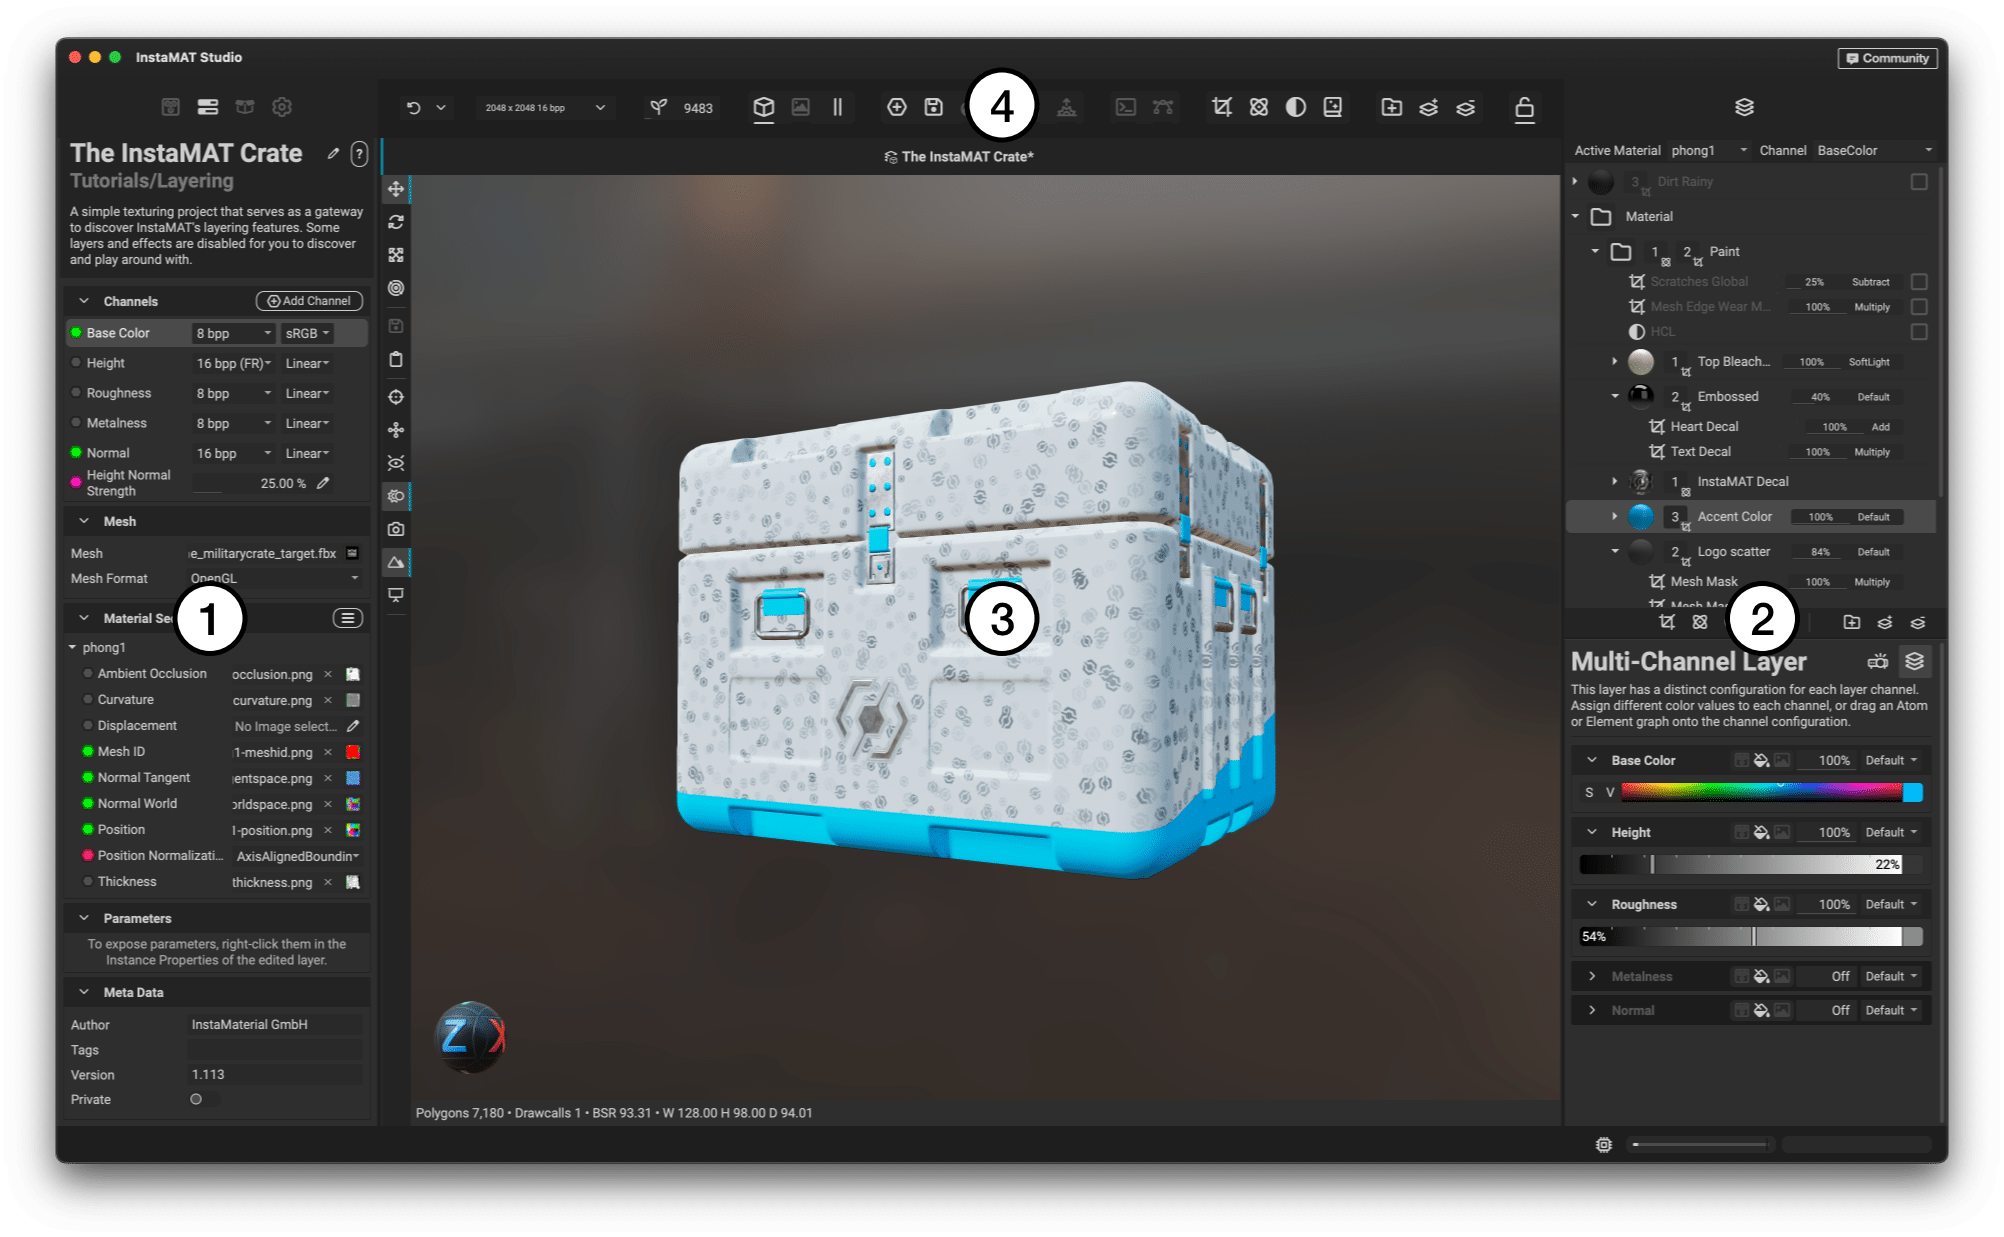
¶ Left Panel
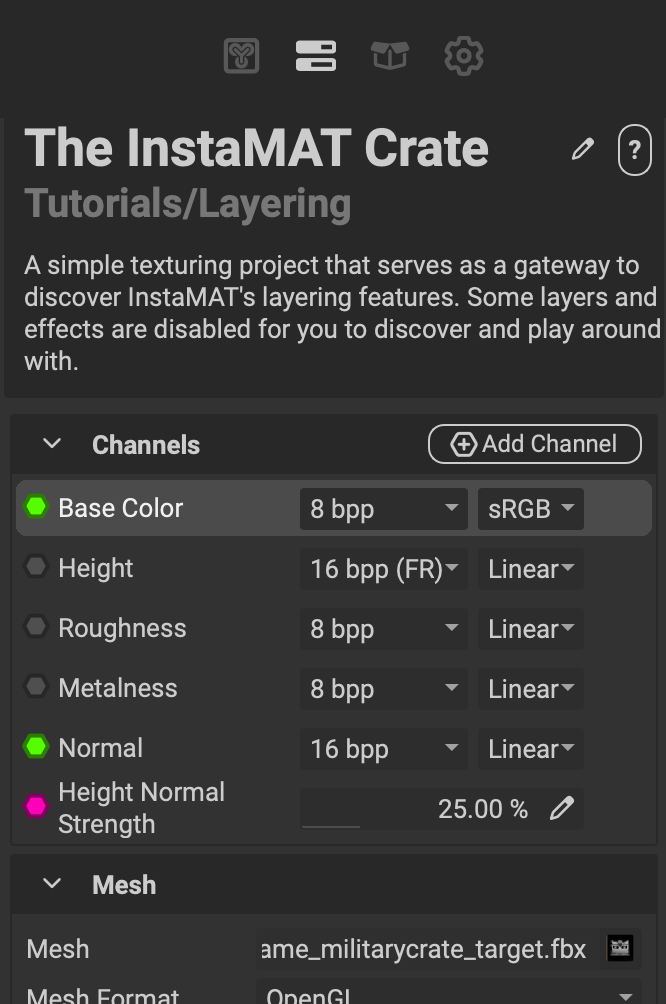 The left panel contains the following tabs:
- MAT Library: Provides access to the vast node and resource library that is built into InstaMAT Studio. Nodes and resources are broken down into categories and are easily searchable from the dedicated search box. The
MAT Libraryalso contains the items from your personal user library and is sorted based on a graph's assigned category. - Layering Project Editor: Contains settings for the current Asset Texturing project such as the available channels, active working mesh, material sections, exposed parameters, and meta data.
- Package Management: Contains all of the resources within the active package file. This includes projects, images, meshes, point clouds, baked mesh data, and baking settings. At the bottom of the panel is the
Meta Datasection containing the meta data for the active package. - Viewport Settings: Houses the various camera, environment, and render settings for InstaMAT Studio's 3D viewport. Some additional settings are included for the 2D Image Viewer.
¶ Right Panel
The right panel is called the Layering panel and is divided into two sections.
¶ Layer Stack
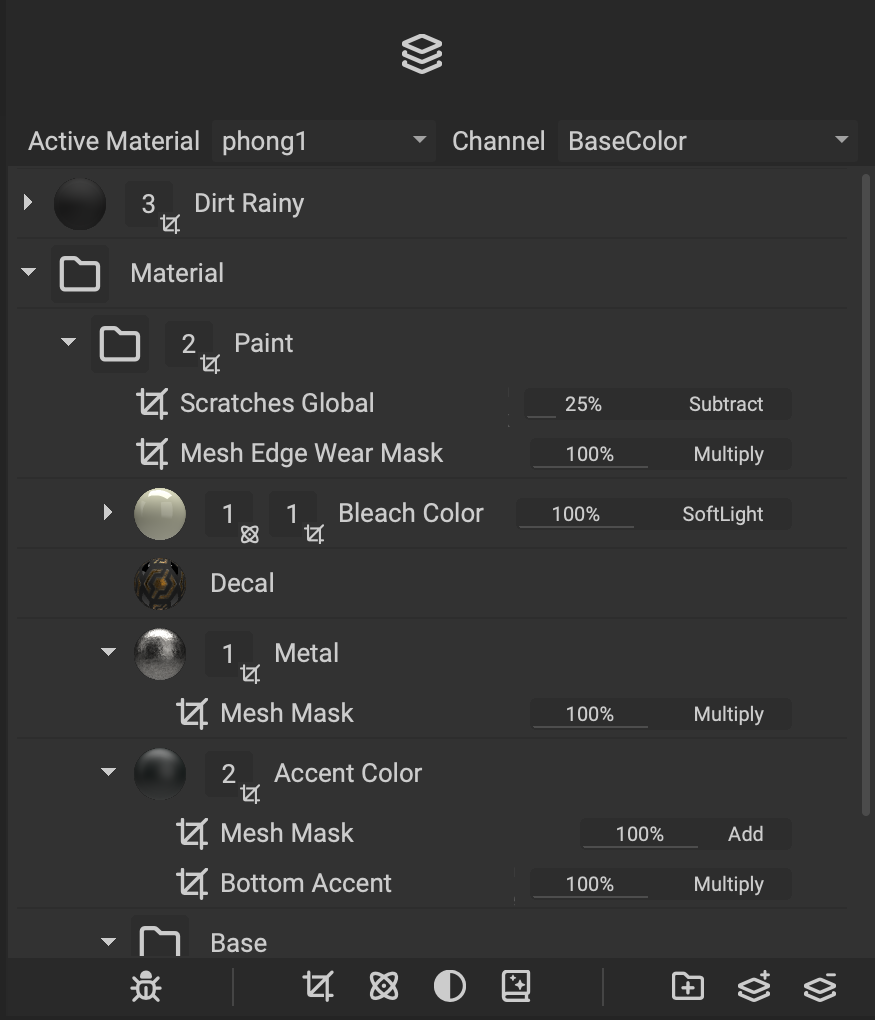 The top section contains the Layer Stack. On the 3D asset, layers placed above in the
 Layer Stack will be shown on top of those below.
Underneath the Layer Stack is a toolbar where various masks, generators, effects, and filters can be applied. Additionally, layers can be created, removed, and grouped from this toolbar.
¶ Layer Editor
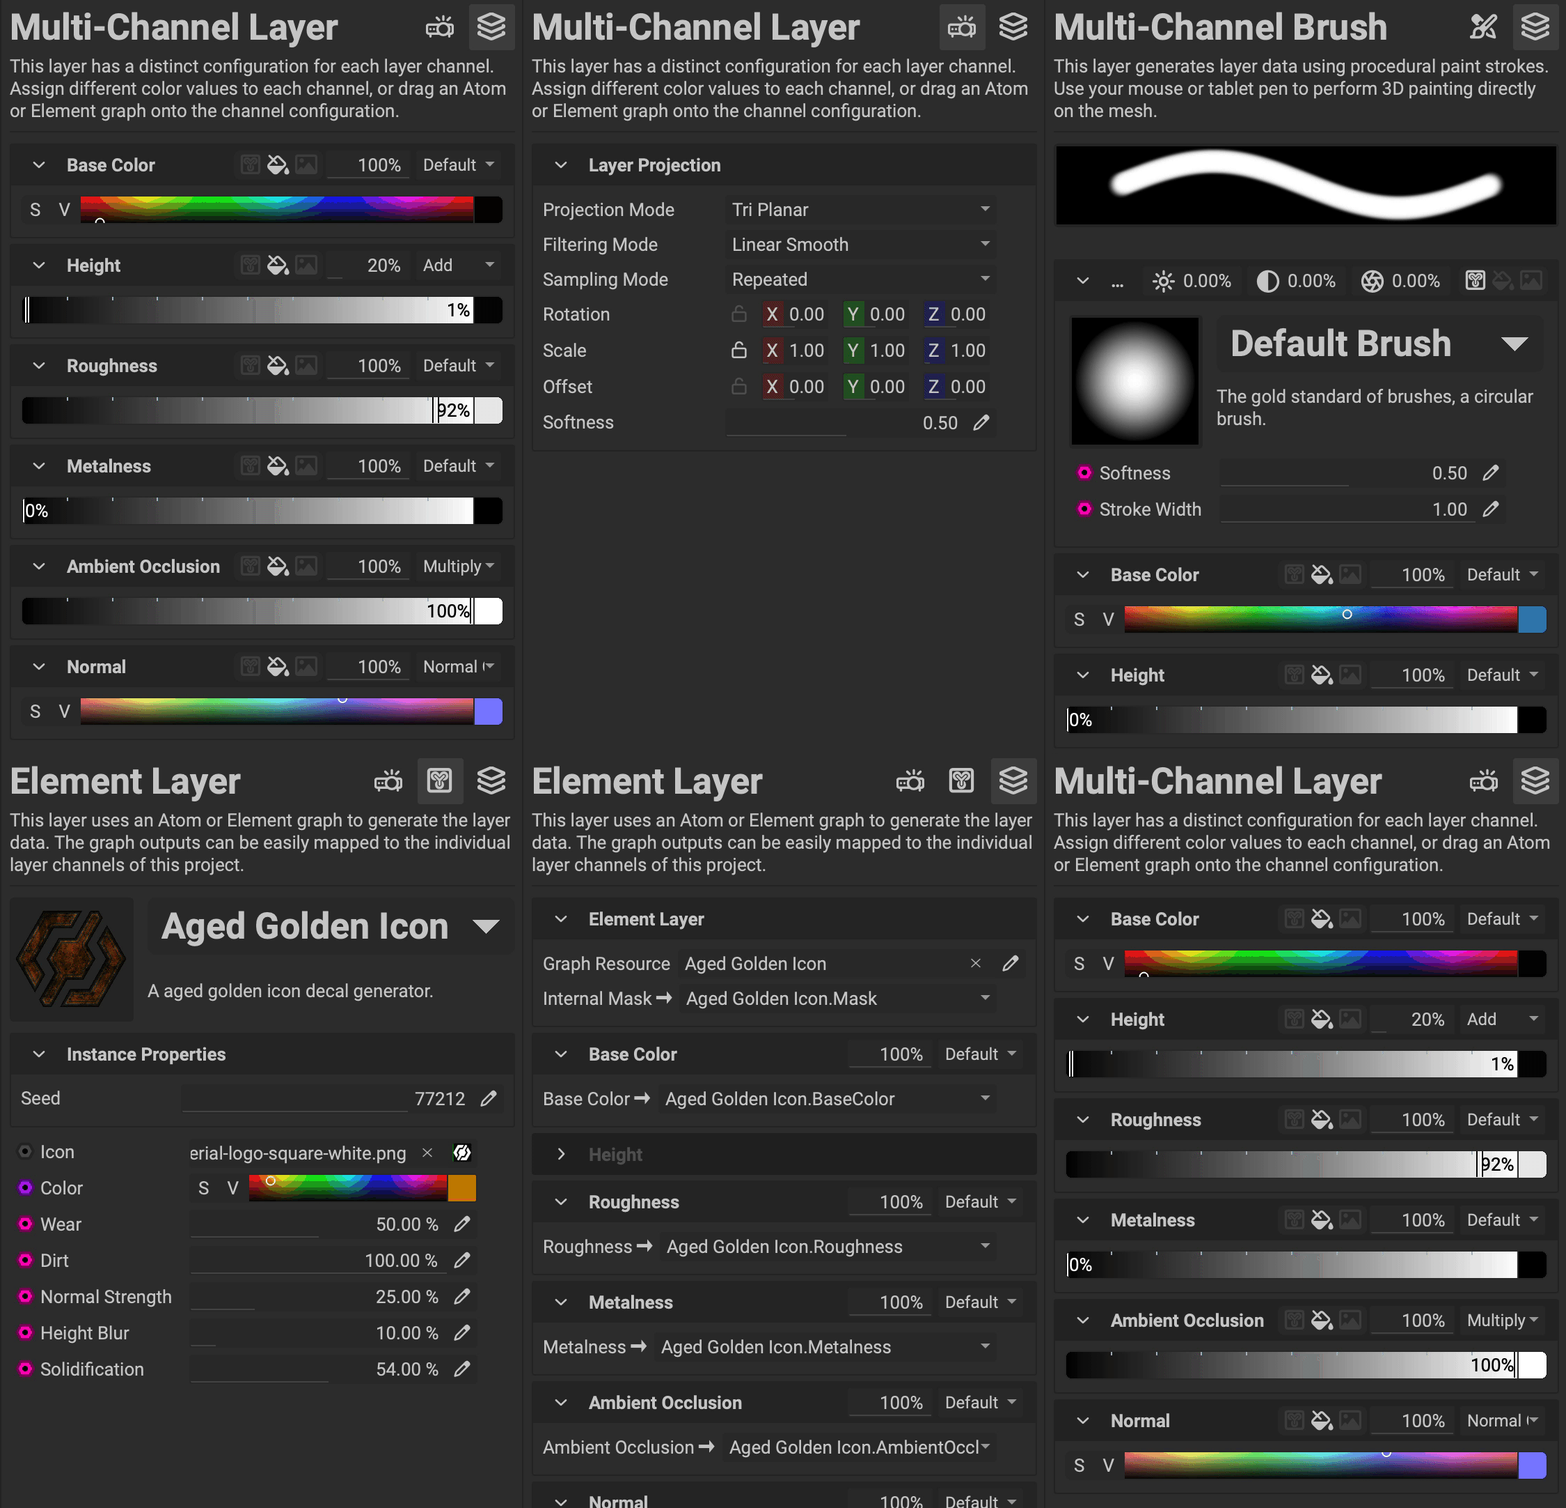 The bottom section is called the
 Layer Editor. This section is context sensitive and will display options based on the type of layer or object that is currently selected. The following tabs are displayed here:
- Layer Channels: Displays the available channels assigned to the selected layer. Channel values can be maniuplated with built-in widgets, or an Atom or Element Graph can be assigned directly by dropping it into the channel's configuration.
- Layer Projection: Provides access to the method in which the selected layer is projected onto the asset. Projection modes such as
Tri Planar,UV, andDecalcan be chosen with additional settings for each mode. - Layer Element Settings: Provides access to the Element Graph's graph inputs that are associated with the selected
Element LayerorElement Brush. Exposed parameters can be controlled directly from this panel. - Brush Properties: Provides access to the brush settings for the selected
Multi-Channel BrushorElement Brush. Properties such as the radius, spacing, and flow of the brush can be accessed here as well as access to InstaMAT's brushDynamicssettings to control many attributes with pen properties or randomization. - Generator Properties: Provides access to the settings for the selected generator.
- Effect Properties: Provides access to the settings for the selected effect.
¶ Viewport
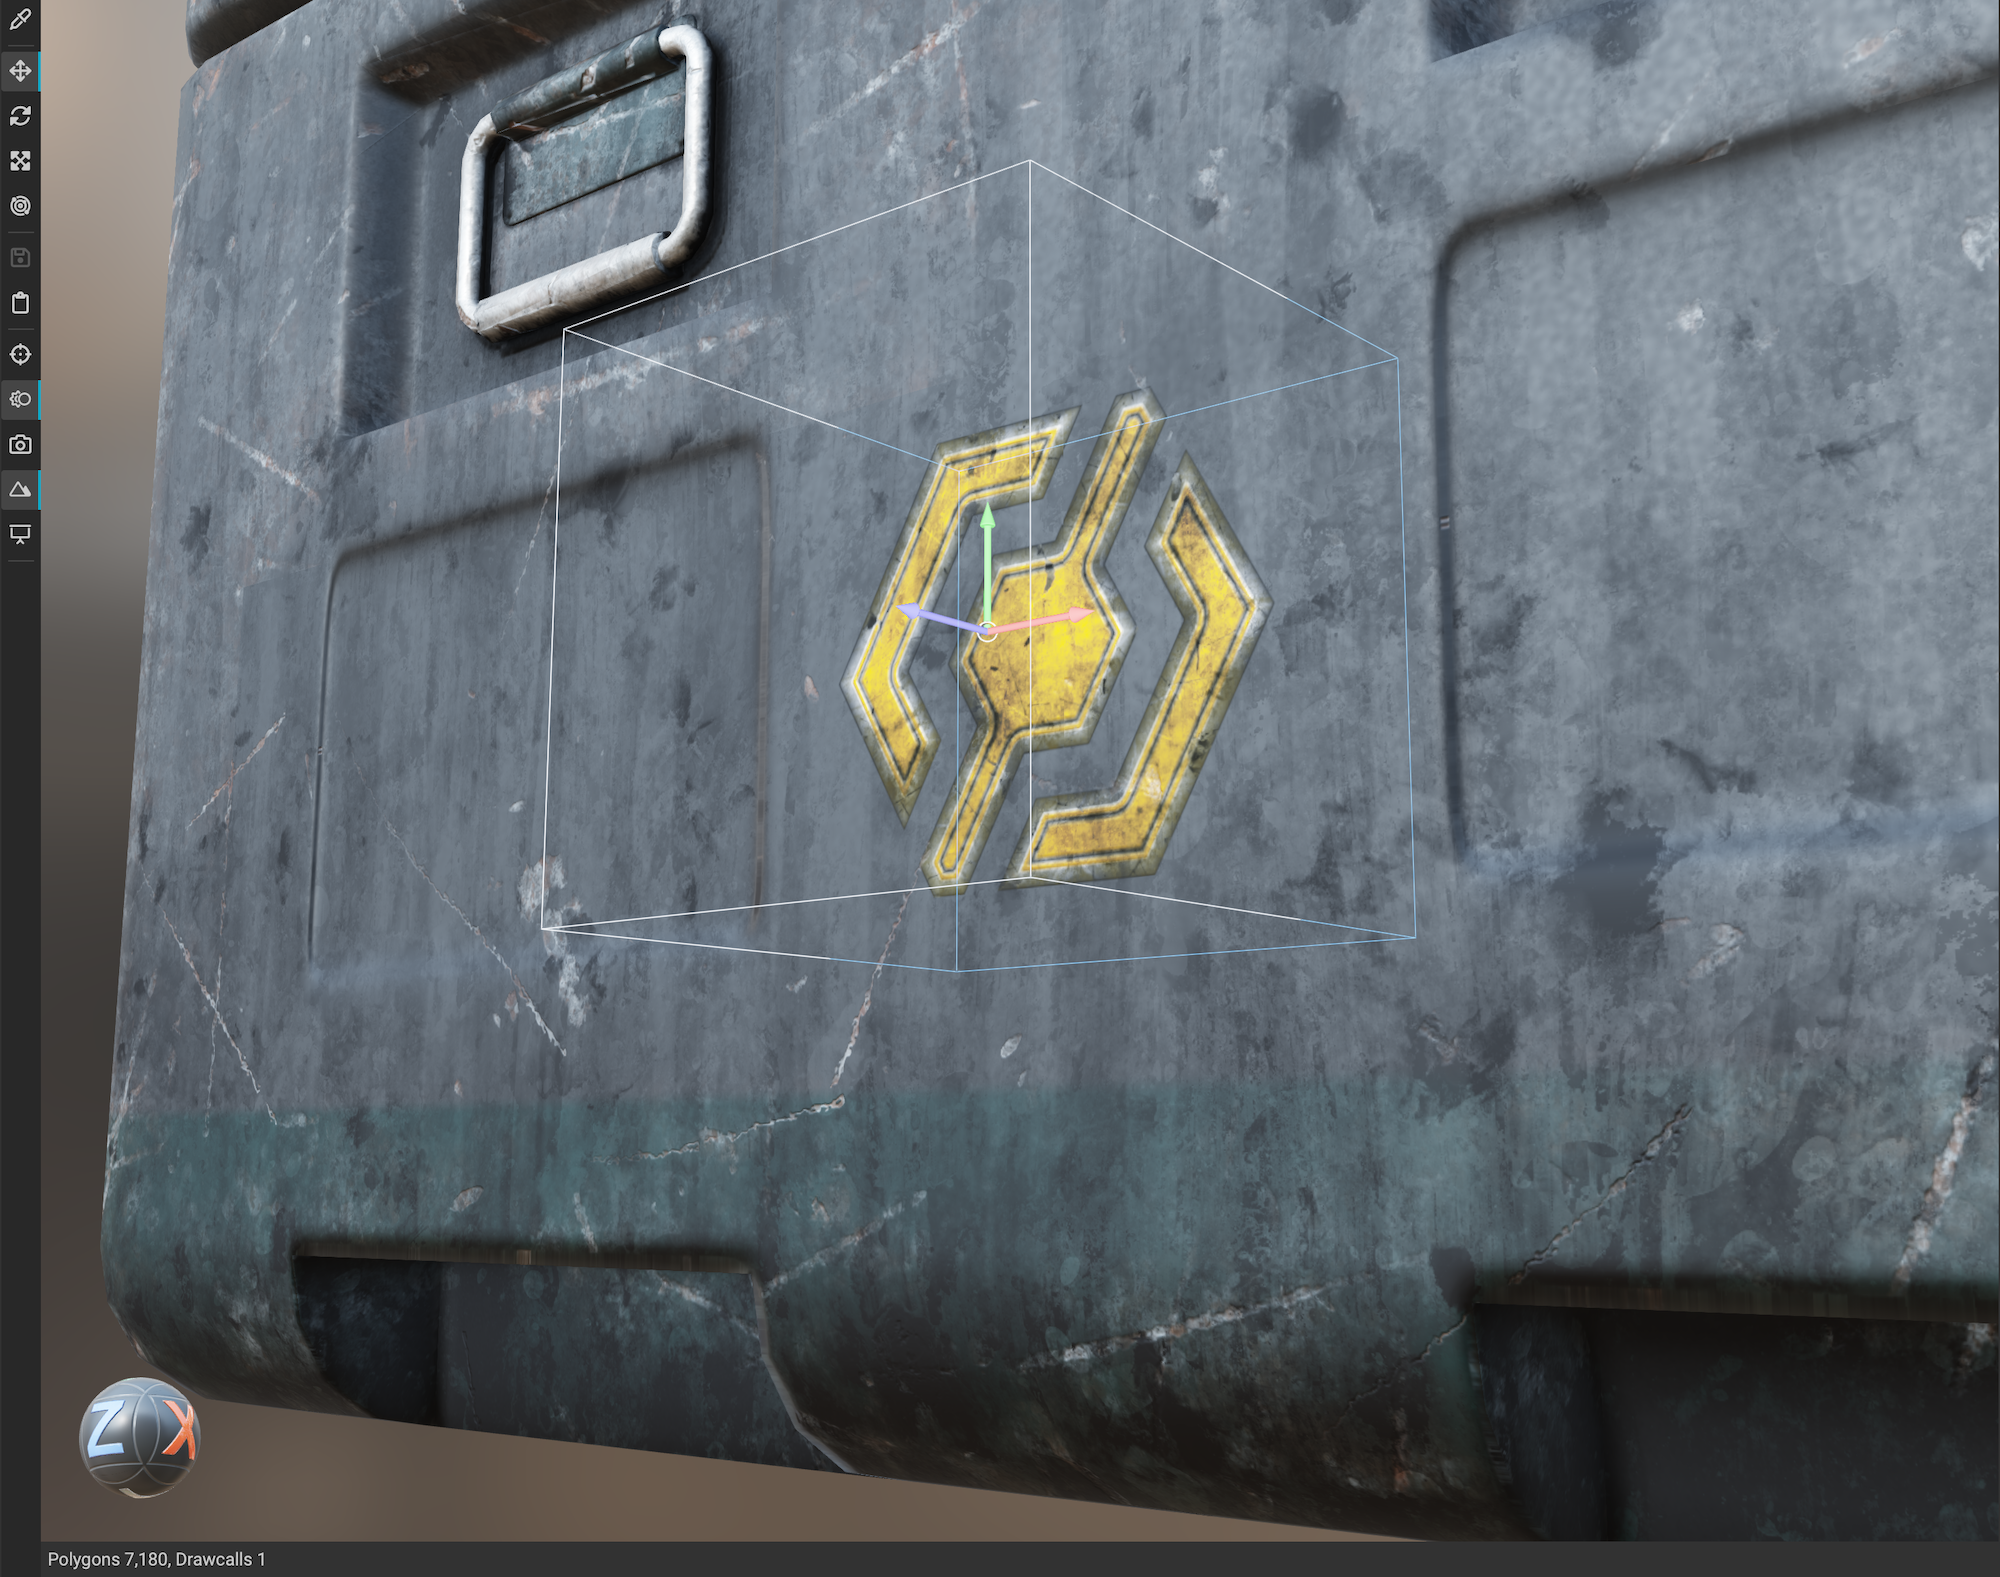
The central area of the Layering interface contains InstaMAT's physcally-based 3D Viewport. The Viewport is illuminated by an environment image providing realistic lighting and reflections when texturing assets. Many operations such as assigning materials, painting, and controlling masks and effects can be performed directly in the Viewport using 3D gizmos. These gizmos allow for translation, rotation, and scaling operations in a way that is similar to many DCC applications.
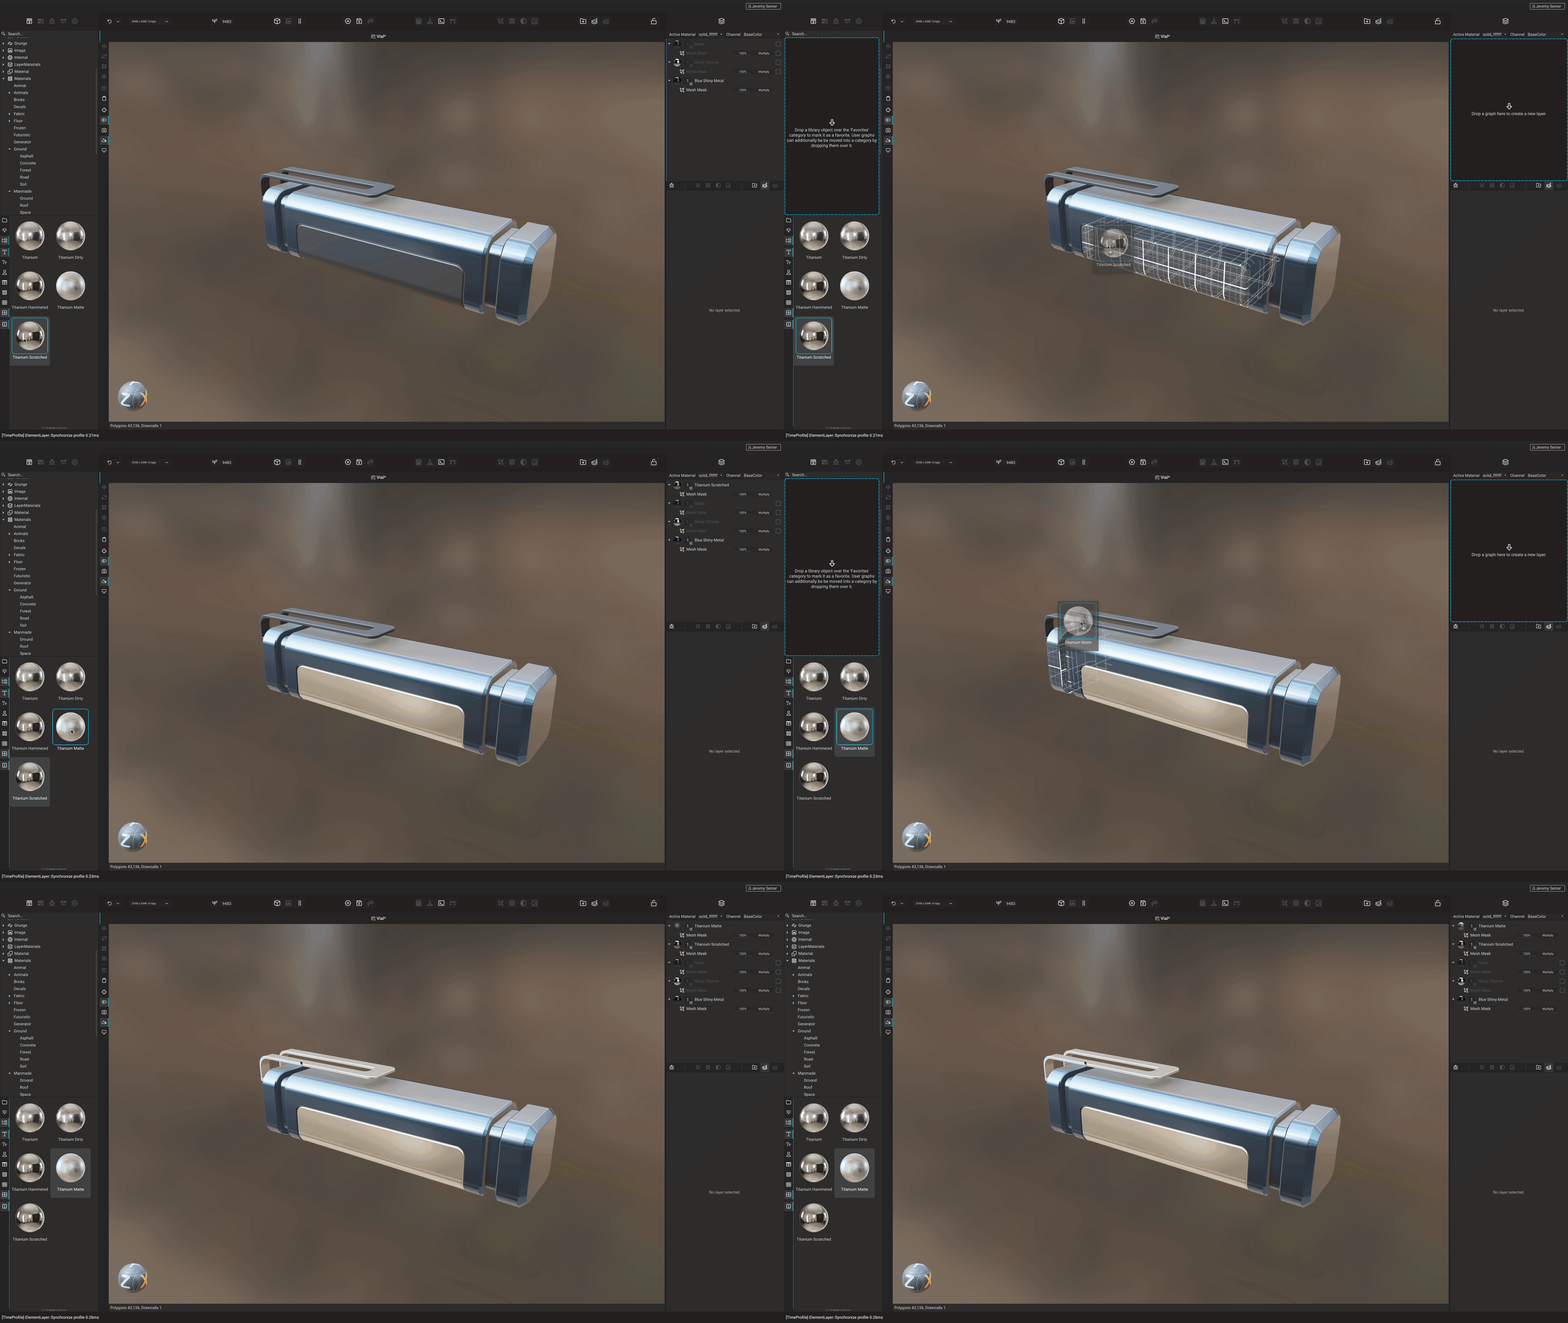
Materials can quickly be assigned to objects in the scene by dragging them from the MAT Library and dropping them direcly onto the target submesh. This will automatically add a Mesh Mask to the newly-created layer.
InstaMAT's
Viewportis shared between the various project-based UI layouts such as the Canvas interface or Materialize Image interface. To learn more about theViewport, please read our dedicated article here.
¶ Toolbar
The Layering Toolbar is divided up into multiple sections and contains shortcuts to many of the various tools and layering functionality. The toolbar is organized into the following groups:

- Undo History: Displays a popup of the session's undo history allowing the user to jump back to a previous point.
- Global Execution Settings: Controls the execution resolution, format, and video memory settings for the active project.
- Global Seed: Controls the global seed of the Asset Texturing project.
- Center View Selection: Determines which view takes up the center area (
ViewportorImage Viewer). Additionally, the center view can be split to show both views at the same time. - Project Management: Creates a new project, saves the current project, or opens the Image and Data Output Export dialog.
- Baking and Raytracing: Opens the Mesh Baking and
Polyversepanels. - Output Log and Dope Sheet: Opens the
Output Logand Dope Sheet panels. - Automatically Render Graph: Determines if the Asset Texturing project automatically re-renders the scene if a change is made.
- Layer Adjustments: Provides quick access to adding Masks, References, Generators, Filters, and Effects to the selected layer.
- Layer Organization: Provides options to create or remove layers and layer groups.