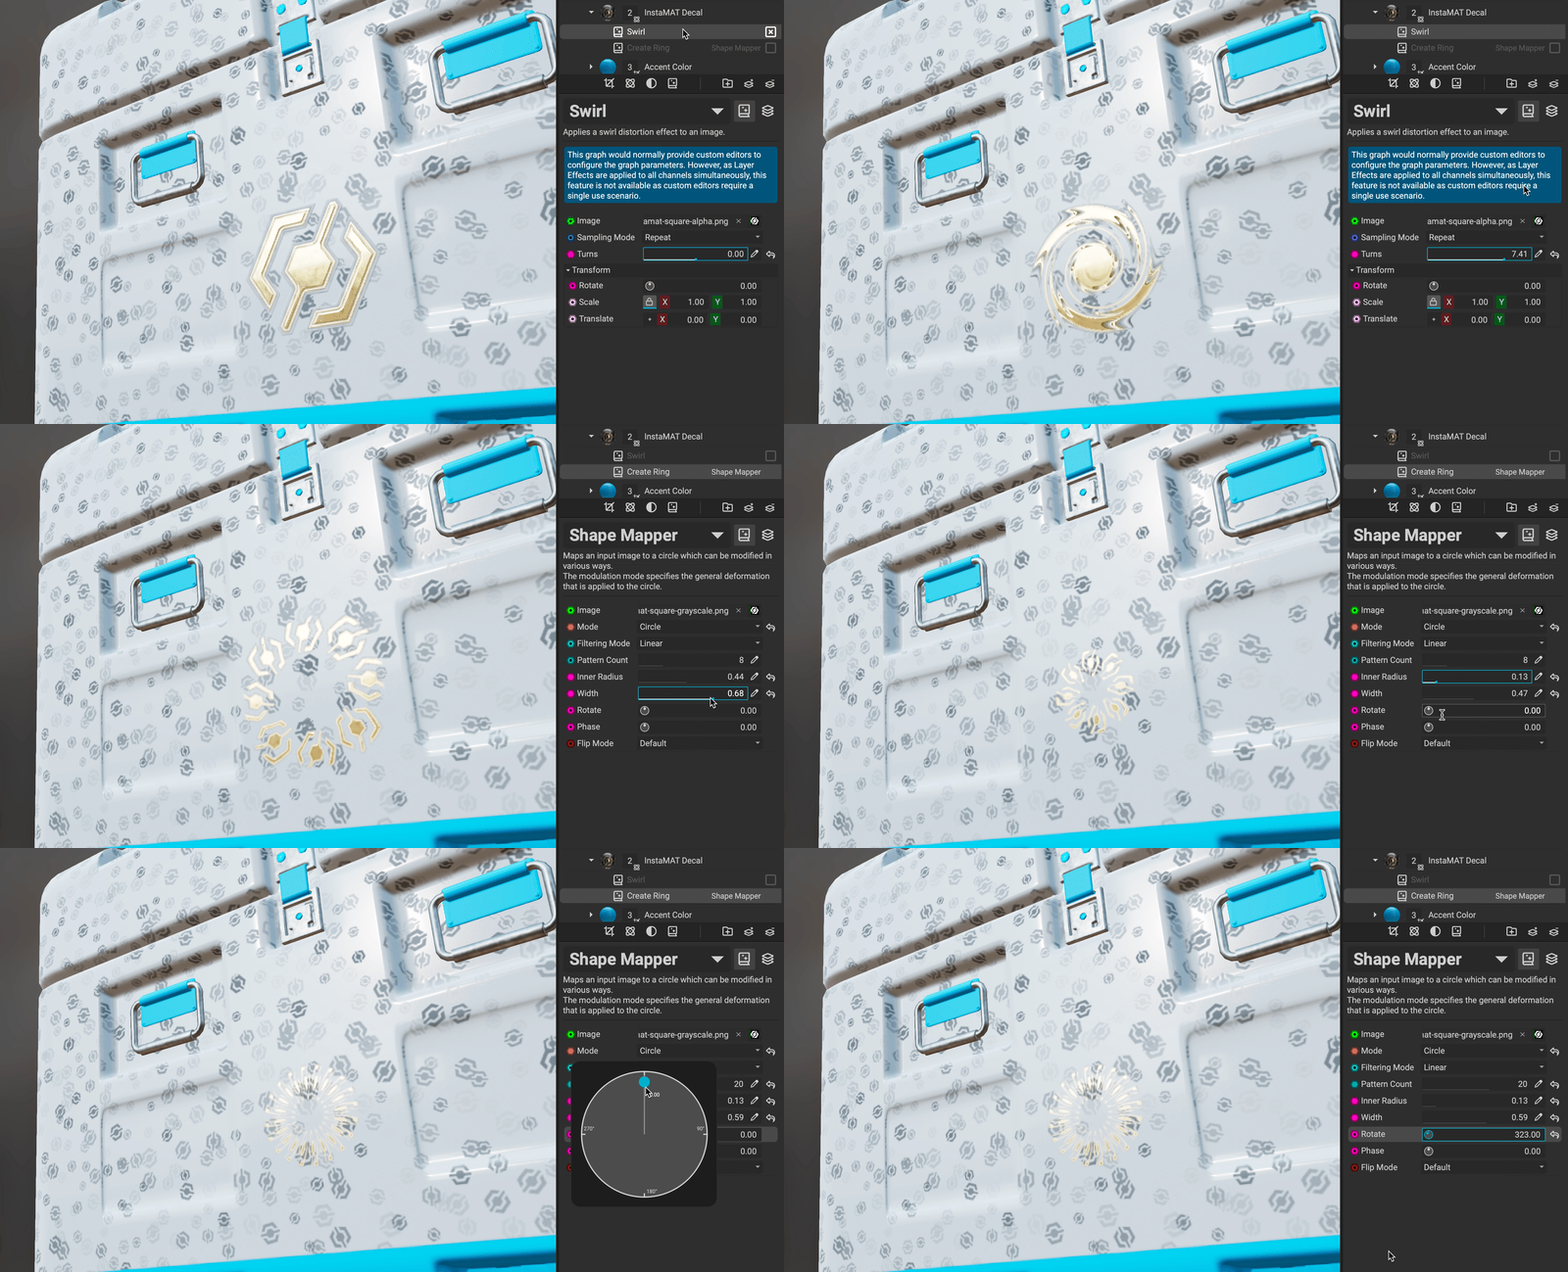
Effects can be added to a layer to perform powerful adjustments to its multiple channels simultaneously when creating materials using Material Layering or when applying textures to assets in Asset Texturing projects. The following example shows how the Swirl and Shape Mapper effects can apply their adjustments to a decal layer that contains multiple PBR channels.
¶ Adding an Effect to a Layer
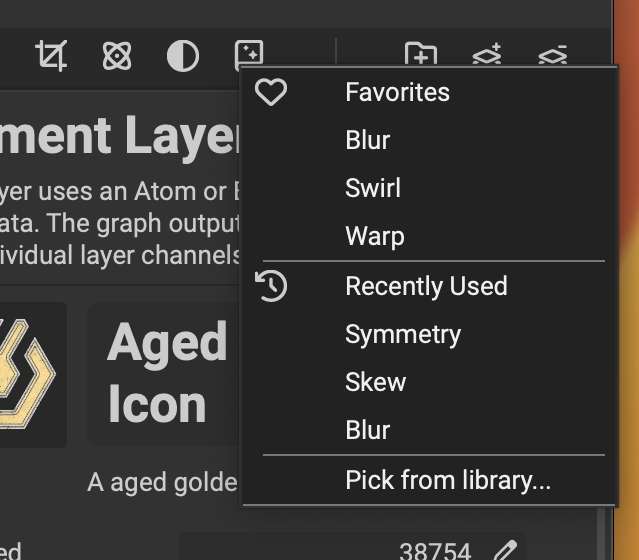 To add an effect to a layer, select the layer and click the
 Add Effect button located at the bottom of the Layer Stack or in the main toolbar. A contextual menu will appear allowing you to select an effect from one of your favorites, choose from a recently used effect, or pick one from the MAT Library using the Resource Picker panel.
Effects can be added to Multi-Channel Layers, Element Layers, Multi-Channel Brush Layers, and Element Brush Layers. Multiple effects can be added to the same layer. The order in which effects are assigned to a layer is significant; they will execute from bottom to top. To change the order, simply drag and drop an effect above or below another.
To remove an effect from a layer, select it in the Layer Stack and press Delete. Alternatively, you can right click the effect and choose Delete from the contextual menu.
¶ Adjusting an Effect's Properties
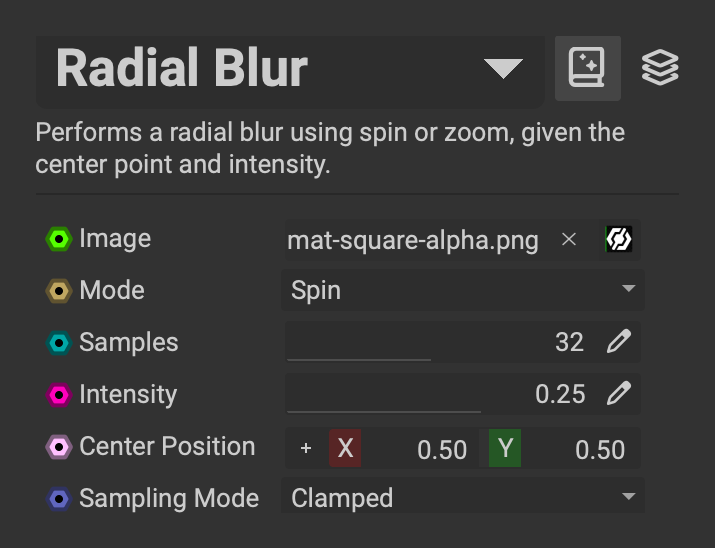 Effects contain dynamic parameters and widgets that make it easy to adjust their settings. To adjust a filter's settings, click on it in the
 Layer Stack. The effect's properties will appear below in the Effect Properties panel.
¶ Adjusting an Effect's Layer Channels
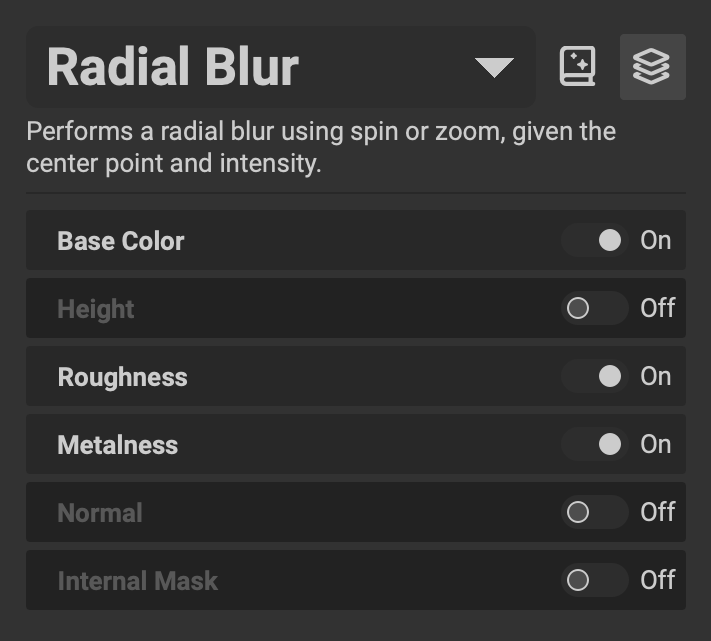 The Layer Channels panel can adjust the influence an effect has on the individual channels of a layer. Toggle channels on or off to adjust the effect's influence on them.
¶ Disabling Effects
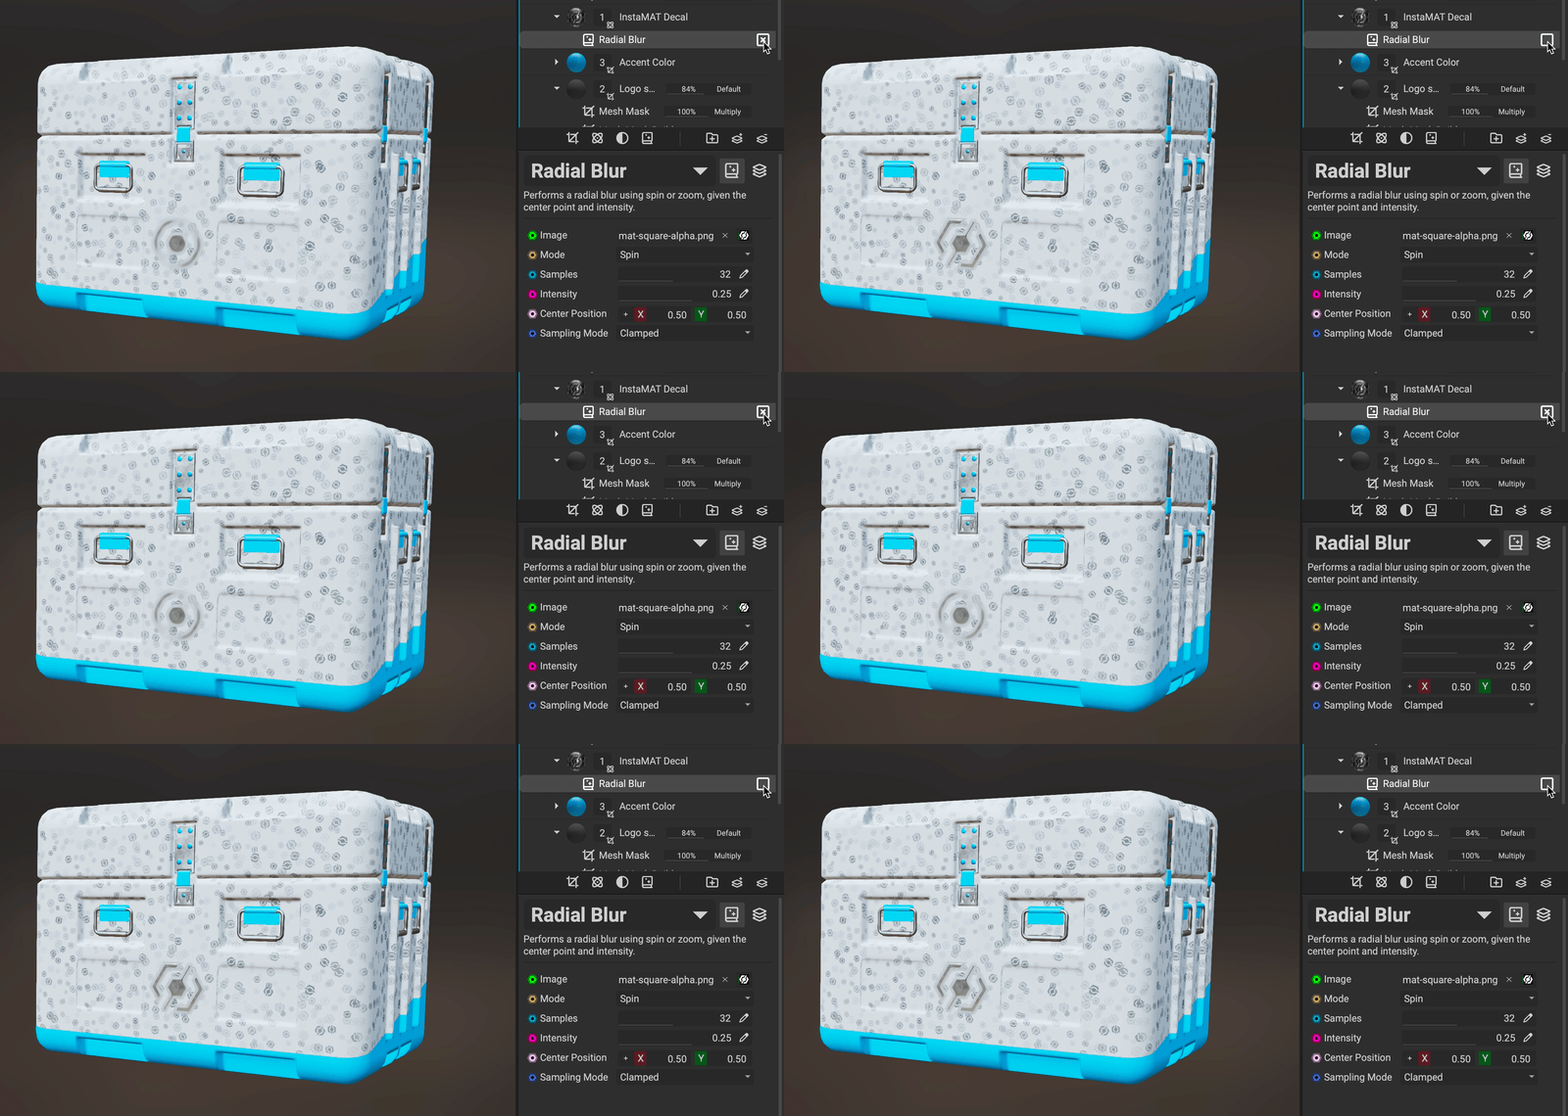
Effects can be disabled to quickly A/B test their adjustments. To disable an effect, click the button to the right of the effect in the Layer Stack. Clicking again will reenable the effect.
