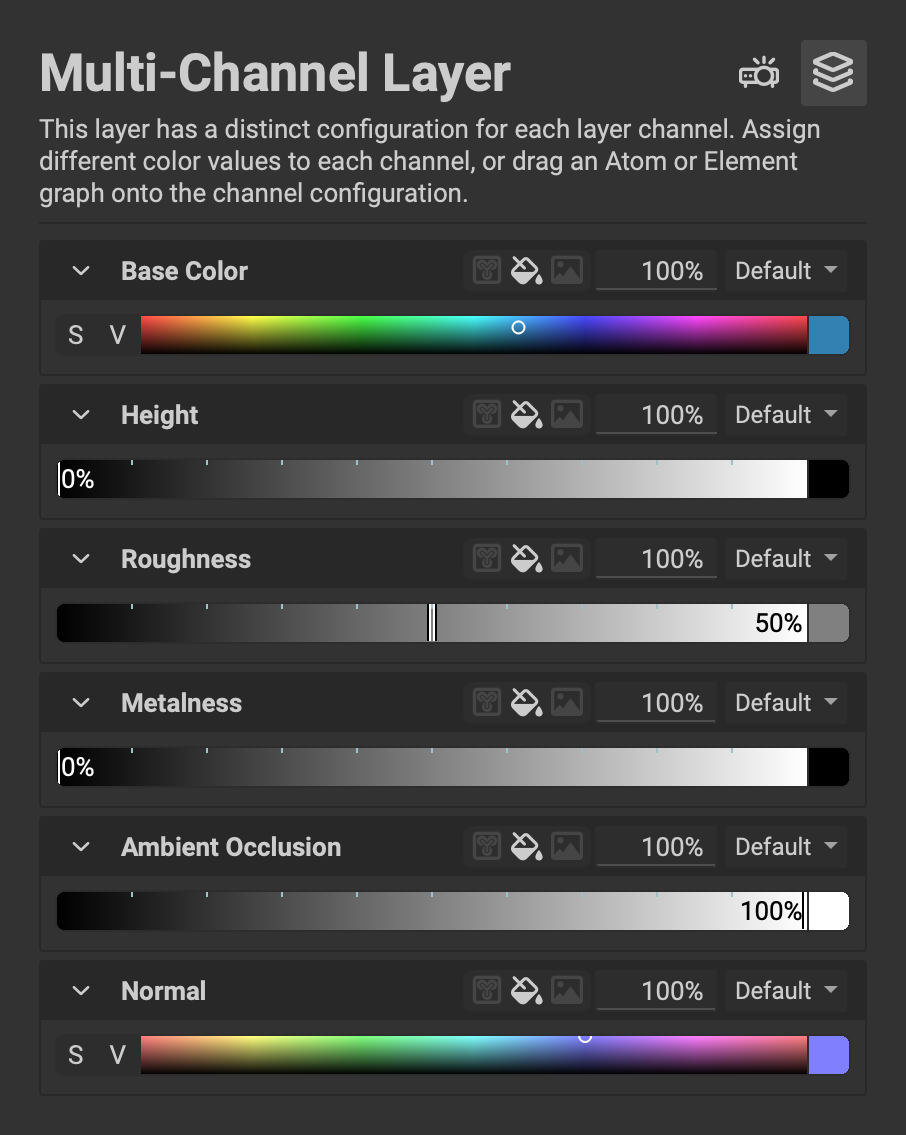
The Layer Channels panel in the Layer Editor provides access to a selected layer's channels and their data. Each layer contains a set of channels which are defined in the channels section of the Layering Project Editor. These channels contain various maps of information such as the Base Color, Roughness, Metalness, and Normal data used to represent a material in a physically accurate environment.
¶ Interface Overview
The Layer Channels panel provides various methods of inputting and adjusting the data for each channel. The following is an overview of the interface based on the type of layer selected.
¶ Multi-Channel Layer
For Multi-Channel Layers, the Layer Channels panel provides four input methods for inputting channel data. These options can be selected next to the title of each channel.

To learn more about the different layering types in InstaMAT, please read our dedicated article here.
¶ Fill Color
 Selecting the
 Fill Color option fills the channel with either a single color or value.

¶ Image Resource
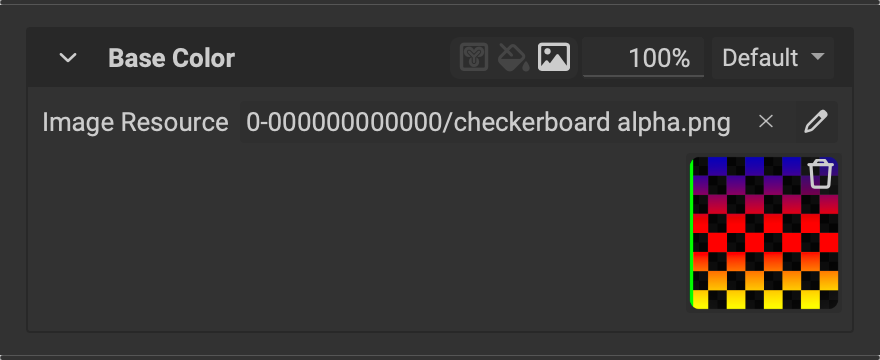 Selecting the
 Image Resource option fills the layer channel with a chosen image using the Resource Picker panel.
¶ Graph Resource
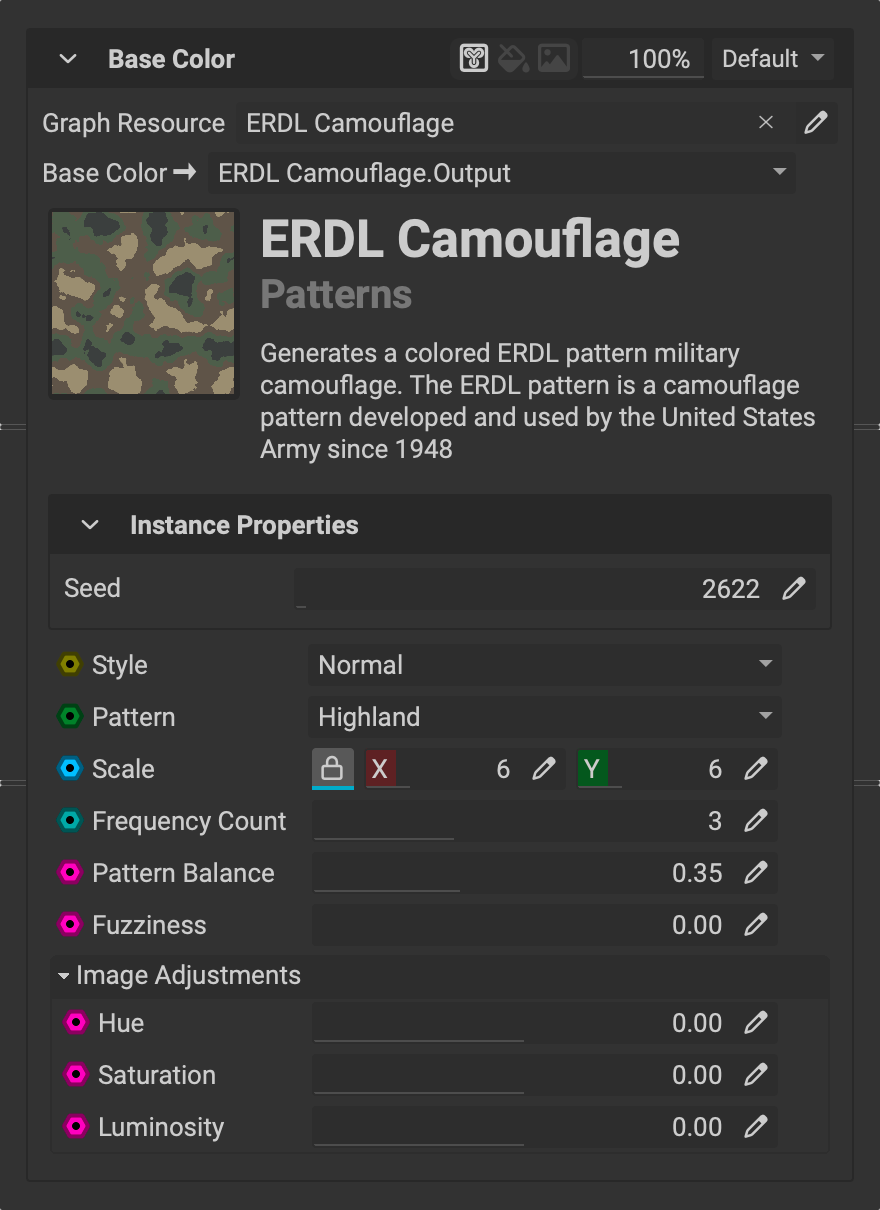 Selecting the
 Graph Resource option maps an output from a graph resource in InstaMAT's library into the selected channel. In this example you can see that the Base Color of the ERDL Camouflage node is being used as the Base Color channel for the selected layer.
The Base Color → dropdown selects which output from the graph resource to use as the input for the layer's channel.
Below are the grap resource's properties and exposed graph inputs. By using a graph resource, project types such as the Atom or Element Graph can be used to extend a layer’s capabilities.
¶ Reference
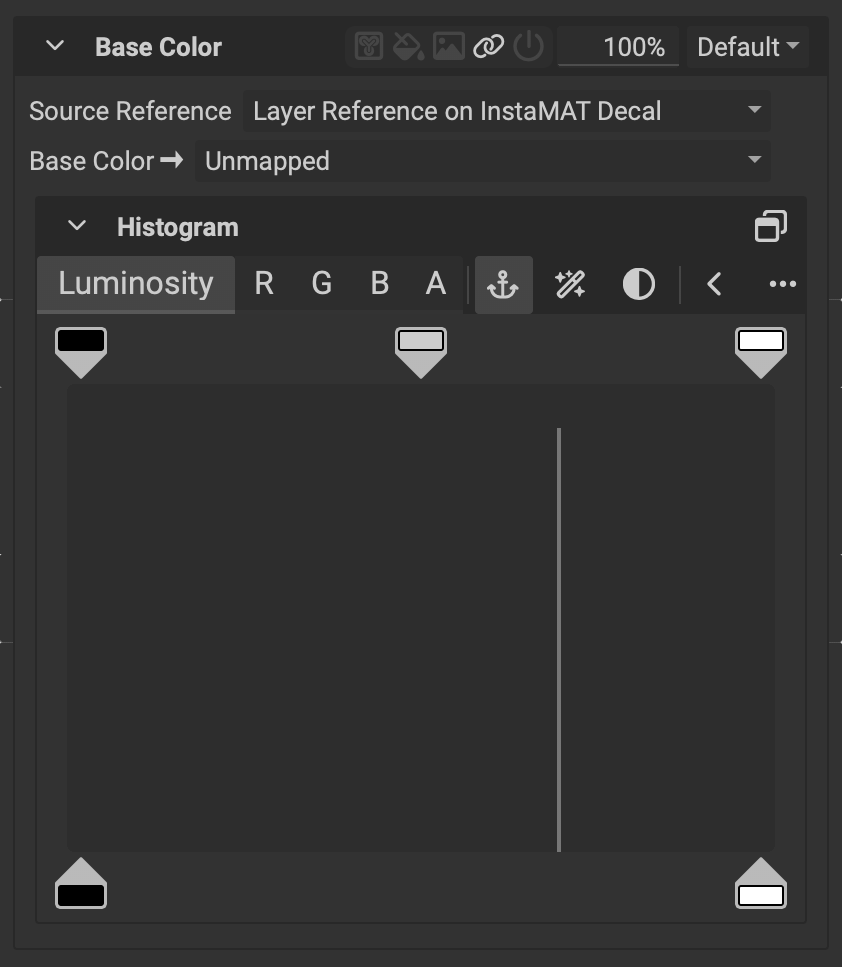 Selecting the
 Reference option allows you to use channel data from a layer below in the Layer Stack that contains a Layer Reference. After picking a Source Reference, you can map data from the reference layer's channels to the channels of the Multi-Channel Layer.
¶ Element Layer
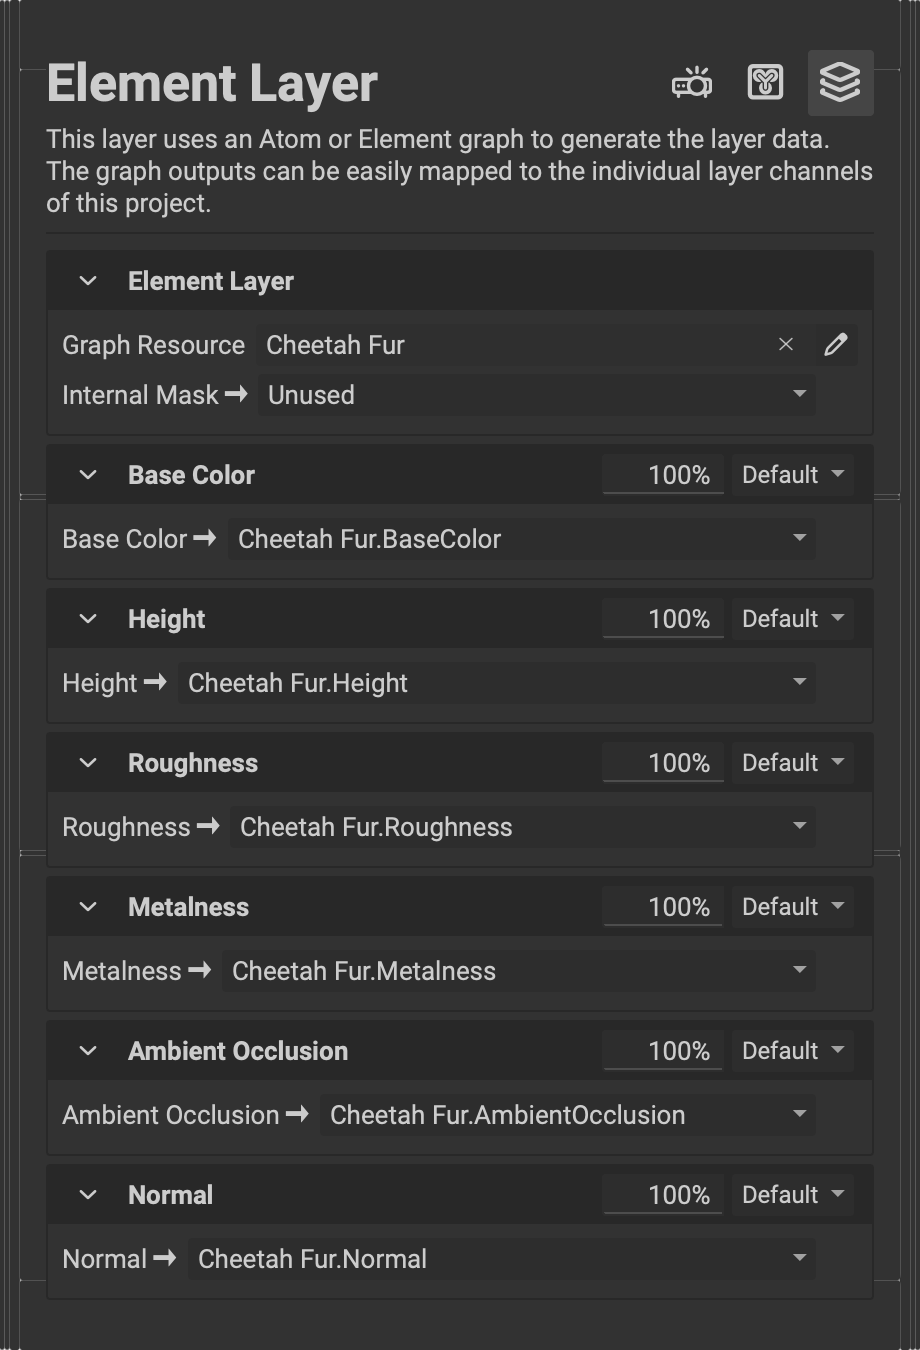
Element Layers automatically map the outputs of an Atom or Element Graph project to corresponding layer channels. When an Element Layer is selected, the Layer Channels panel provides options on how to map the Element or Atom Graph's outputs to each layer channel.
To learn more about the different layering types in InstaMAT, please read our dedicated article here.
¶ Remapping Outputs
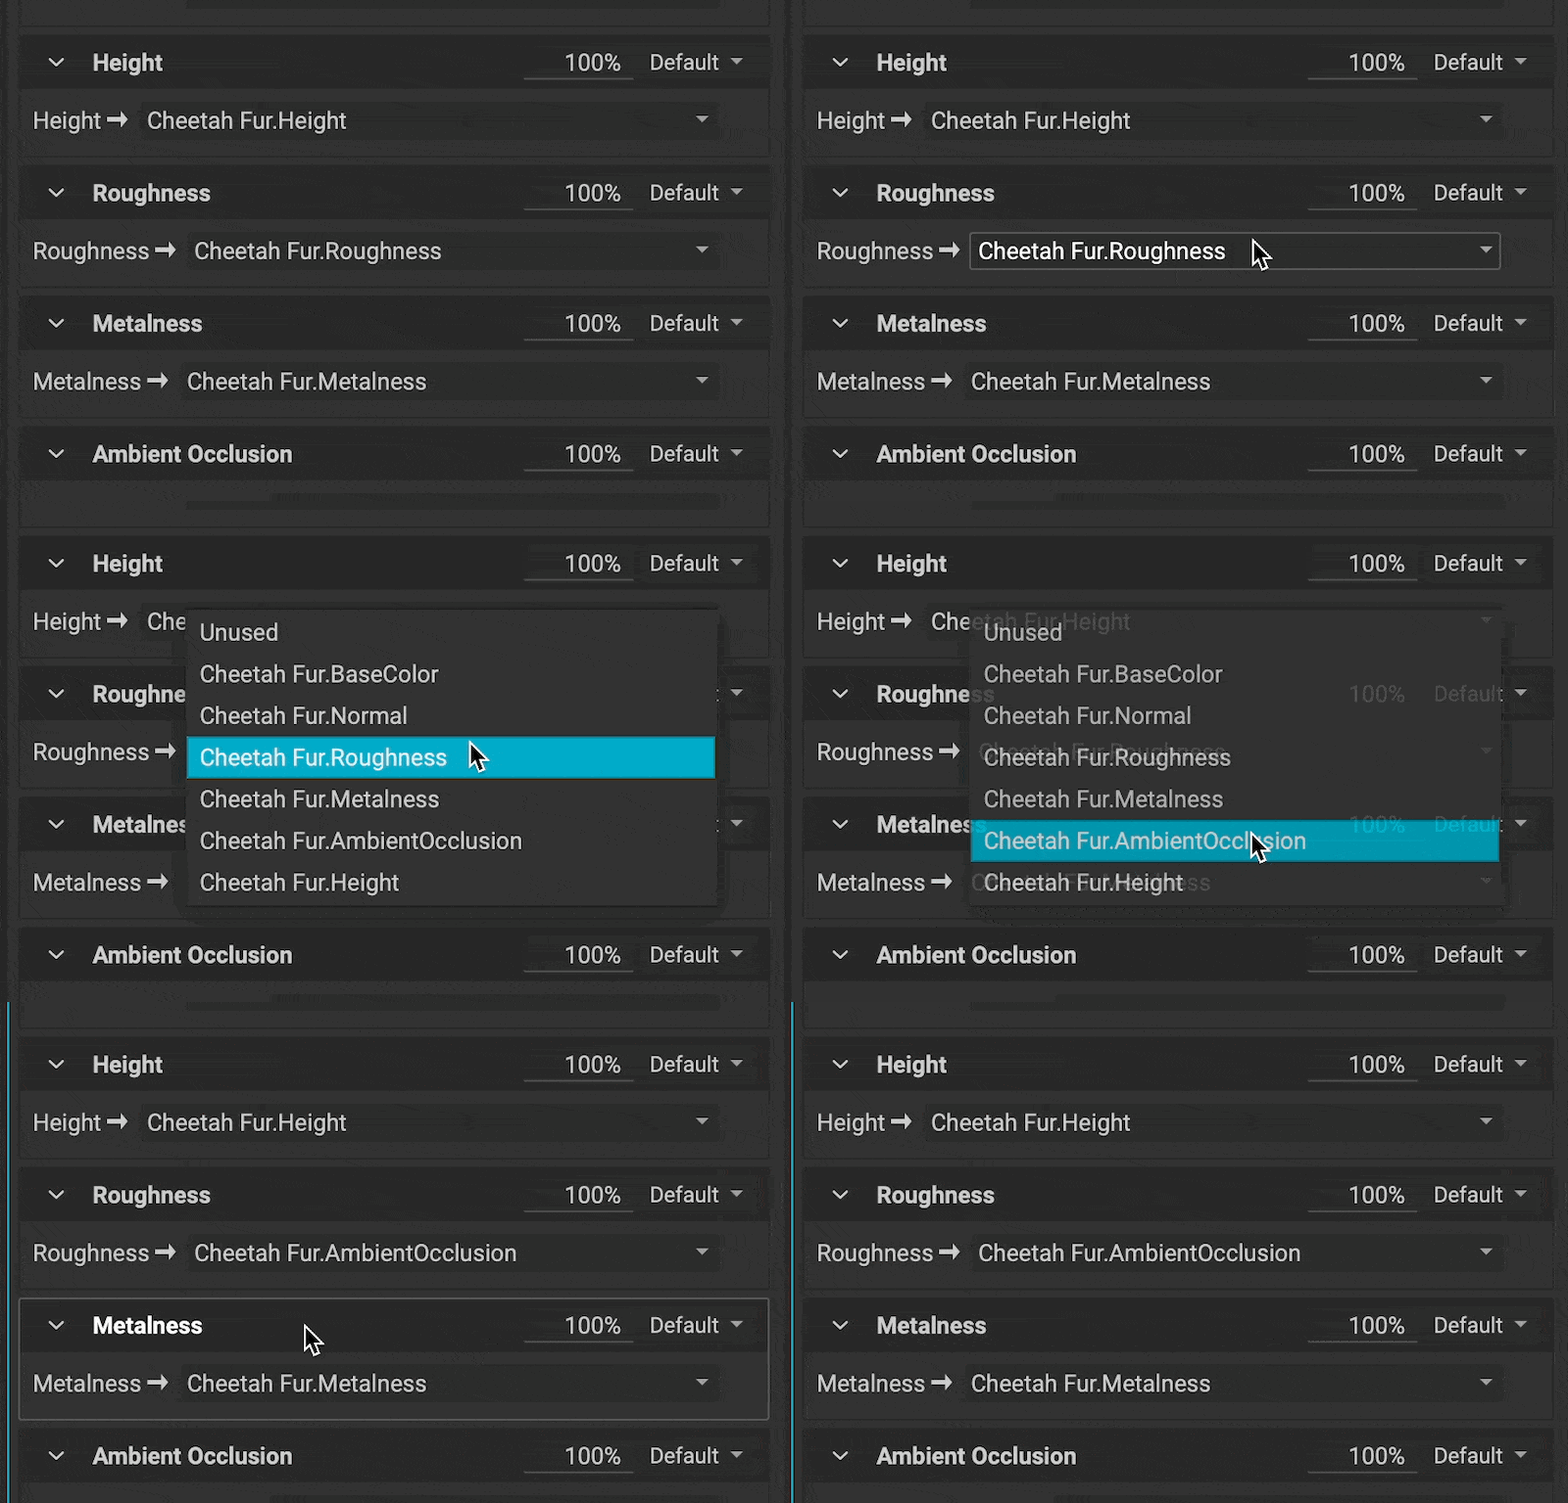 To remap an output from the selected graph resource, use the dropdown for each channel to provide the resource's output for the channel.
¶ Multi-Channel Brush
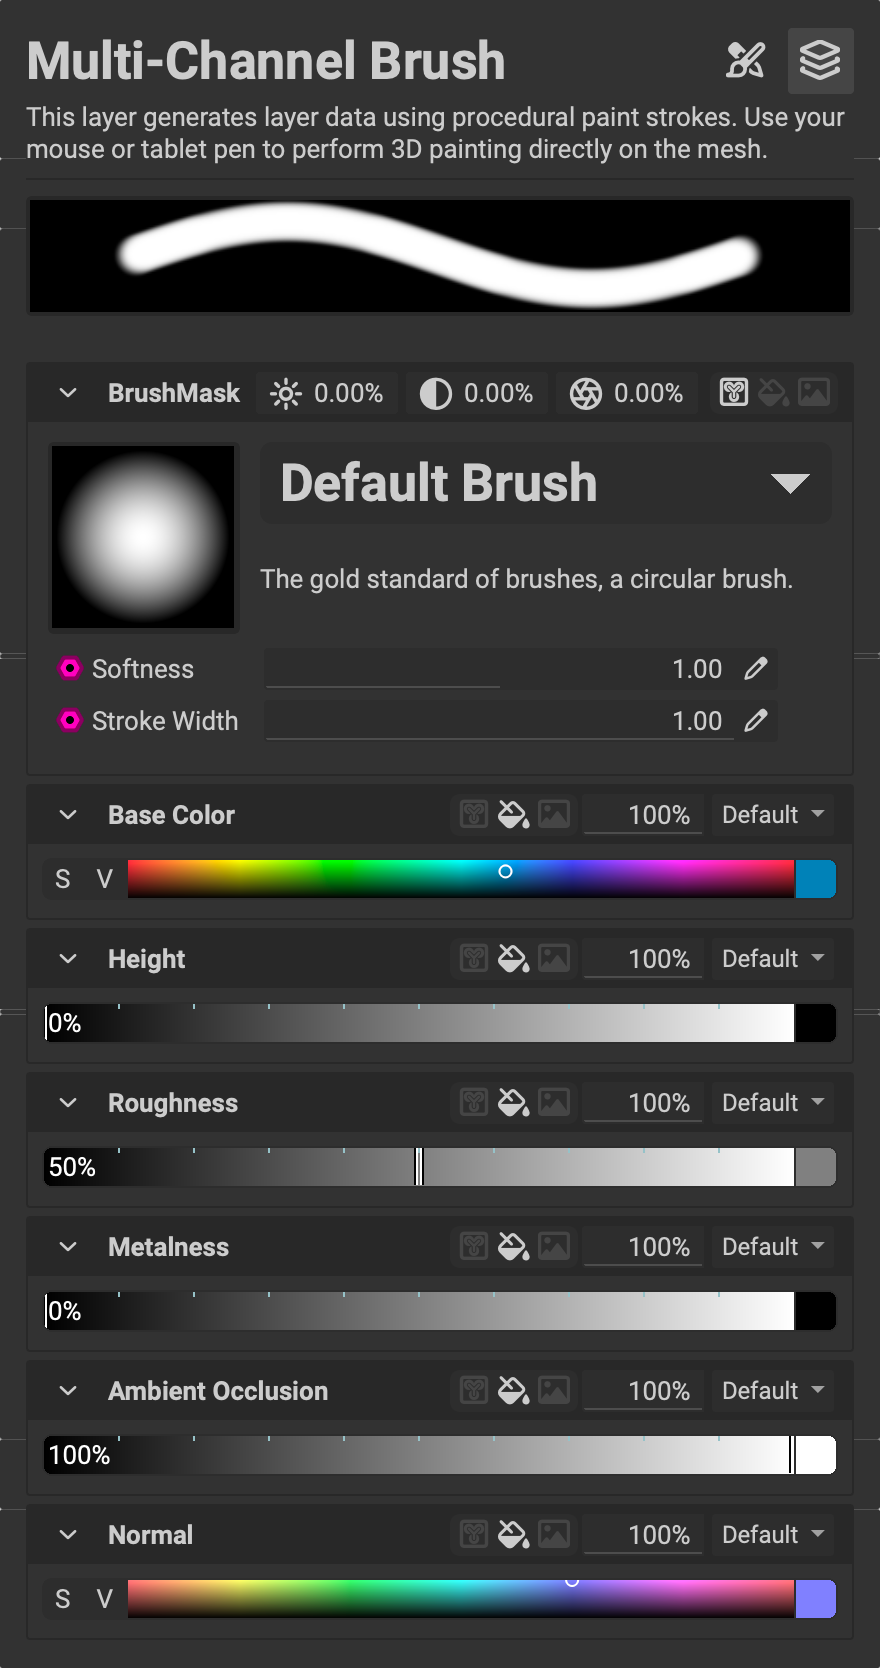
For Multi-Channel Brush Layers, the Layer Channels panel behaves similarly to Multi-Channel Layers with a few additional settings and options.
¶ Brush Preview
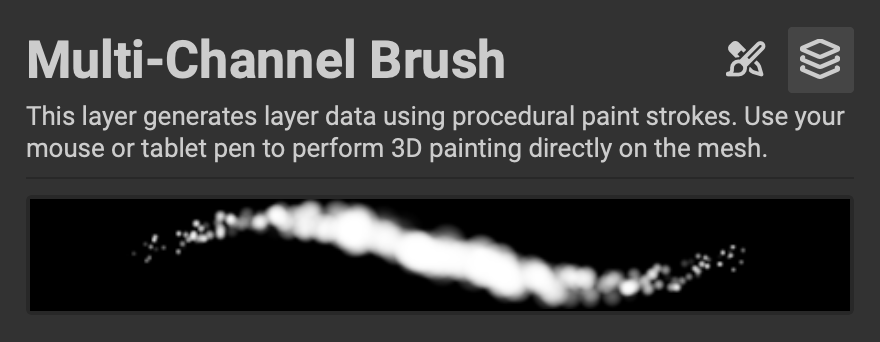 At the top of the panel is a brush preview view demonstrating how a stroke of paint will be applied to the asset. This view will automatically update with changes made to the brush settings.
¶ Brush Mask
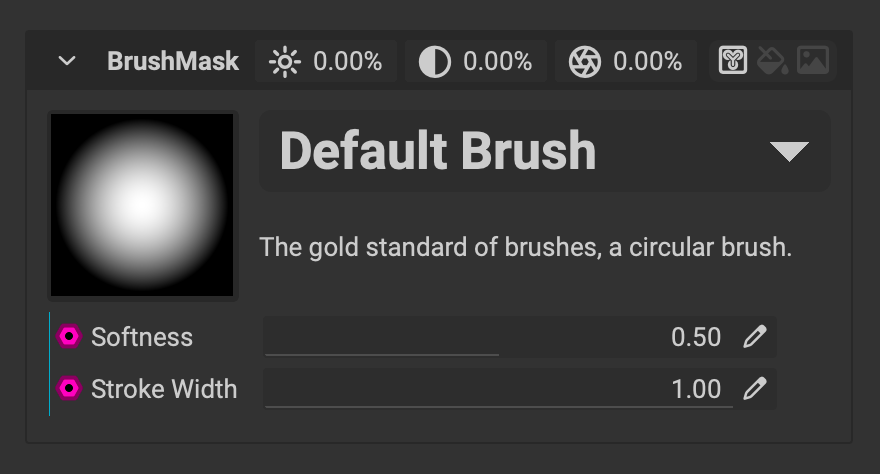 With InstaMAT Studio, a brush's mask can be configured using either a
 Fill Color, Image Resource or Graph Resource. To learn more about these input methods, please click on the Multi-Channel Layer tab on this page.
Using a graph resource such as an Atom or Element Graph project as a brush mask provides access to its exposed parameters. This unlocks powerful procedural capabilities where the customization of the brush's shape can be determined by the output of the Atom or Element and its parameters.
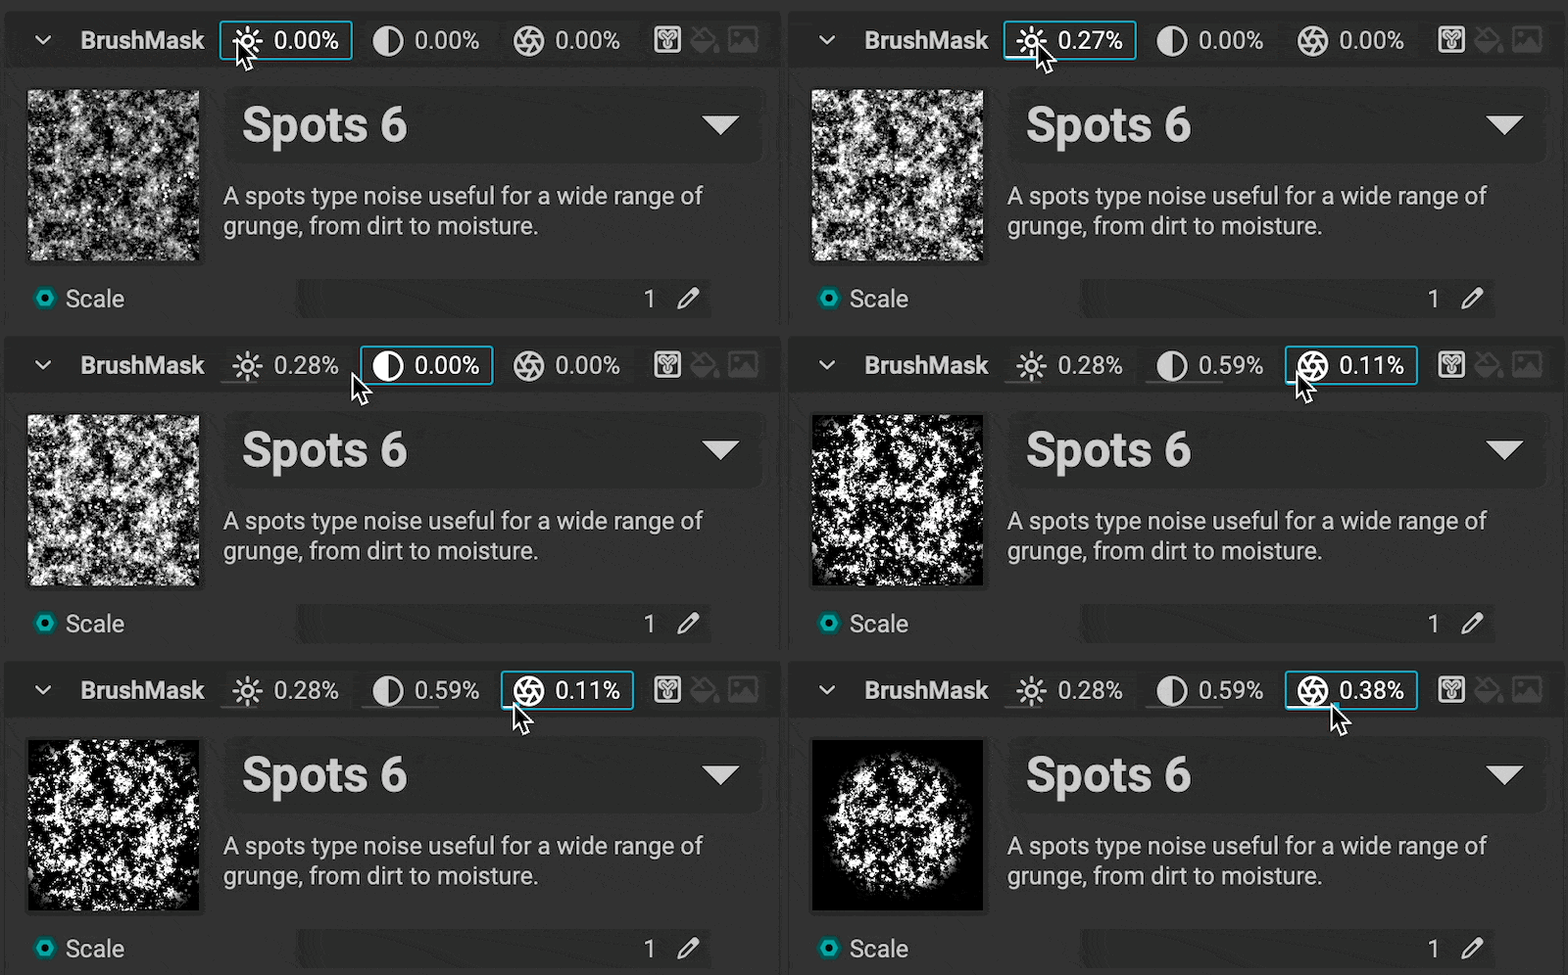 The brush mask's
 Brightness, Contrast, and Vignette can quickly be adjusted from the dedicated widgets in the title bar of the Brush Mask settings.
To learn more about painting in InstaMAT Studio, please read our dedicated article on Getting Started with Painting.
¶ Element Brush
In the Layer Channels panel, Element Brush Layers function similarily to Element Layers where the outputs of the selected Atom or Element Graph are mapped to the channels of the brush layer.

¶ Brush Preview
 At the top of the panel is a brush preview view demonstrating how a stroke of paint will be applied to the asset. This view will automatically update with changes made to the brush settings.
¶ Brush Mask
 With InstaMAT Studio, a brush's mask can be configured using either a
 Fill Color, Image Resource or Graph Resource. To learn more about these input methods, please click on the Multi-Channel Layer tab on this page.
Using a graph resource such as an Atom or Element Graph project as a brush mask provides access to its exposed parameters. This unlocks powerful procedural capabilities where the customization of the brush's shape can be determined by the output of the Atom or Element and its parameters.
 The brush mask's
 Brightness, Contrast, and Vignette can quickly be adjusted from the dedicated widgets in the title bar of the Brush Mask settings.
¶ Element Brush Settings
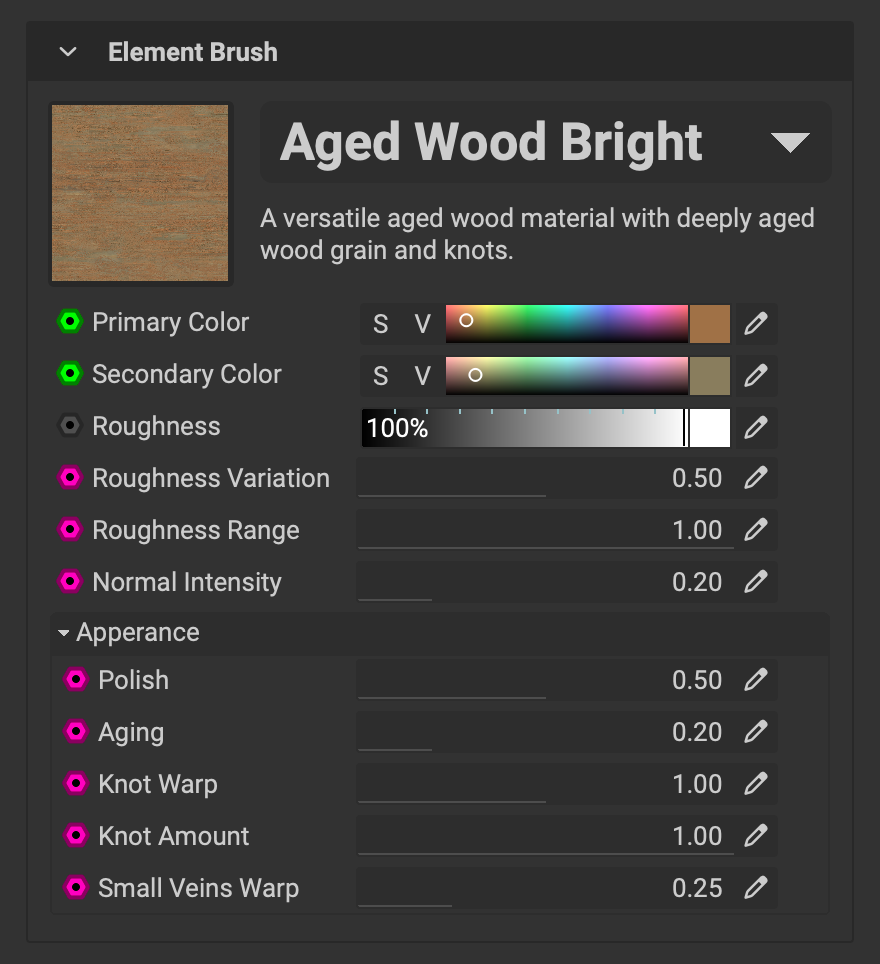 Below the
 Brush Mask settings are the Element Brush Settings. By using an Atom or Element Graph as a brush, the graph's exposed parameters become available in the Asset Texturing project. This unlocks another level of procedural customization to extend the brush's capabilities.
¶ Channel Mapping
 Below the
 Element Brush Settings is where outputs from the selected Atom or Element Graph can be mapped to the channels of the layer.
To remap an output from the selected graph resource, use the dropdown for each channel to provide the resource's output for the channel.
To learn more about painting in InstaMAT Studio, please read our dedicated article on Getting Started with Painting.
¶ Channel Opacity and Blend Mode
Each channel has a widget with options to directly control its opacity and blend mode. These are settings for each individual channel and not a global opacity or blend mode for the entire layer.
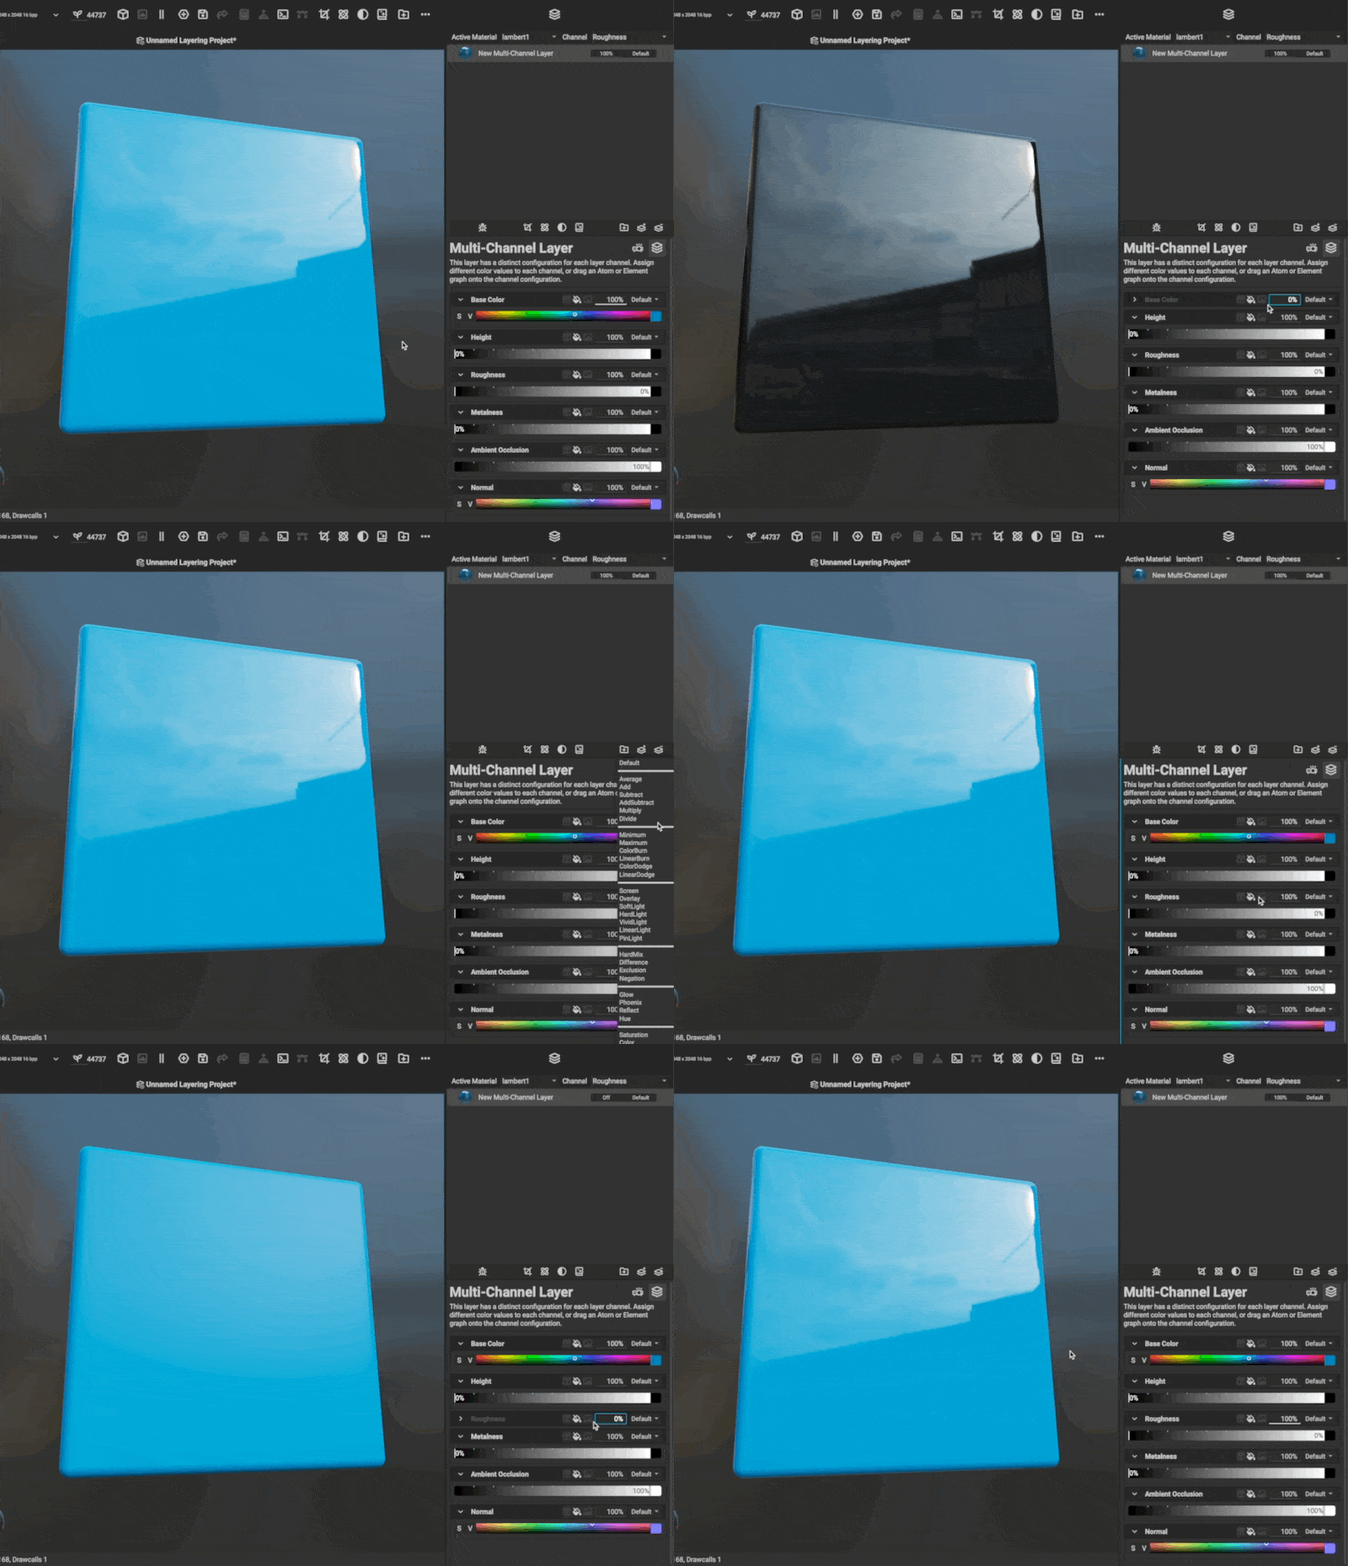
To manipulate the opacity or blend mode for all channels at the same time, hold Alt/Option while dragging the opacity slider or changing the blend mode.
¶ Disabling Channels
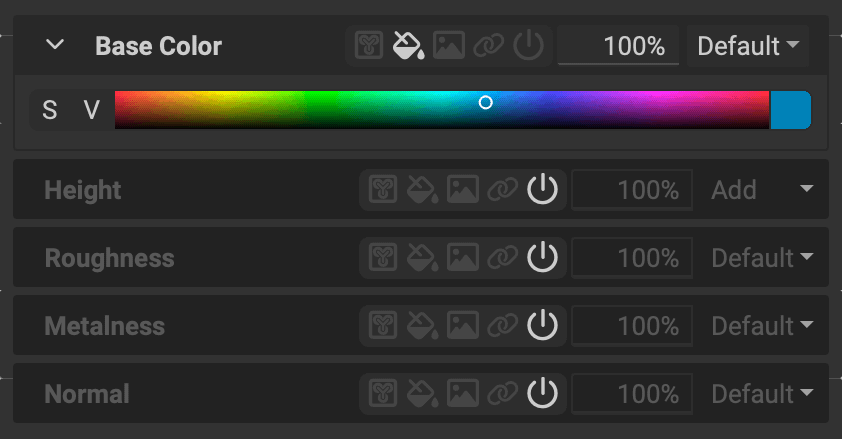 Channels can be disabled to improve processing performance. If a channel for the layer is not being utilized to texture an asset, it is best to disable it.