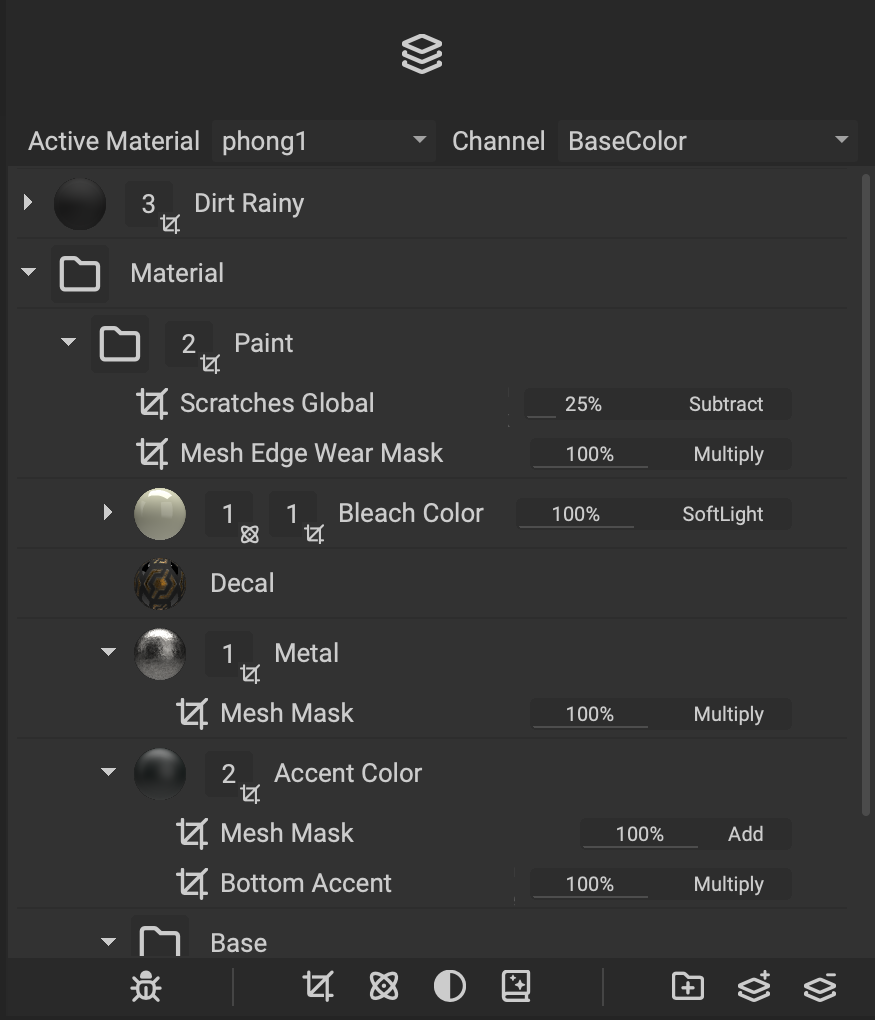
The Layer Stack displays the layers of materials, masks, generators, filters, and effects that are applied to an asset. Layers will be applied to the asset in order from bottom to top. Therefore, the top layer will be applied last.
¶ Interface Overview
The following section is an overview of the Layer Stack interface.
¶ Top Toolbar
At the top above the Layer Stack are two dropdown menus:
- Active Material: Sets the active material section that is currently being edited in the
Layer Stack. When working in a multi-material workflow, each material section can be adjusted individually. - Channel: Sets the active channel to adjust when manipulating a layer's opacity and blend mode widgets in the
Layer Stack. These widgets appear to the right when selecting or hovering over a layer in the stack.
¶ Bottom Toolbar
Underneath the Layer Stack is a toolbar where various masks, generators, effects, and filters can be applied. Additionally, layers can be created, removed, and grouped from this toolbar. The following options are available:
- Add Mask: Adds a mask to the selected layer or layer group.
- Add Generator: Adds a generator to the selected layer.
- Add Filter: Adds a filter to the selected layer or layer group.
- Add Effect: Adds an effect to the selected layer.
- Add New Layer Group: Creates a new layer group. Select layers to automatically add them to the new group.
- Add New Layer: Adds a new layer to the
Layer Stack. - Delete Selected Layer: Deletes the selected layer.
¶ Layer Types
InstaMAT's Asset Texturing project provides an assortment of layer types:
- Multi-Channel Layer: This layer has a distinct configuration for each layer channel. Assign different color values to each channel, or drag an Atom or Element Graph onto the channel configuration.
- Element Layer: This layer uses an Atom or Element Graph to generate the layer data. The graph outputs can be easily mapped to the individual layer channels of an Asset Texturing project.
- Multi-Channel Brush: This layer generates layer data using procedural paint strokes. Use your mouse or tablet pen to perform 3D painting directly on the mesh.
- Element Brush: This layer generates layer data using procedural paint strokes using an Atom or Element Graph. The graph outputs can be easily mapped to the individual layer channels of an Asset Texturing project.
- Layer Group: This layer is an aggregate of layers and layer groups. Drag layers into a group to perform a composite of all contents of this layer group prior to blending it onto the preceding layer.
- Empty Layer: This layer contains no information. However, it can still be useful as a visual anchor or to insert helper information into your layer stack for organizational purposes.
To learn more, please read our dedicated article on layer types.
¶ Layer Channels
Each layer contains a set of channels which are defined in the channels section of the Layering Project Editor. These channels contain various maps of information such as the Base Color, Roughness, Metalness, and Normal data.
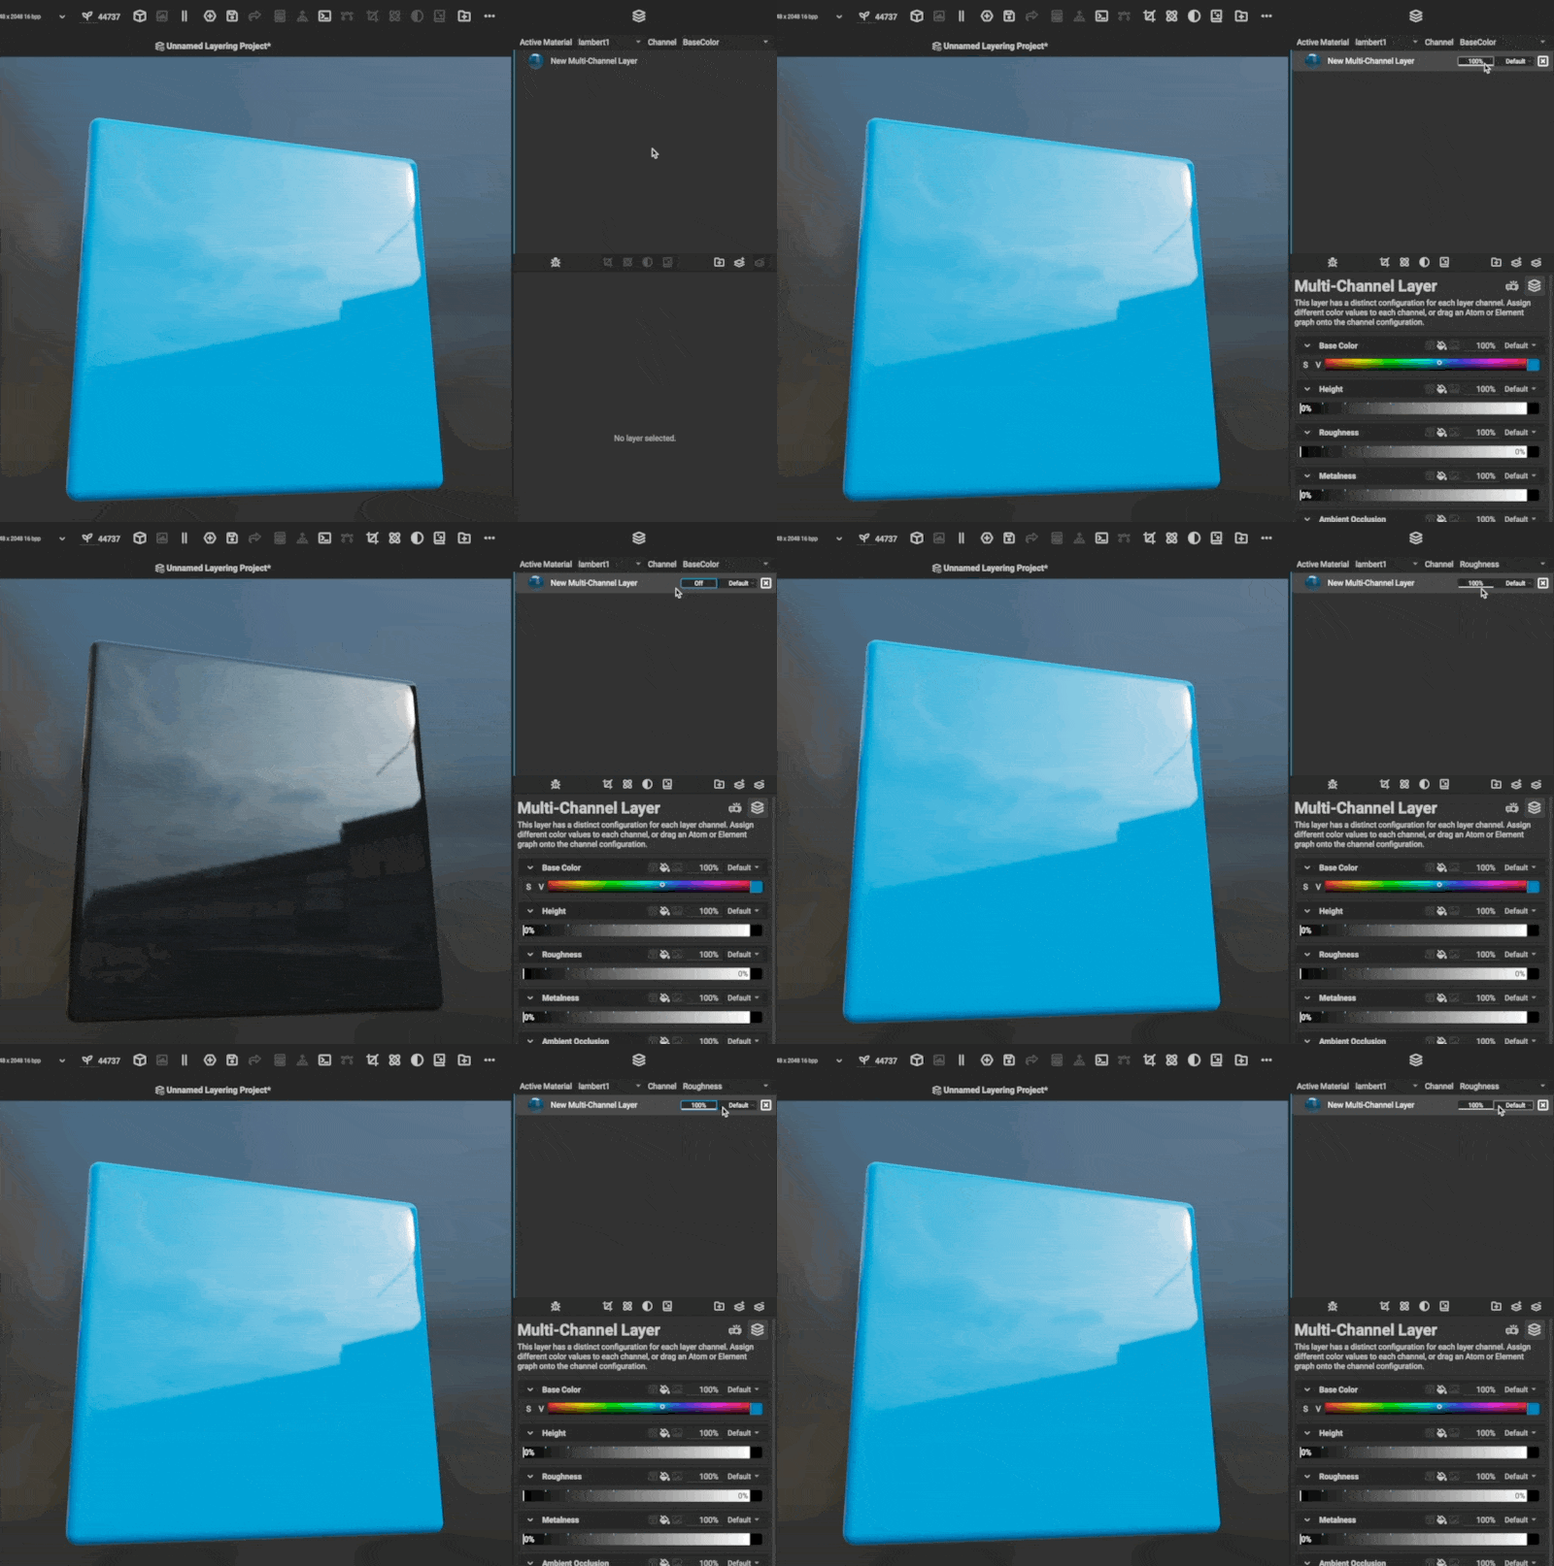
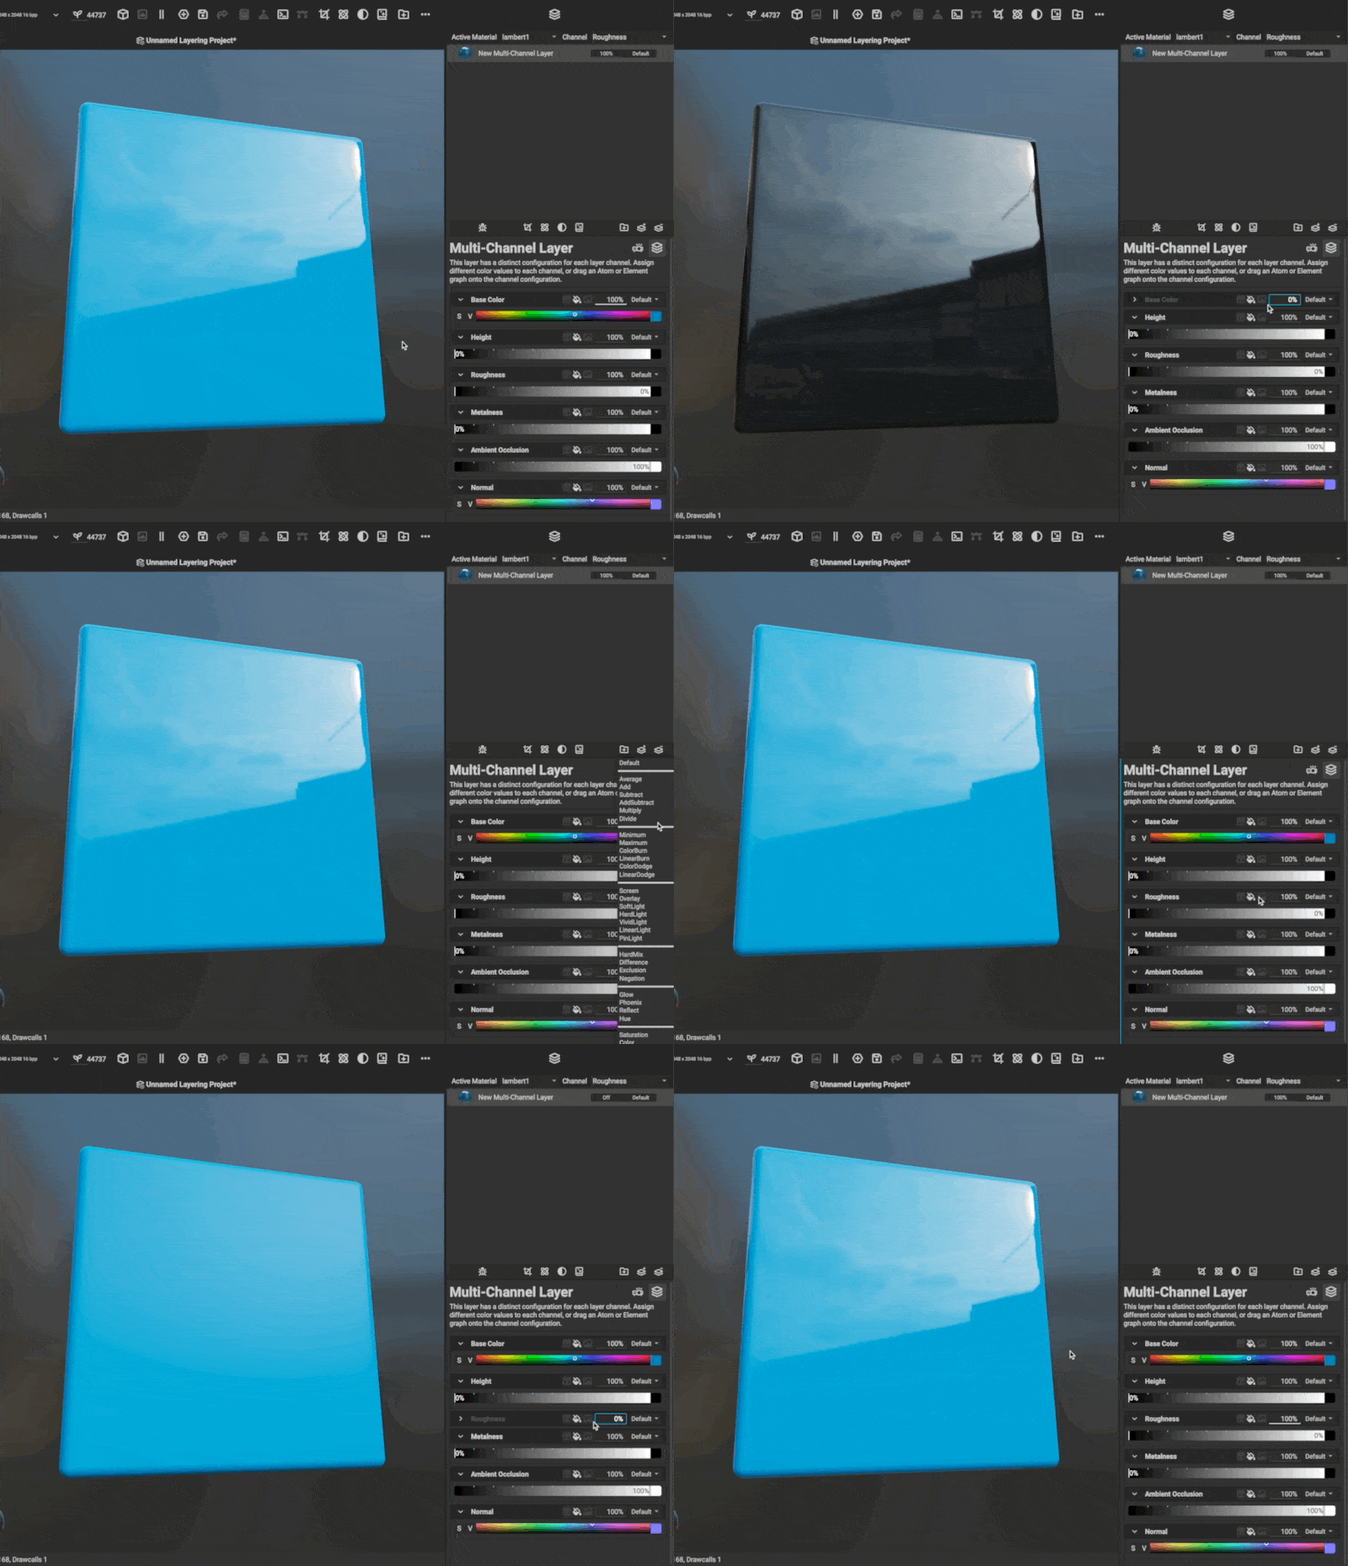
Each channel is assigned an opacity and a blend mode, providing independent control over the blending of each layer on a per-channel basis. For example, a layer's Roughness channel could be set to 50% opacity, while the Base Color is set to 100%. This results in the layer's Roughness having a lesser effect on the end result while the Base Color remains unaffected. The same can be applied to a channel's blend mode.
There are two locations where a layer channel's opacity and blend mode can be adjusted:
¶ Layer Stack
Whenever a layer is selected or hovered over, its corresponding opacity and blend mode widgets appear to the right. These settings correspond with the selected channel in the Channel dropdown above the Layer Stack.

¶ Layer Channels Panel
The Layer Channels panel in the Layer Editor provides access to a selected layer's channels and their data. Each channel has a widget with options to directly control its opacity and blend mode.

To learn more about the
Layer Channelspanel, please read our dedicated article here.
¶ Manipulating Layers
The following section overviews the various options for manipulating layers in the Layer Stack.
¶ Creating a New Layer
Layers can be created from the Add New Layer button located below the Layer Stack. Once clicked, a layer type can be chosen from the popup menu. If a group is selected in the Layer Stack, the newly added layer will automatically be added to that group.
¶ Moving Layers
To move a layer or set of layers, select them, then drag and drop them into position. To move a layer into a layer group, drag and drop the layer either onto the group or above/below a layer within that group. Reordering the layers will change the order in which layers are applied to the asset. The top layer will be applied last.
¶ Selecting Multiple Layers
To select multiple layers, select a single layer by clicking on it in the Layer Stack, then hold Shift and click on the final layer in the range of layers to be selected. All layers within that range will be selected.
¶ Deselecting Layers
To deselect a layer, hold Cmd/Ctrl and click on it in the Layer Stack.
¶ Duplicating Layers
To duplicate a layer, select it, then right click and choose Duplicate Layer from the contextual menu. Additionally, the keyboard shortcut Cmd/Ctrl + D will duplicate any selected layer.
¶ Hiding Layers
The following are ways to temporarily hide layers from view:
- Hover over a layer in the
Layer Stackand click the revealed button. - Select a layer and press H.
- Right click a layer and choose
Toggle Visibilityfrom the contextual menu.
¶ Grouping Layers
Layers can be grouped with the following methods:
- Select a set of layers and click the
Add New Layer Groupbutton in the toolbar below theLayer Stack. - Click the
Add New Layerbutton in the toolbar below theLayer Stackand chooseLayer Groupfrom the popup menu. Layers that are selected will automatically be added to this group. - Layers can be moved into a group by dragging and dropping them onto the group or above/below any layers within that group.
¶ Soloing Layers and Groups
Layers and layer groups can be temporarily soloed so that only their outputs are visible on the asset. To solo a layer or group, right click the layer or grop in the Layer Stack and choose Solo Layer Output from the contextual menu.