The Viewport is utilized in many different project types within InstaMAT Studio such as in the Element Graph, Asset Texturing, and Materialize Image. The Viewport is more than just a viewer. Gizmos provide artistic interaction and control over the position, scale, and rotation of meshes in the scene. Gizmos can also control the position of gradients, decals, and projections in 3D space. Mesh modifier nodes like the Mesh Bend node can also be controlled directly in the Viewport.
Most essentially, painting using InstaMAT's procedural 3D painting engine is done directly in the Viewport. Painting can be done in layering and node-based projects.
To learn more about how to adjust properties of the
Viewportsuch as the camera, environment, and render settings, please read our article on the Viewport Settings panel. Here you will learn how to change the environment image, adjust the camera's exposure, and dial in the scene's tessellation and displacement settings.
¶ Interface Overview
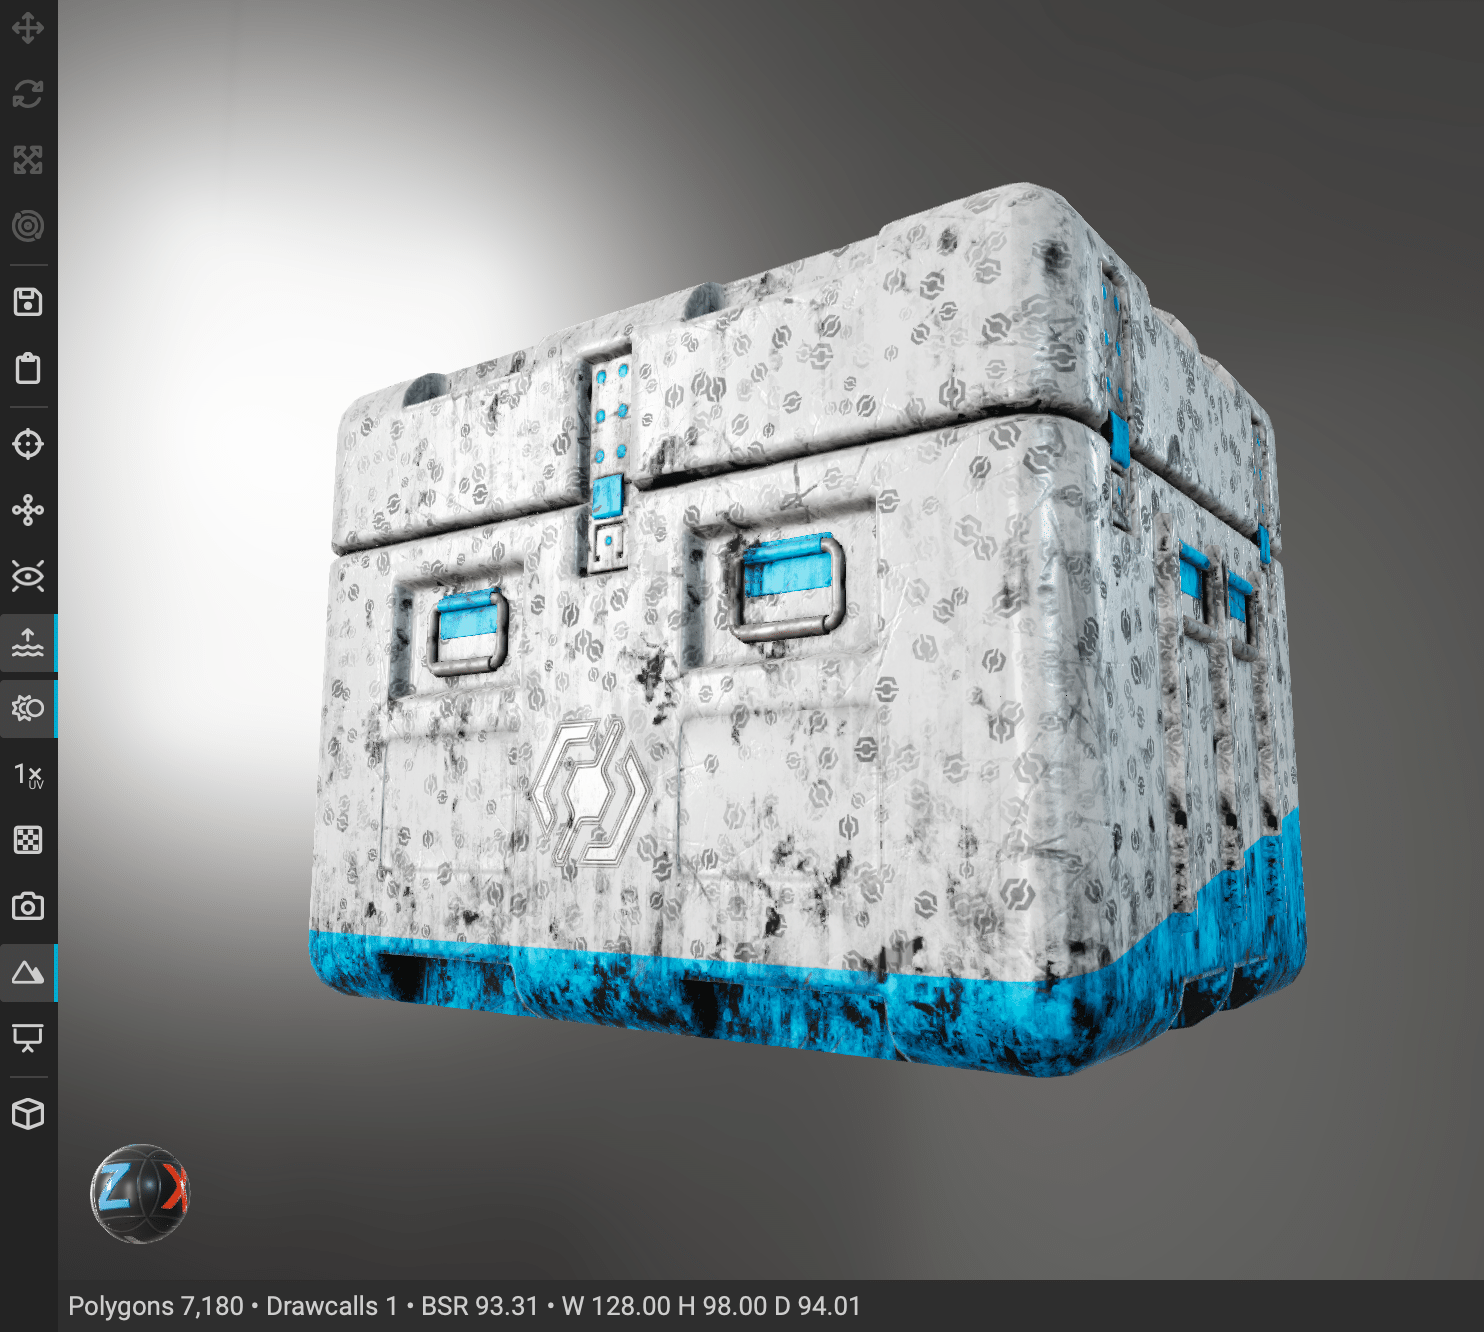
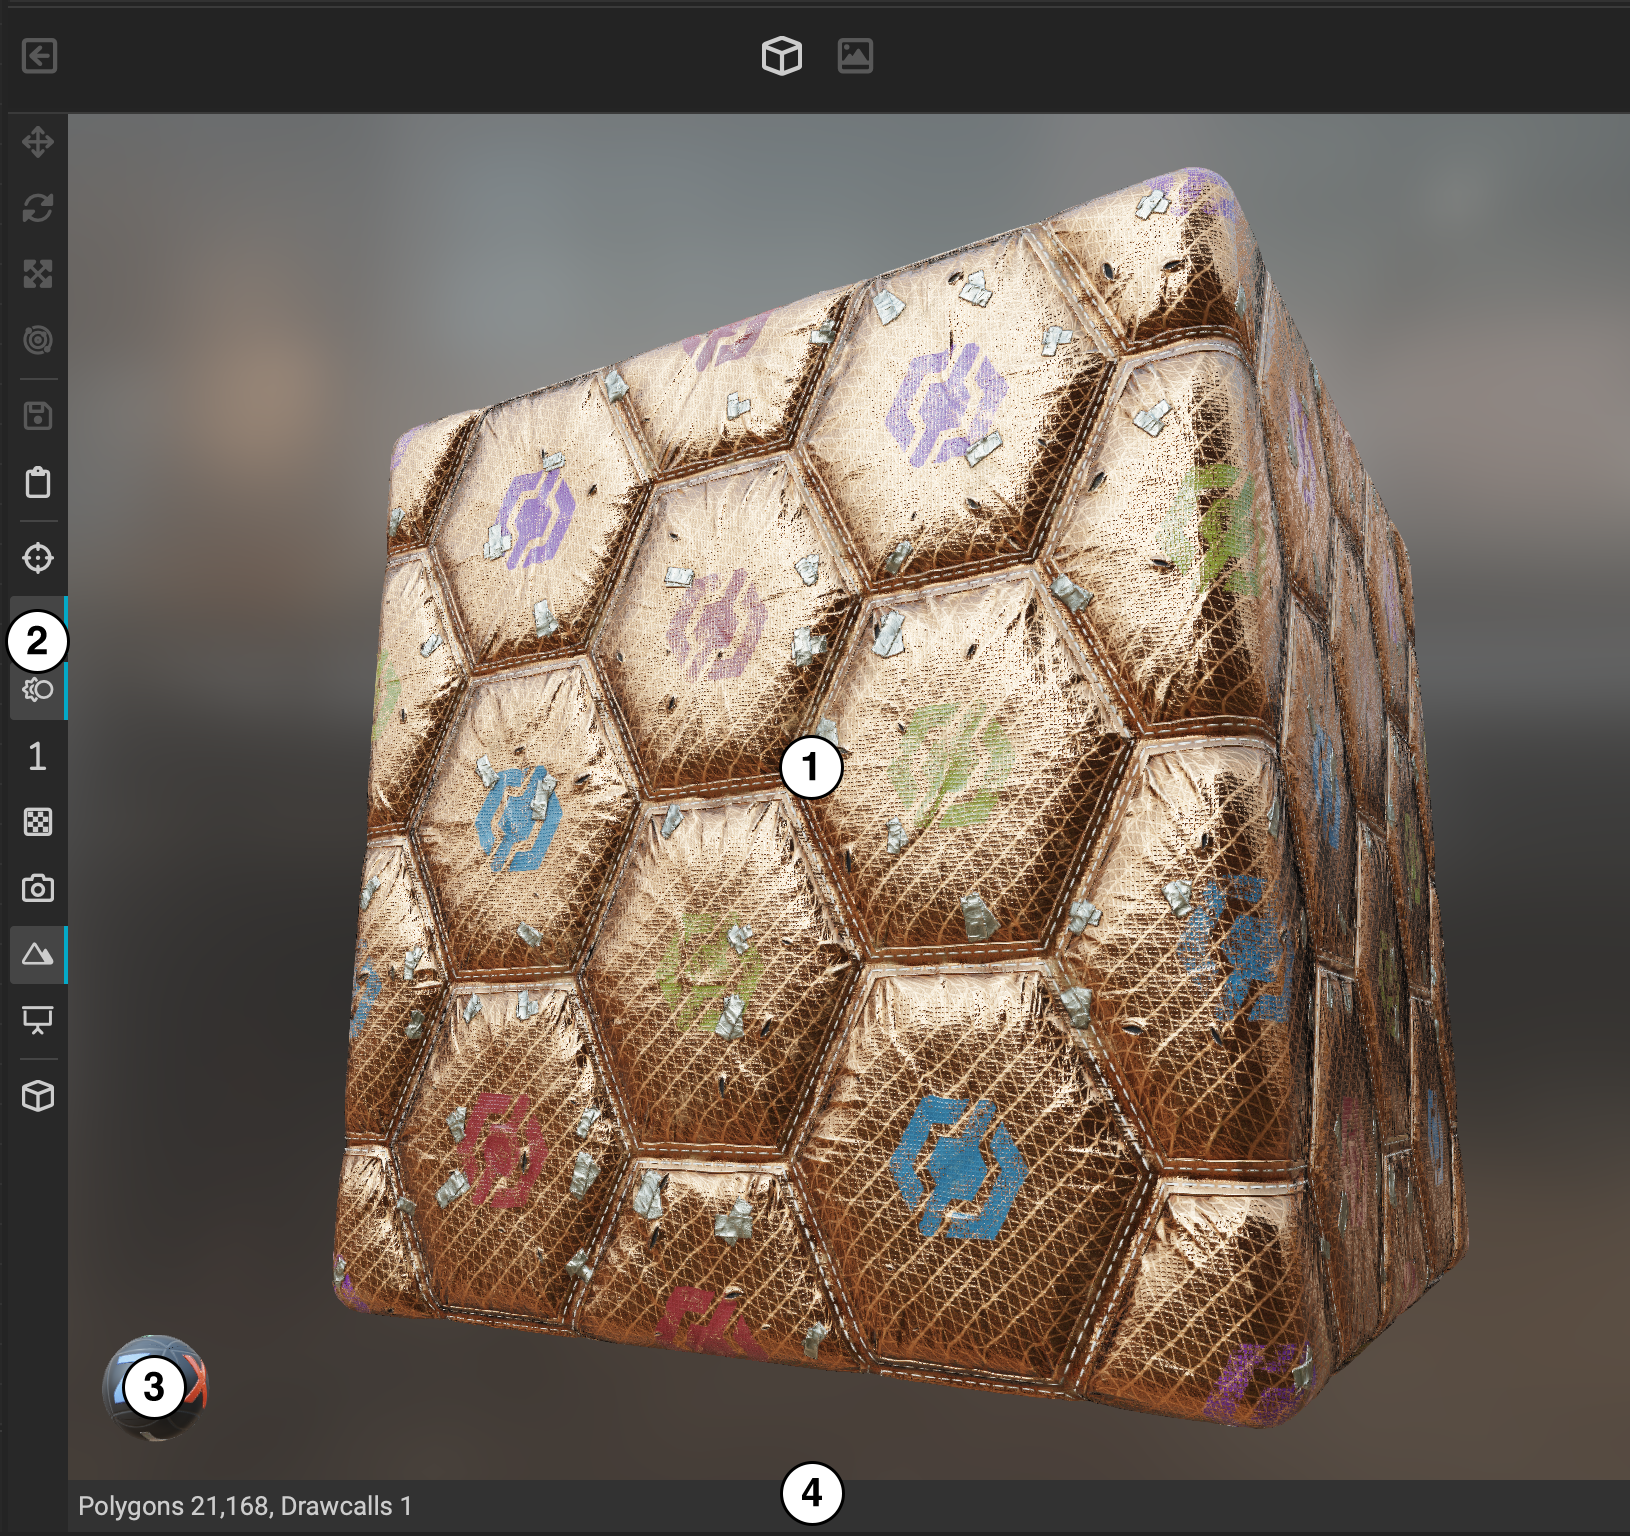
The Viewport is made up of four parts: The 3D view, toolbar, axis gizmo, and status bar.
¶ 3D View
The following is how to navigate in the Viewport:
- Orbit the camera around the scene: Hold the Alt/Option key, left click, and drag.
- Zoom or Dolly In on the mouse position: Use the scroll wheel or hold the Alt/Option key, right click, and drag up or down. This locks the camera's orbit pivot point on where the mouse was pointing on the object in the scene.
- Look Around in First Person mode: Right click and drag.
- Focus: Use the F key. This resets the view so that the entire scene fits the
Viewportarea and centers the orbit pivot point to the origin. - Fly Through the Scene: Use the arrow keys or hold the right mouse button and use the W, A, S, D.
- Rotate the Environment Image: Hold the Shift key, right click and drag.
¶ Toolbar
The Viewport contains a dedicated toolbar with the following actions:
- Translate: Sets the active
Viewportgizmo to translate the position of the selected mesh. Keyboard shortcut: W. - Rotate: Sets the active
Viewportgizmo to rotate the orientation of the selected mesh around its pivot point. Keyboard shortcut: E. - Scale: Sets the active
Viewportgizmo to scale the size of the selected mesh. Keyboard shortcut: R. - Gizmo Control: Displays a popup menu to select the active gizmo to control if there are multiple available. Additionally the Page Up and Page Down keys can be used to cycle through the available gizmos.
- Export Viewport Scene: Exports the scene in the
Viewportto disk. - Copy Image to Clipboard: Captures the current view to the clipboard.
- Focus Scene: Resets the view so that the entire scene fits within the viewing area. Keyboard shortcut: F.
 Toggle Wireframe Overlay: Toggle showing the wireframe over the mesh.
 Toggle Backfaces: Toggle showing backfaces.
- Toggle Vertex Displacement Mapping: Toggles displacement along the mesh's vertex normals. To adjust the
Displacement Factor, use the Viewport Settings panel underRender Settings. - Toggle Material Ambient Occlusion Intensity: Toggles the visibility of the Ambient Occlusion channel of the material loaded into the
Viewport. - Select Next Mesh UV Scale: Cycles through UV scale increments from 1 to 5. This is a quick way to see how a material will tile when loaded on a 3D object.
- Toggle Mip Mapping: Toggles mip mapping when rendering textures. By default, mip mapping is disabled in layering projects. To force enable, use the
Allow Mip Mapping in Layeringsetting in the Preferences panel under theLayeringtab. - Toggle Automatic Exposure: Automatically adjusts the exposure of the camera based on lighting changes.
- Toggle Environment: Toggles the visibility of the environment image. When the visibility is off, the scene is still illuminated by the image but is invisible to remove distractions.
- Choose Environment: Shows a popup to choose the environment image illuminating the scene.
- Load Mesh: Brings up the
Pick Meshpanel to load a mesh into theViewport.
Click the button above the toolbar to move the
Viewportand Image Viewer over to the right panel. To learn more about adjusting InstaMAT's UI, please read our dedicated article on Adjusting the Canvas UI Layout
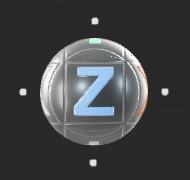
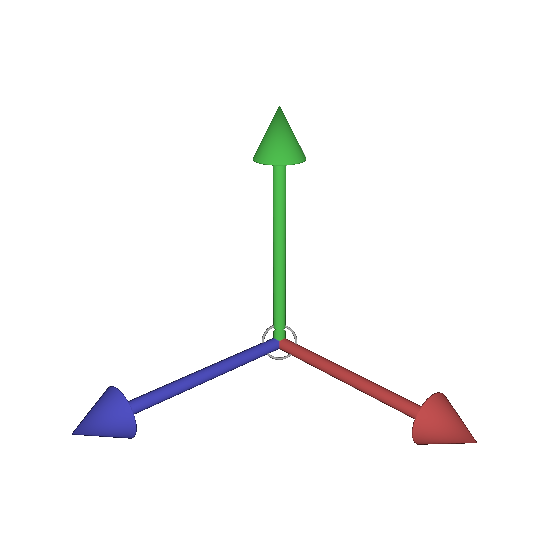
¶ Axis Gizmo
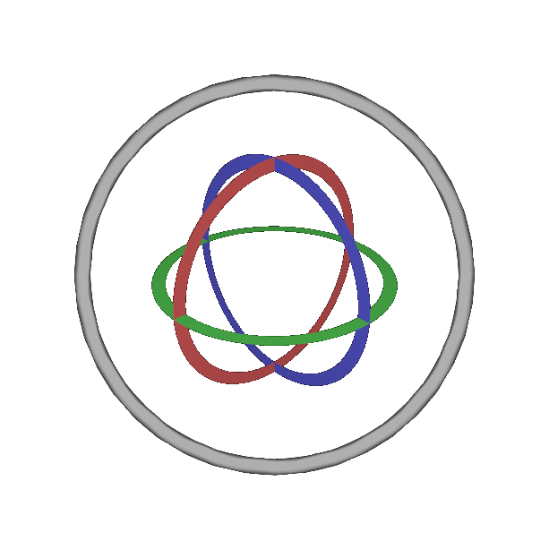
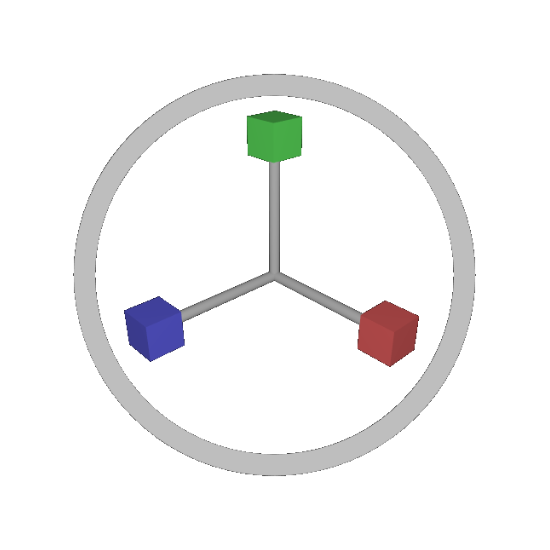
 The
The Axis Gizmo shows the world space orientation of the scene. Additionally, the gizmo also doubles as a reflection sphere for the Viewport's image-based environment lighting.
The following can be done with the Axis Gizmo:
- Orbit the Camera: Left click and drag the sphere.
- Snap to an Orthographic View: Hover over the gizmo and click on the dot corresponding to the orthographic view's axis.
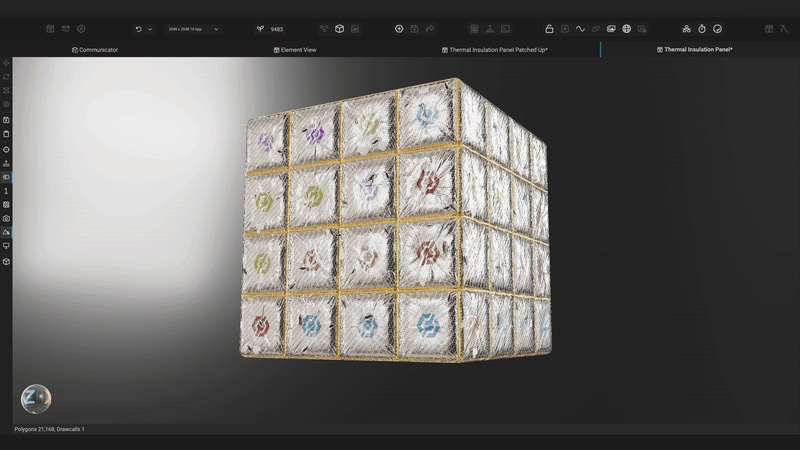
¶ Viewport Status Bar
The Viewport's status bar displays the total polygon and drawcall count for the scene.
¶ Manipulator Gizmos
InstaMAT Studio features gizmos to help move, rotate, and scale objects within the Viewport. The different gizmo types can be accessed by selecting the corresponding icons within the Viewport's toolbar or by using keyboard shortcuts.
| Move | Rotate | Scale |
|---|---|---|
 |
 |
 |
| W | E | R |
¶ Rotation Snapping
The rotation gizmo provides rotation angle snapping by holding down the Cmd/Ctrl key while rotating. This snaps the rotation to relative 15º increments based on the angle at which the modifier key was initially pressed.
¶ Loading Meshes and Assets
Here are some methods to load meshes into the Viewport:
- Double click a mesh in the Package Management panel.
- Bring up the Resource Picker panel by using the icon in the
Viewport'stoolbar or by pressing Cmd/Ctrl + T. - If a mesh has been dragged into the
Canvasview, either left click the node's mesh input/output connection point, or right click the node to bring up the contextual menu and selectView Mesh. - Select a node in the
Canvasand press V to view any available mesh outputs.
¶ Soloing Individual Channels
Individual texture channels can be soloed directly on the meshes in the current scene. Soloing channels makes it easy to visually understand the intensities and locations of particular material attributes such as the roughness or height displacement.
To solo and cycle through individual channels in the Viewport:
- Make sure the
Viewportis selected. - Press C. Continuing to press C will cycle through the available channels.
To return to PBR or "Material" mode, press M.
Alternatively, the
Solo Material Channelrender mode can be selected under theEnvironment Settingssection in the Viewport Settings panel.
¶ Maximize Viewport
To maximize the real estate of the Viewport in the Canvas interface, use the button in the Canvas Toolbar to shift it so that it takes up the center section of the UI. You can then maximize it further by hiding the left and right panel sections by clicking on their respective top tab icons.
To learn more about adjusting InstaMAT's UI, please read our dedicated article here.