The Image Viewer can be found in all of InstaMAT's project interfaces. When creating materials in the Canvas, the Image Viewer provides a closer look while building out each material map such as the Height, Roughness, and Base Color information. In layering projects, the Image Viewer provides a look at an asset's texture maps applied to the mesh's UV layout. In a Materialize Image project, the Image Viewer displays essential information for the construction and extraction of each material channel from the source image.
The Image Viewer has many useful built-in features such as rulers, tiling preview options, and individual channel soloing. The following article overviews the UI and some useful workflows.
¶ Interface Overview
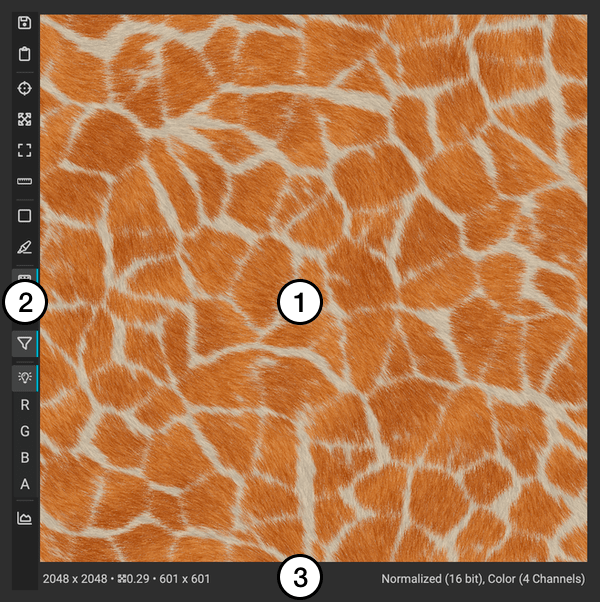
The Image Viewer is divided up into three parts: the image view, the toolbar, and the status bar.
¶ Image View
The following is how to navigate in the Image Viewer:
- Pan: Left click and drag.
- Zoom: Right click and drag up and down or use the scroll wheel.
- Focus: Press the F key. This fits the image into the
Image Viewer'sviewing area.
If neither of these options are working, check if the

Scale Image Automaticallyicon in theImage Viewer'stoolbar is disabled.
¶ Toolbar
The Image Viewer contains a dedicated toolbar with the following actions:
- Save Image: Saves the current image to disk.
- Copy Image to Clipboard: Copies the current image to the clipboard.
- Focus: Fits the image into the
Image Viewer'sviewing area. - 1:1 Scale: Automatically scales the image to a 1:1 scale.
- Scale Image Automatically: Automatically scales the image so that it fits the viewing area.
- Show Rulers: Toggles the rulers.
- Tiling Preview Mode: Previews how the loaded image tiles either in a grid or cross layout.
- Highlight Central Tile Border: Highlights the border of the central tile when using one of the tiling preview modes.
- Paint Checkerboard: Toggles a checkerboard background in areas of the image that have transparency in the Alpha channel.
- Show Pixel Grid: Displays a pixel grid when zoomed in to a level where pixels can be distinguished.
- Image Filtering: Enables bilinear filtering when magnifying the image.
- Tonemapping: Applies tonemapping to the image.
By default, the
Image Viewerautomatically togglesTonemappingbased on the colorspace of the loaded image. To disable this, use theAutomatic Tonemappingtoggle in Preferences under theInterfacetab in theImage Viewersection.
- Red Filter: Solos the red channel.
- Green Filter: Solos the green channel.
- Blue Filter: Solos the blue channel.
- Alpah Filter: Solos the alpha channel.
- Show Histogram: Displays the histogram for the image.
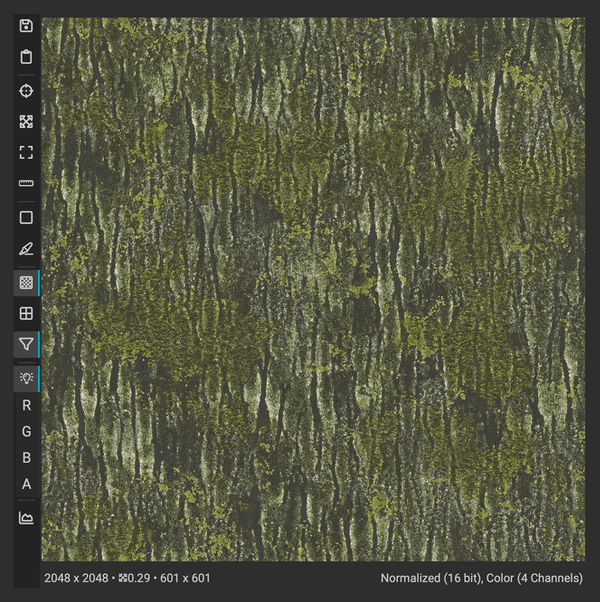
¶ Image Viewer Status Bar
The Image Viewer Status Bar displays information son the image's size, current viewing scale, format, and channels.

¶ Loading Images into the Image Viewer
There are a few ways to load an image into the Image Viewer:
- Double click an image in the Package Management panel.
- Right click a node in the
Canvasor graph output in the Graph Object Editor to bring up the contextual menu and chooseView Image. - Left click on an image input or output pin on a node in the
Canvas. - Select a node in the
Canvasand press V to view an available image output.
¶ Tabs
 Images can be loaded into multiple tabs. Tabs are displayed across the top of the
 Image Viewer.
To load an image into a new tab:
- Right click a node or graph output to bring up the contextual menu.
- Choose
View Image in New Tab.
Tabs can be reorderd by dragging and dropping them into their new position. To close a tab, hover over it and click the located in the right portion of the tab.
Using tabs is a great way to compare images. Duplicate an effect with alternative settings for its attributes and open the output in a new tab. Switch between the two tabs to compare the results.
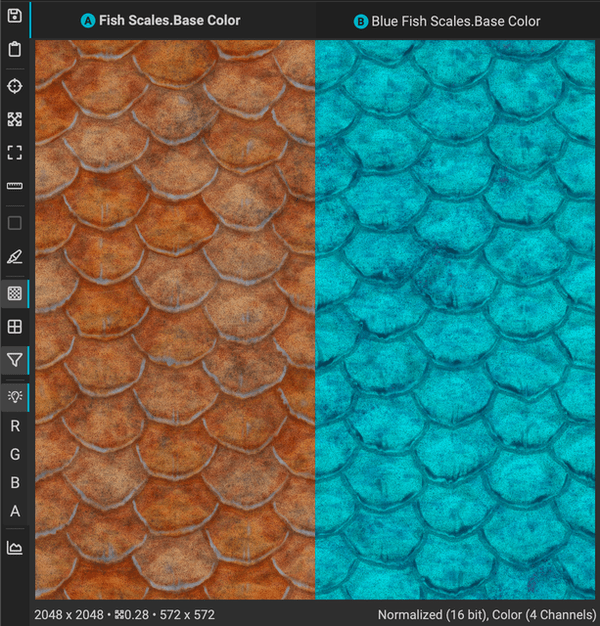
¶ A/B Testing
When using multiple tabs in the Image Viewer, it is possible to compare two images to perform A/B testing.
To compare two tabs:
- Right click an inactive tab to bring up a contextual menu.
- Select
Compare to current tab.
The letters A and B will be shown next to the title of the two comparing tabs. Select one of the two tabs to determine which tab is considered A. Drag the center dividing line to reveal different portions of the image.
To disable A/B testing, right click one of the two comparing tabs, and select Stop comparing from the contextual memu.
¶ Previewing Image Tiling
The Image Viewer provides built-in features to preview how an image tiles. To preview the tiling of an image, click the (Tiling Preview Mode) icon in the Image Viewer's toolbar. The tiling can be displayed in a grid or a cross layout. To identify the seams of the image, click the (Highlight Central Tile Border) icon.
To disable the tiling preview, click the Tiling Preview Mode icon again and choose the (No Tiling) option.
¶ Channel Soloing
Many pipelines support "Channel Packing" or the packing of multiple pieces of information into one image output to optimize resources and performance. InstaMAT Studio's library contains nodes to extract and pack values into the red, green, and blue channels of an image such as Channel Compose or Channel Split.
For example, a material's Roughness, Metalness, and Ambient Occlusion channels could be packed into one output like the following:
| Image Channel | Material Map Information |
|---|---|
| Red | Roughness |
| Green | Metalness |
| Blue | Ambient Occlusion |
The Image Viewer makes it easy to solo each individual color channel of the active image by utilizing the R, G, B, and A buttons in the Image Viewer's toolbar.
Another way to pack outputs into particular color channels of a single image output is with InstaMAT Studio's
Image and Data Output Exportdialog. To learn more, please read our dedicated article here.