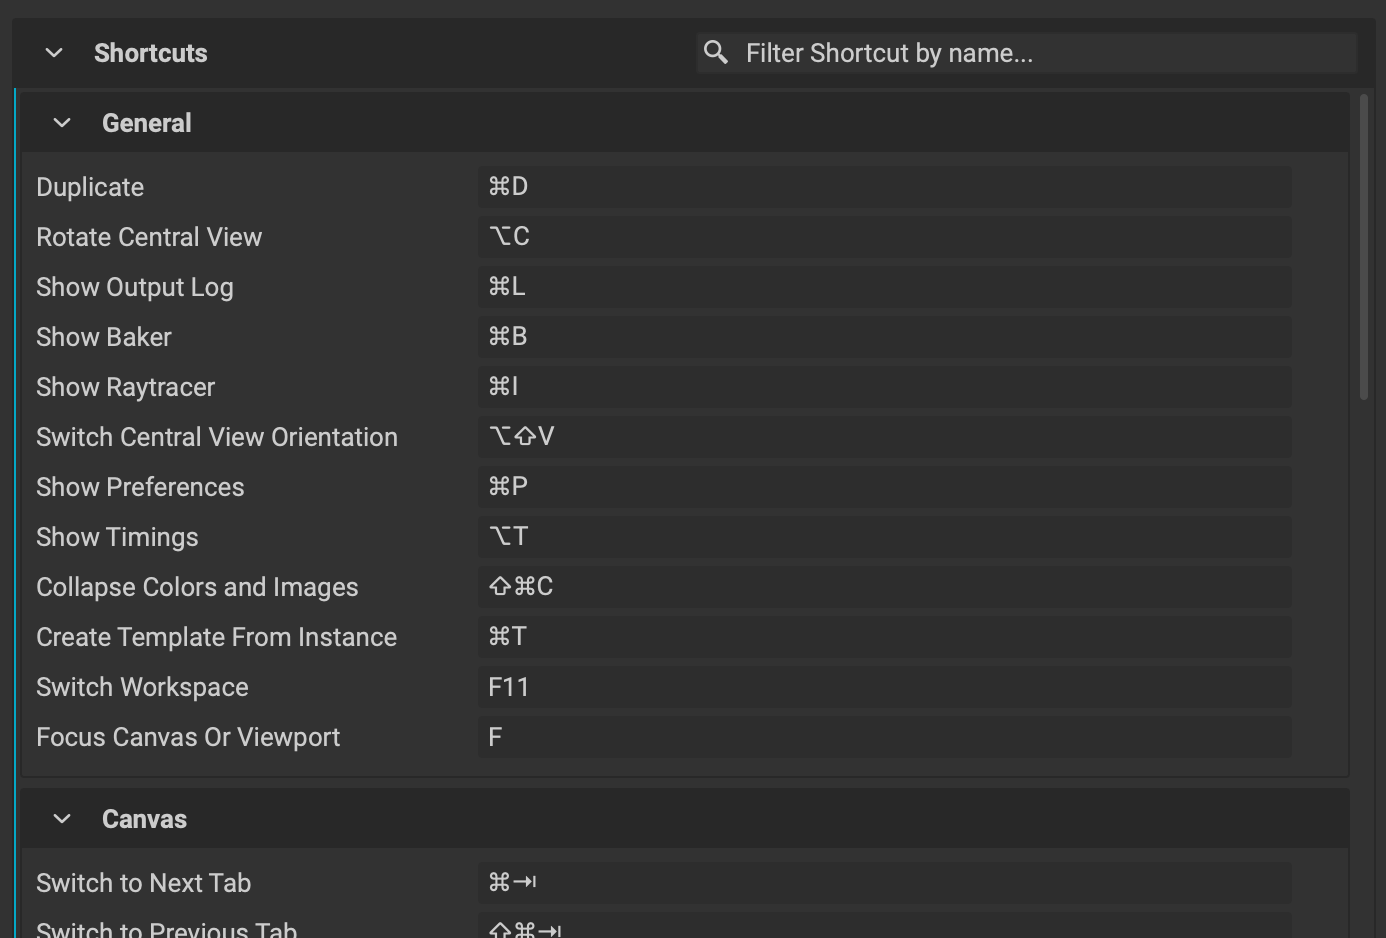
The Preferences panel is divided into tabs for different areas of the application and project types. Additionally, keyboard shortcuts can be referenced and assigned for application operations, Favorites, and node Quick Actions in this panel. It is recommended to overview each of these settings to better understand how InstaMAT Studio operates and how it can be tailored to your workflow.
To reset any of the settings to their defaults, click the icon next to the respective setting.
¶ Accessing the Preferences Panel
The Preferences panel can be accessed from the appropriate menu based on the computer's platform.
| Platform | Menu Location |
|---|---|
| macOS | InstaMAT > Preferences |
| Windows | Edit > Preferences |
Additionally, the panel can be opened with the keyboard shortcut Cmd/Ctrl + , (comma).
¶ Interface Overview
The following overviews each tab and the subsequent settings within them.
¶ Application
These settings apply to the general application.
¶ User Paths
This area allows the user to provide multiple paths for InstaMAT's User Library. Directories listed here will be organized with InstaMAT's folder structure.

Projects and resources in packages (.IMP files) placed in the
/Librarysubdirectory will be accessible within InstaMAT Studio through the MAT Library, Quick Search, and the Resource Picker panel.
¶ Application
- Auto-Save: Enables, disables, and sets the duration for when the project and package is automatically saved.
- Maximum Execution Size: Limits the execution size in the UI to prevent accidentally enabling high resolutions that could cause issues with the GPU. Here you can enable 8k and even 16k resolution.
- Automatic Preview Generation: Enables automatic preview generation if a cached thumbnail is not available.
- Reset Warnings: Enable to reset warnings that you did not want show again. NOTE: Does not require an application restart.
- Reset Preferences and Settings: Reset the application preferences and settings on the next restart.
- Start Rendering On Idle Mouse Only: Execute rendering only if the mouse is idling.
Auto-Saved packages are found in the
/AutoSavedirectory commonly found in the~/Documents/InstaMAT Studiofolder. If a disruption to InstaMAT Studio occurs, an auto-saved package can be restored upon relaunch.
¶ Interface
These settings apply to the application's interface.
¶ General
- Language: The language of the user interface.
- User Interface Scale: Specifies an additional scale factor for the user interface.
- Wheel Scrolling Mode: Determines the behavior of some UI elements and widgets when interacting with the scroll wheel.
- Reset Button Policy: Determines the behavior of the button in the Graph Object Editor when resetting a parameter back to its default value. The button can be set to
Always Showwhen a change has been made, orShow When Hovered. - Show Welcome Screen: Toggles, showing the
Welcome Screenupon application startup. - Show Contextual Help: Toggles displaying extra help and information on how certain controls can be used. This information is displayed in the status bar along the bottom of the application.
- Automatic Preview Generation: Enables automatic preview generation if a cached thumbnail is not available.
¶ Image Viewer
- Automatic Tonemapping: Toggles automatically turning on tonemapping in the Image Viewer. This is determined based on the color space of the previewed output.
¶ Shortcuts
This tab is where all of InstaMAT Studio's shortcut hotkeys can be referenced and set. Shortcuts can be filtered using the dedicated search bar at the top of the tab.

To set a shortcut:
- Find or search for the desired action or node.
- Click the entry field next to the shortcut's name.
- Enter the desired key combination.
A dialog will appear if a key combination is already in use. To reset a shortcut to its default, click the icon. Once a shortcut is assigned or adjusted, the application will need to restart in order for it to come into effect.
Shortcuts are broken down into categories for the general application, Canvas and layering interfaces, Viewport, Favorites and Quick Actions.
¶ Favorites
Assigning a hotkey to a favorited node automatically instances it in the Canvas.
¶ Quick Actions
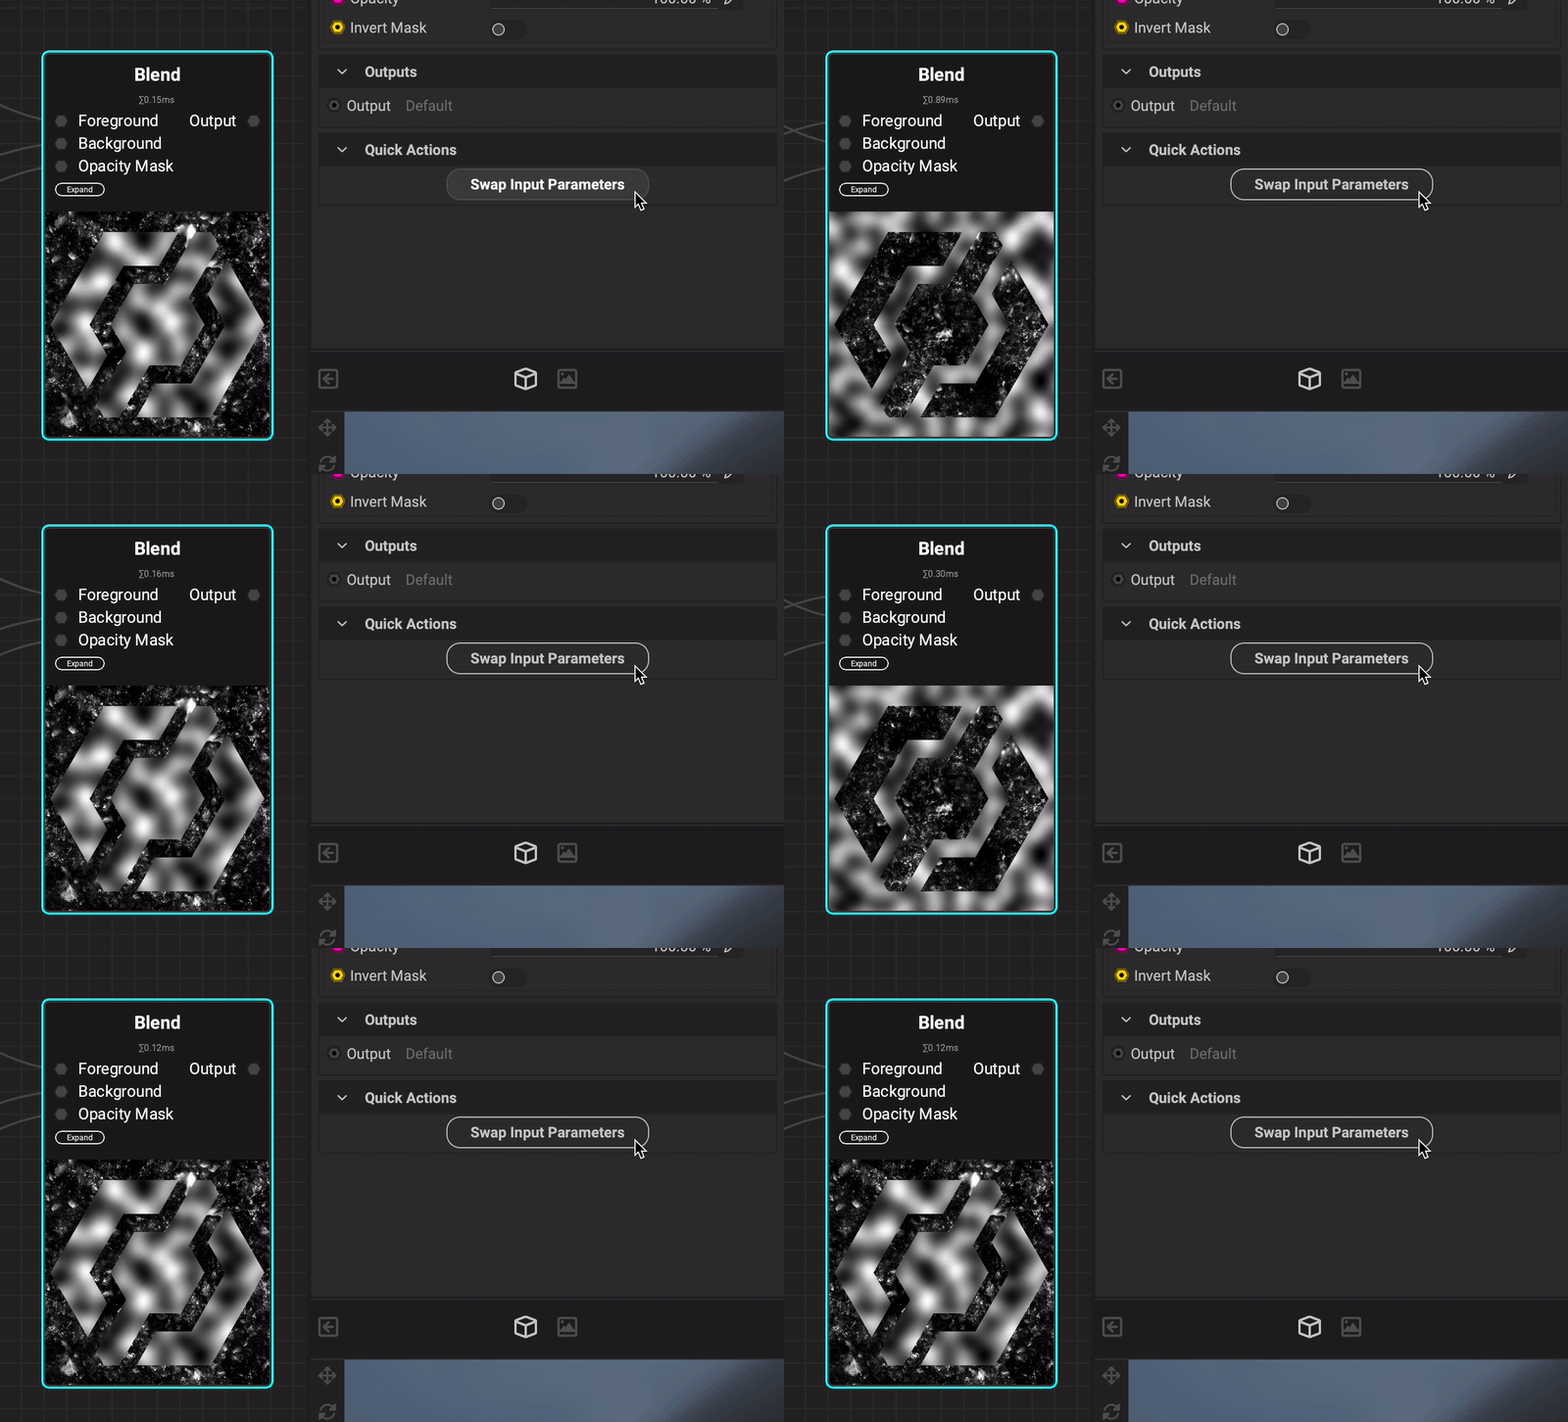
Some nodes such as the Blend node have what are called quick actions. These are useful actions associated with that particular node. In the case of the Blend node, a quick action can be performed to swap the Foreground and Background input connections.

To assign a shortcut to a quick action:
- Click on the node with an available quick action in the
Canvas. - Open the
Preferencespanel and choose theShortcutstab. - Scroll to the bottom to find
Quick Actionsthat can receive an assigned shortcut. - Click the entry field next to the shortcut's name.
- Enter the desired key combination.
¶ Advanced
These settings are for advanced features and functions.
- Show Advanced Features: Shows advanced features in InstaMAT Studio's UI.
- Library Objects: Shows advanced nodes in the MAT Library. These nodes appear with a in the top left corner when instanced in a graph.
- Parameters: Shows advanced parameters in the Graph Object Editor andGraph Variable Editor.
- Output Log Line Count: Limits the line count in the Output Log.
- Allow GPU Use for Neural Nodes: Determines if AI-based nodes can use the GPU or if they are executed on the CPU only.
¶ Canvas
These settings apply to the Canvas interface. Many of these settings also have Canvas Toolbar button counterparts.
- Canvas Update Time Delay Mode: Determines the rendering priority of the Image Viewer versus the
Canvasview's thumbanail previews. Increasing the speed will result in faster thumbnail generation. A slower speed will prioritize theImage Viewer. - Connection Rendering Mode: Determines the style in which connections are drawn in the
Canvas. - Mouse Wheel Behavior: Determines how the
Canvasreacts to scrolling the mouse wheel. - Mouse Drag Zoom Speed: Determines the speed at which the
Canvaswill zoom when right clicking and dragging. - Graph Double-Click Behavior: Determines the behavior when double clicking a node in the
Canvas. The action can result in opening the graph or previewing its output. - Local Variable Double-Click Behavior: Controls how the application reacts upon double-clicking a local variable in the
Canvas. - Arithmetic Font Size: Adjusts the font size for expression elements.
- Arithmetic Row View: Determines which representation to use for expression elements - row or column.
- Automatically Render Graph: Enables the graph to automatically render if a change is made.
- Automatically Switch Grayscale Modes: When enabled, a node in the
Canvascan automatically switch between grayscale and color information when connected to a graph input - Flash Rendered Entities: When enabled, nodes that are executed will flash with a yellow outline. This helps to visually determine which section of the graph is being utilized when changes are being made.
- Node Preview Images: Toggles the
Canvasview's thumbnail previews. - Visualize Constants: Displays a popup visualization of disconnected input values on nodes in the
Canvas. - Render Unconnected Nodes: When disabled, nodes that are disconnected from a graph output are not rendered. Useful when optimizing a graph to only execute nodes that are actively used.
- Show Node Performance Profile: Toggles the execution timings which are visible on both the
Canvasview's background and on individual nodes. - Collapse Colors and Images: Represents constant colors and images in the
Canvaswith a smaller form factor. - Anti-Aliasing: Performs Anti-Aliasing when rendering in the
Canvas. This action requires the application to restart. - Auto-Scrolling: Enables automatic scrolling when dragging a node close to a border of the
Canvasgraph view. - Show Materials in Quick Seaerch: Lists objects in the "Materials" and "LayerMaterials" categories in Quick Search.
- Show Snapshot Settings: Shows the
Snapshot Settingsdialog first when taking a snaptshot of theCanvasview. - Lock Comments: Locks and unlocks all comments in the
Canvas. - Gray Out Incompatible Pins: Gray out incompatible Pins in the
Canvas. - Show Minimap: Enables the Minimap.
- Minimap Position: Determines which corner of the
CanvastheMinimapwill appear. - Minimap Opacity: Sets the visual opacity of the
Minimap.
A Canvas Snapshot is an image of the
Canvas'sgraph layout. To take a Canvas Snapshot, go toCanvas > Canvas Snapshotin the Main Menu.
¶ Layering
These settings apply to the layering interface.
- Hide Brush Preview for Hovering Pen: Hides the Brush Preview when painting. This is useful when using an input device that does not have "hover" capabilities.
- Allow Mip Mapping in Layering: Allows mip mapping in layering projects. By default, mip mapping is disabled to improve performance.
¶ Viewport
This tab displays information on the computer's GPU.
