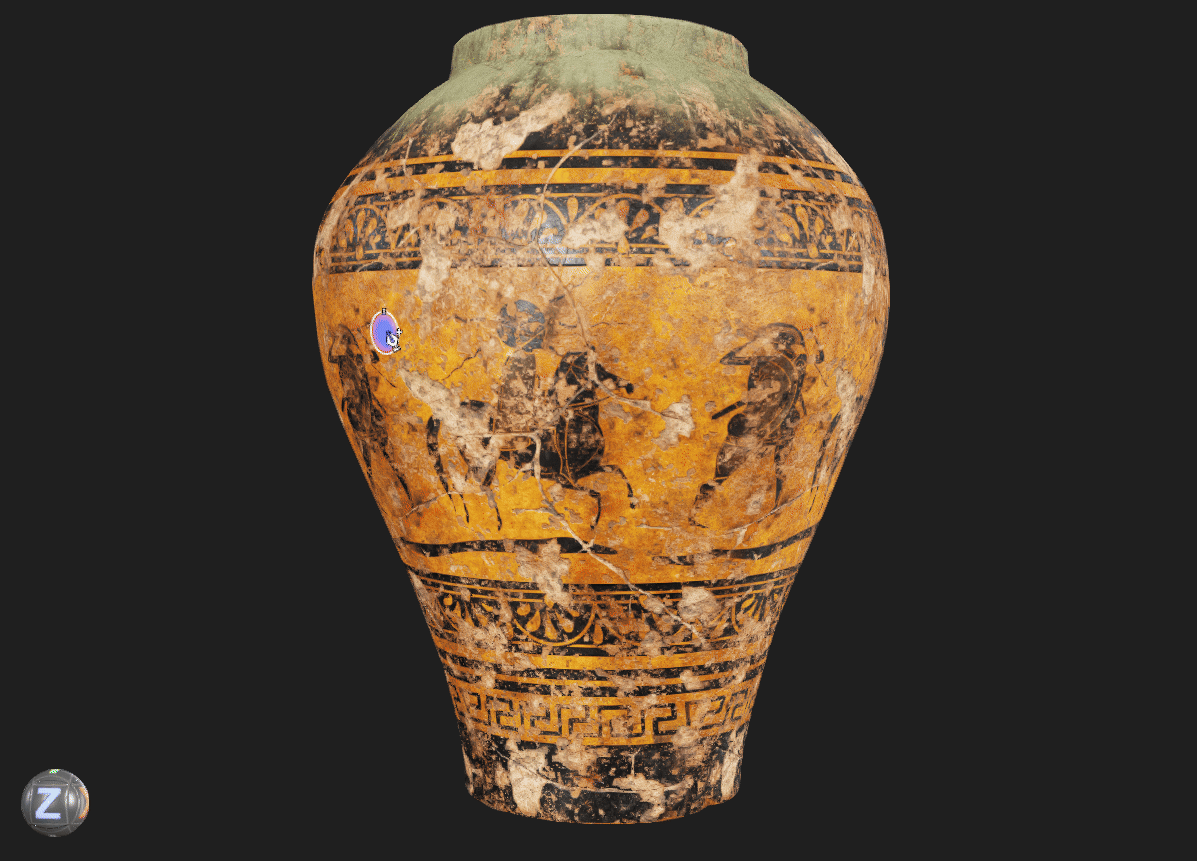
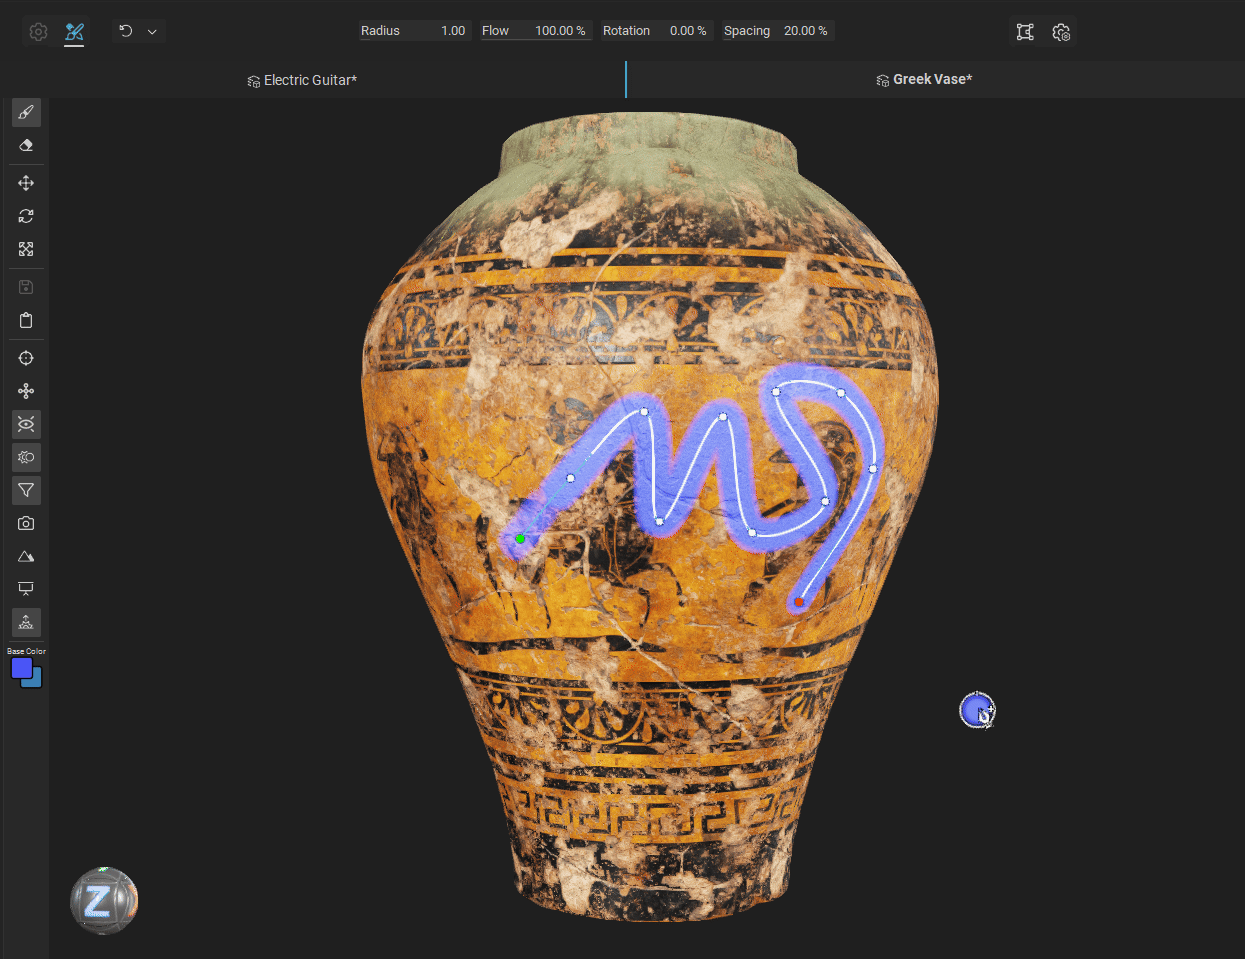
Curve brushes let you draw editable curve paths directly onto a 3D model's surface and apply brush-based paint strokes along those paths. They're a precise, repeatable, non-destructive tool that enhance the painting experience when texturing 3D assets in InstaMAT Studio's Asset Texturing project type.
¶ Creating a Curves Brush Layer
 To create a curve, a curves brush layer must be created. To create a curves brush layer:
- Click the
Add Layerbutton located below the Layer Stack. - From the popup menu, select either a
Curves Multi-Channel Brushor aCurves Element Brush.
 Once added, the curves brush layer will appear in the
 Layer Stack. With the layer selected, you can begin adding curves directly onto the mesh by clicking on it in the Viewport.
¶ Curve Brush Layer Types
There are two types of curve brush layers in InstaMAT: Curves Multi-Channel Brushes and Curves Element Brushes.
¶ Curves Multi-Channel Brush Layers
Curves Multi-Channel Brush layers provide increased control over the texture information that is applied when painting curves. With the Layer Channels panel, curves can be configured to paint with any of the available channels in the Asset Texturing project.
Each channel can be configured with an element, color, image, or reference and has its own Blend Opacity and Blend Mode. Channels can be disabled for the curve layer with the disable button.
To quickly set the
Blend OpacityorBlend Modefor all channels at the same time, hold Alt/Option while adjusting one of the channels.
¶ Curves Element Brush Layers
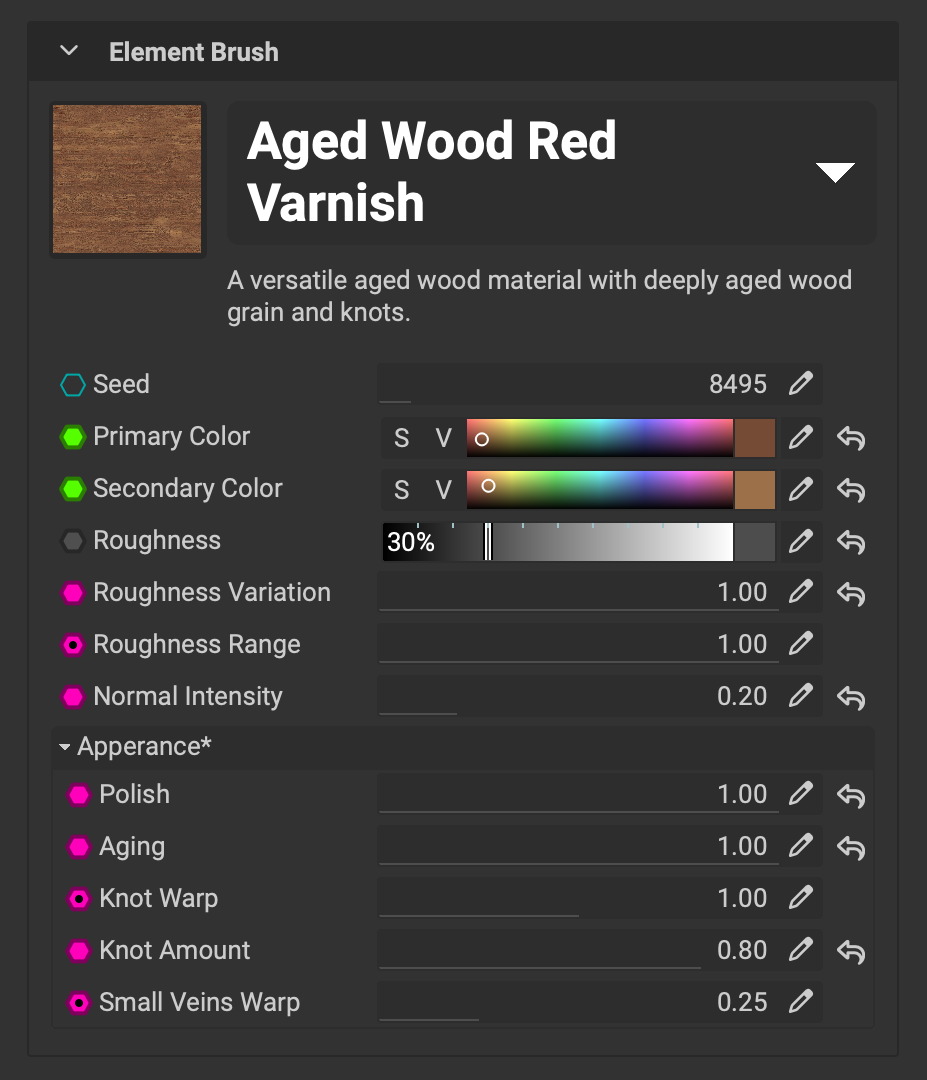
Curves Element Brush layers simplify the process of applying full material information when texturing by directly mapping the outputs of an element to the channels for the curves brush. The Layer Channels panel displays all dynamic parameters for the loaded element, making it easy to configure a material while painting curves.
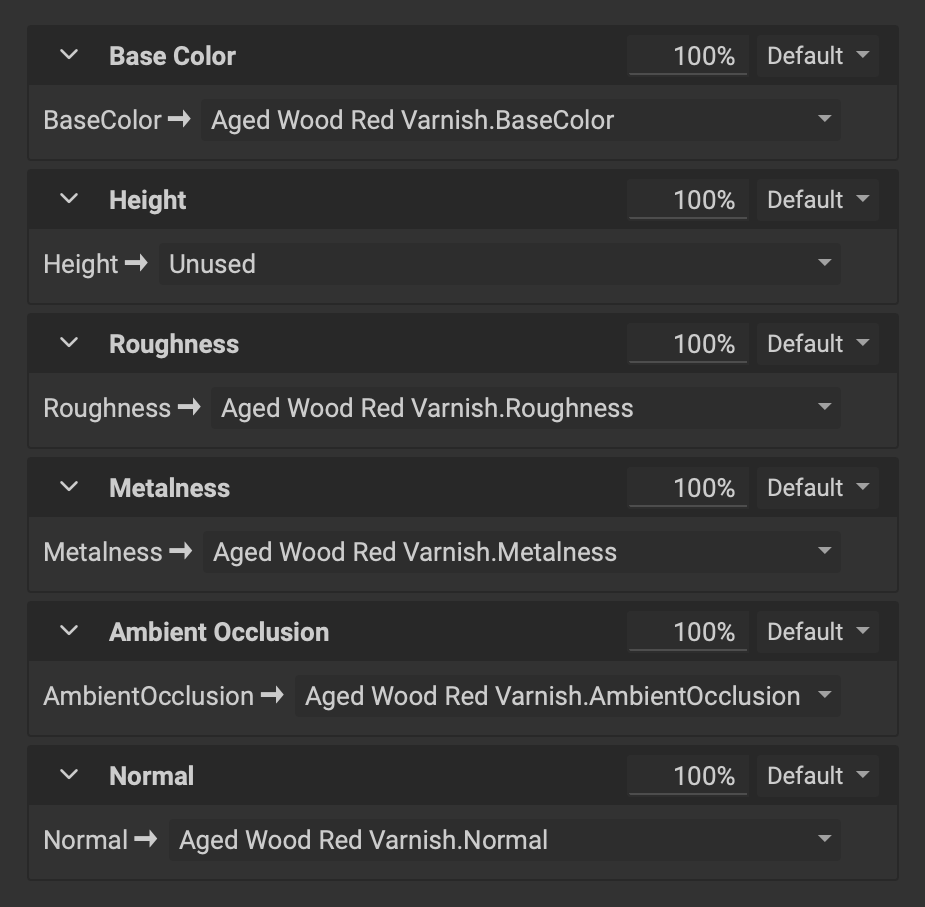 Each output of the loaded element can be mapped to a particular channel for the curves brush.
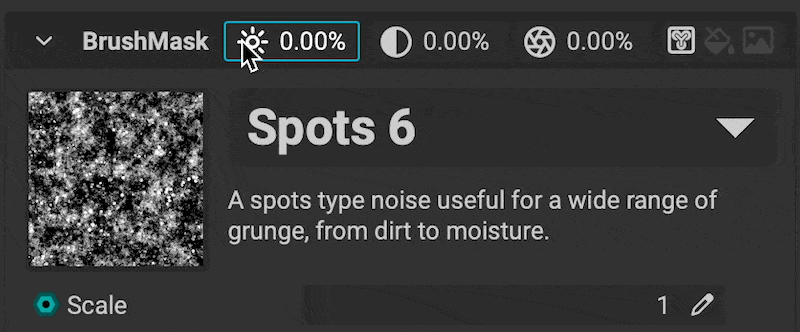
¶ Configuring the Brush Mask
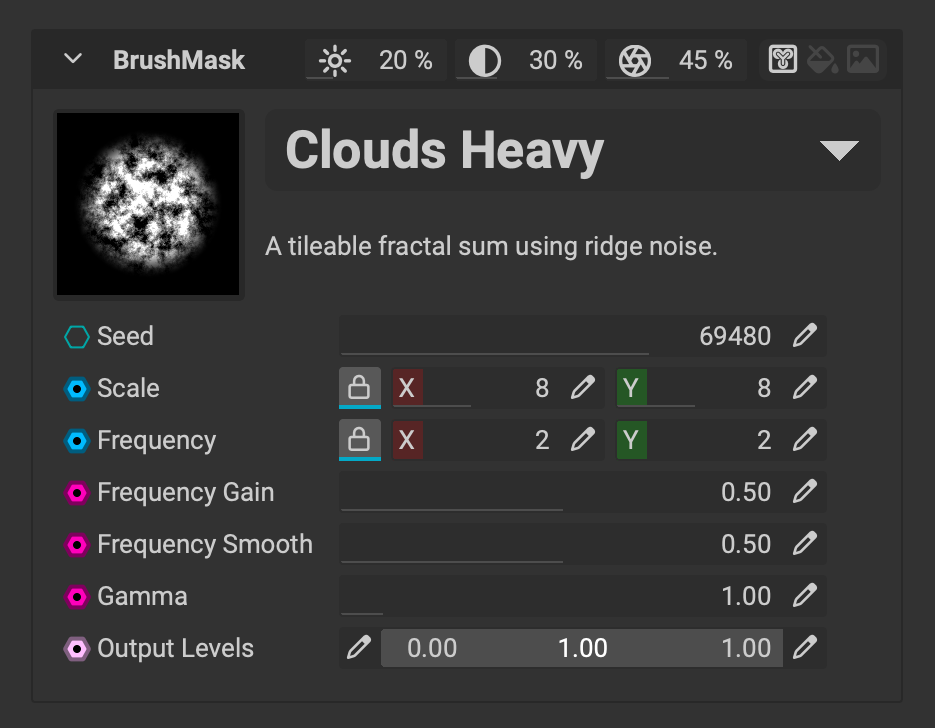 The brush mask determines where texture information is applied for each paint stroke along the curve. A brush mask can be assigned using an element, grayscale value, or an image.
When using an element as a brush mask, the element's dynamic parameters appear for quick configuration to dial in the mask.
 The brush mask's
 Brightness, Contrast, and Vignette can quickly be adjusted from the dedicated widgets in the title bar of the Brush Mask settings.
¶ Brush Properties
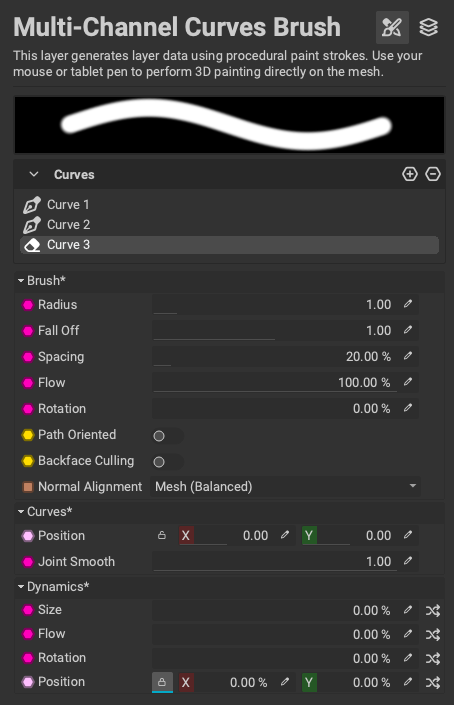 The Brush Properties panel provides access to settings for the selected curves brush layer, including radius, spacing, and flow, as well as brush dynamics settings that add variation to paint strokes. Use this panel to configure the brush's behavior when applying strokes along the curve and to activate painting settings such as
 Path Oriented and Backface Culling. Because curves are applied procedurally, you can adjust brush properties after creating a curve. Any changes will automatically update in the viewport.
Curves provide additional brush settings such as the ability to offset the Position of the strokes along the curve as well as the ability to control the smoothness between all curve points with Joint Smooth.
¶ Brush Property Hotkeys
The radius, flow, and rotation of a curves brush can be controlled directly in the 3D Viewport with the following keyboard shortcuts:
- Radius: Cmd/Ctrl + Left-click and drag
- Flow: Cmd/Ctrl + Right-click and drag
- Rotation: Cmd/Ctrl + Shift + Left-click and drag
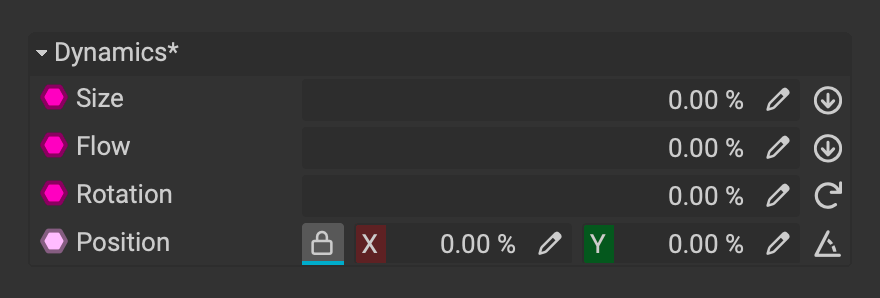
¶ Brush Dynamics
InstaMAT's brush Dynamics settings can randomize brush properties along a curve to create realistic variation and stylization effects. Increase the slider percentage to adjust the influence of the randomization.
¶ Global and Per-Point Brush Properties
 Curves have global brush properties that initially apply to all curve points in the curve. Curves also support per-point property adjustments. To control the brush properties of a singular point in the curve, click on the curve point and then adjust the settings in the
 Brush Properties panel. To resume adjusting a curve's global properties, click on a segment of the curve between two curve points to select it.
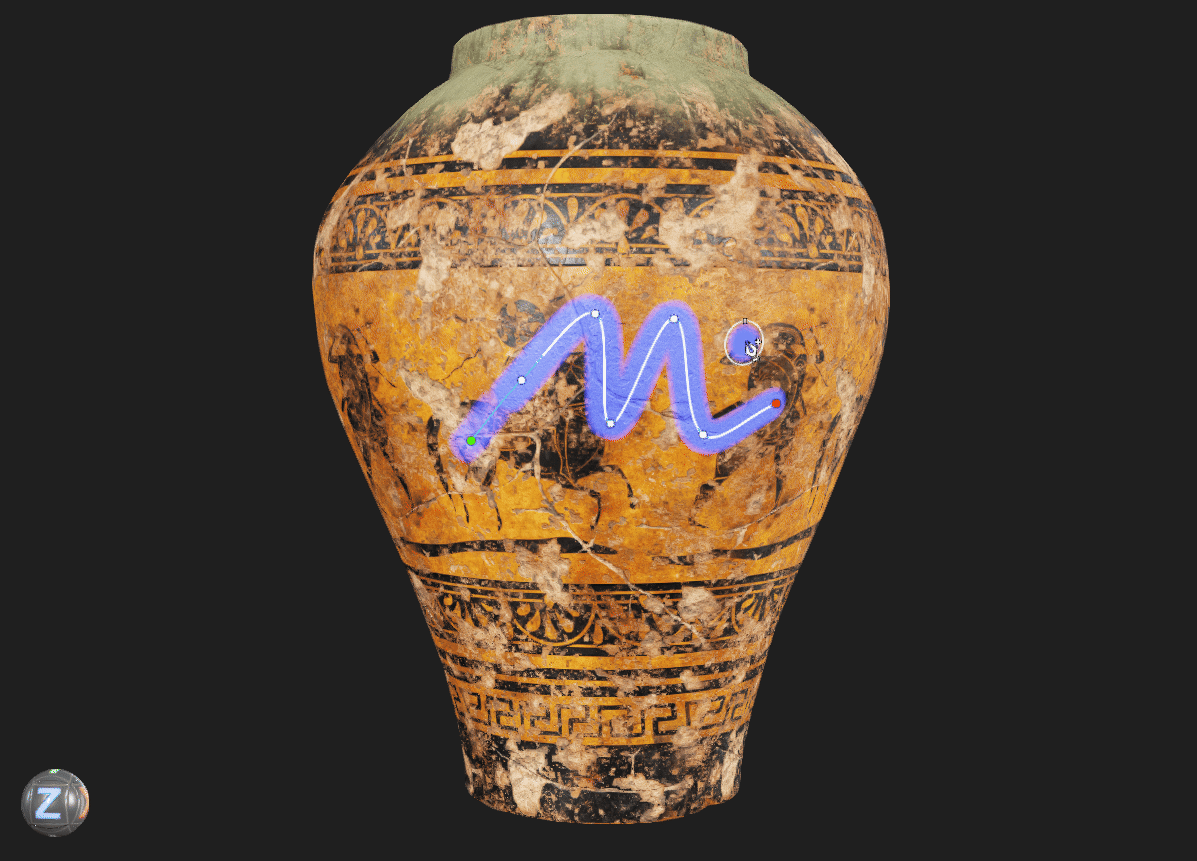
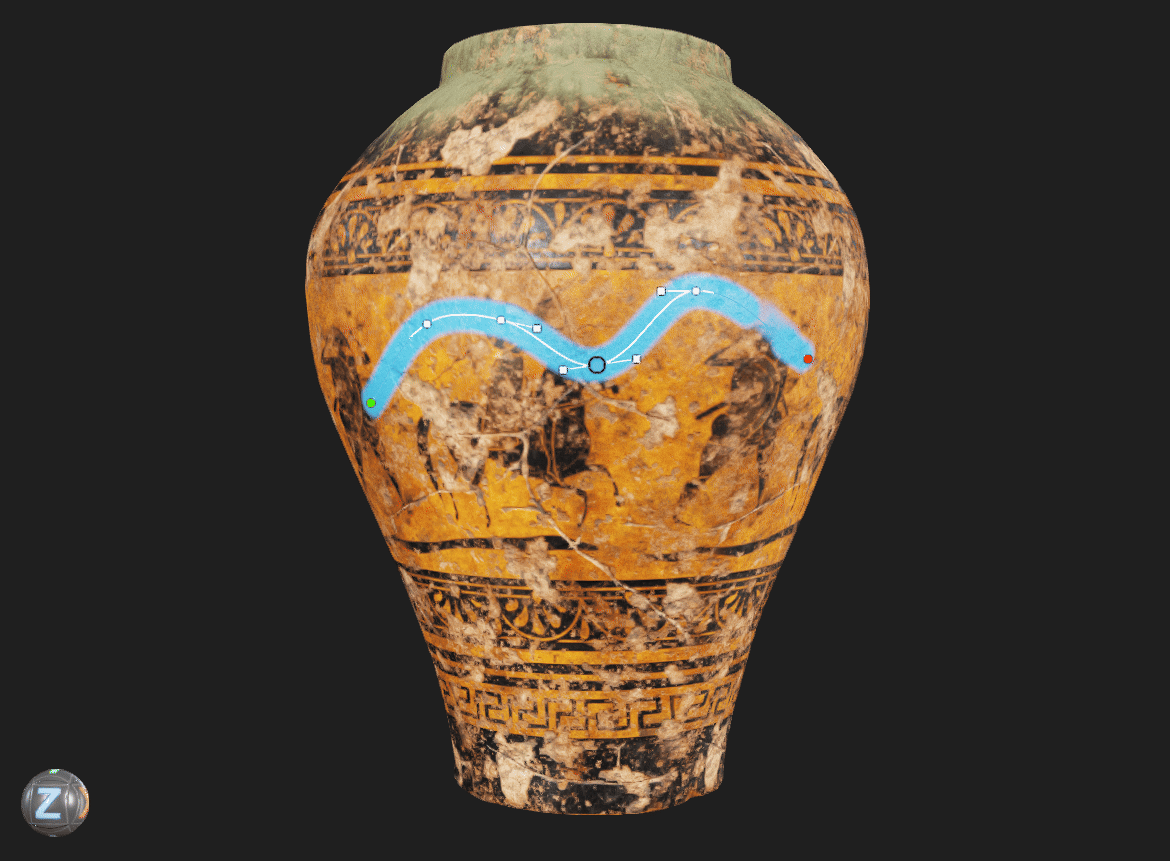
¶ Editing a Curve
Curves brushes are fully procedural, so you can adjust them at any time after creation. The following section explains how to manipulate curves after they've been created.
¶ Moving Curve Points
 Left-click and drag curve points in the
 Viewport to adjust the path of the curve.
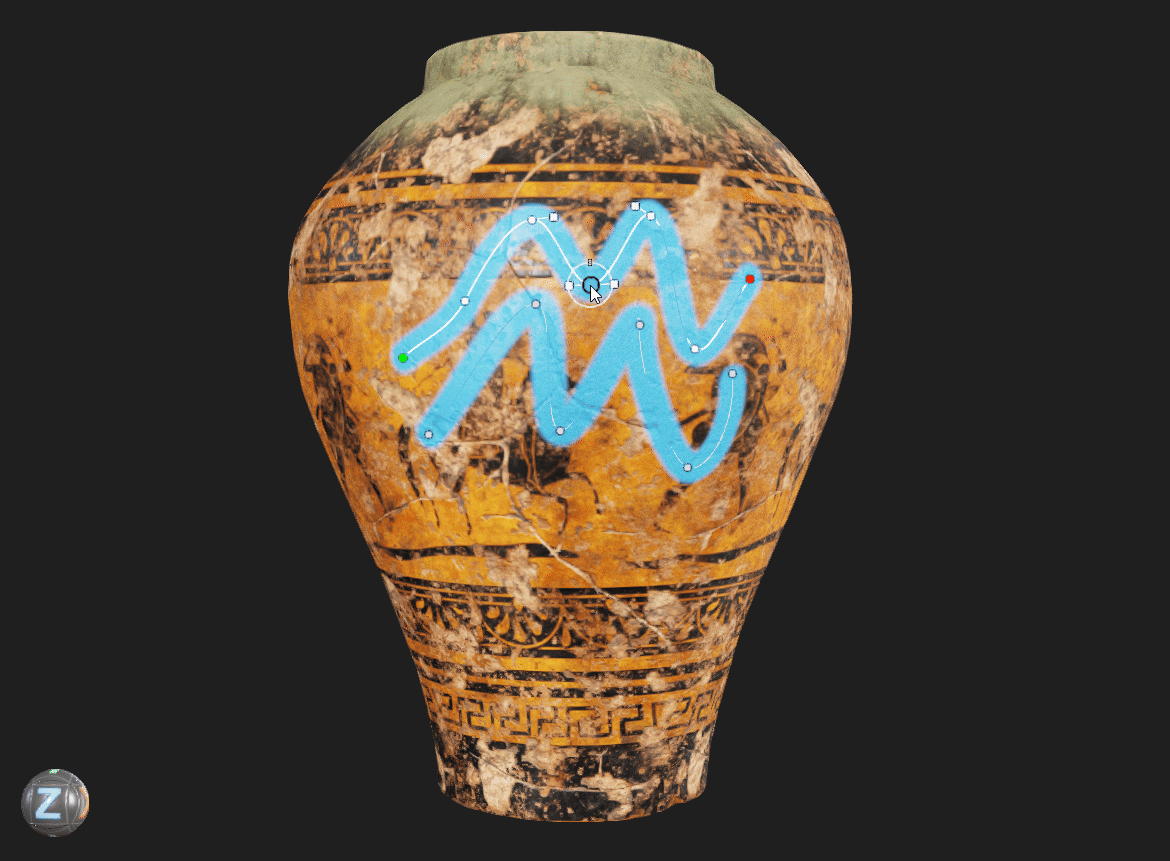
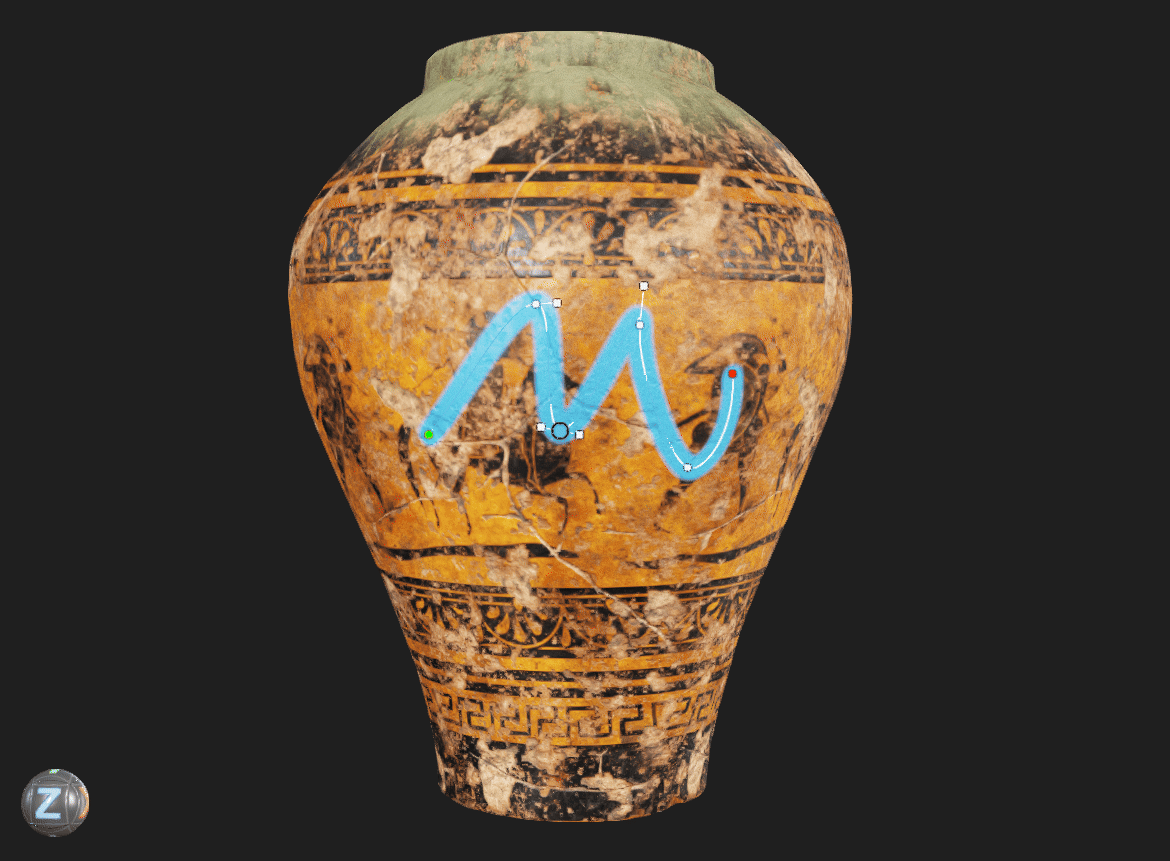
¶ Inserting New Curve Points
 If a curve is selected, left-click on an existing curve segment to insert a point. A curve point preview is shown while hovering over the path for precise placement.
Curve Point Insertion Modes: InstaMAT provides two curve point insertion modes that can be configured with the curves settings menu available in the painting toolbar at the top of the main window. By default, it is set to
Left Mouse Button. This mode provides the insertion point preview mentioned above. Alternatively, there is an option to insert curve points with theRight Mouse Buttonmode.
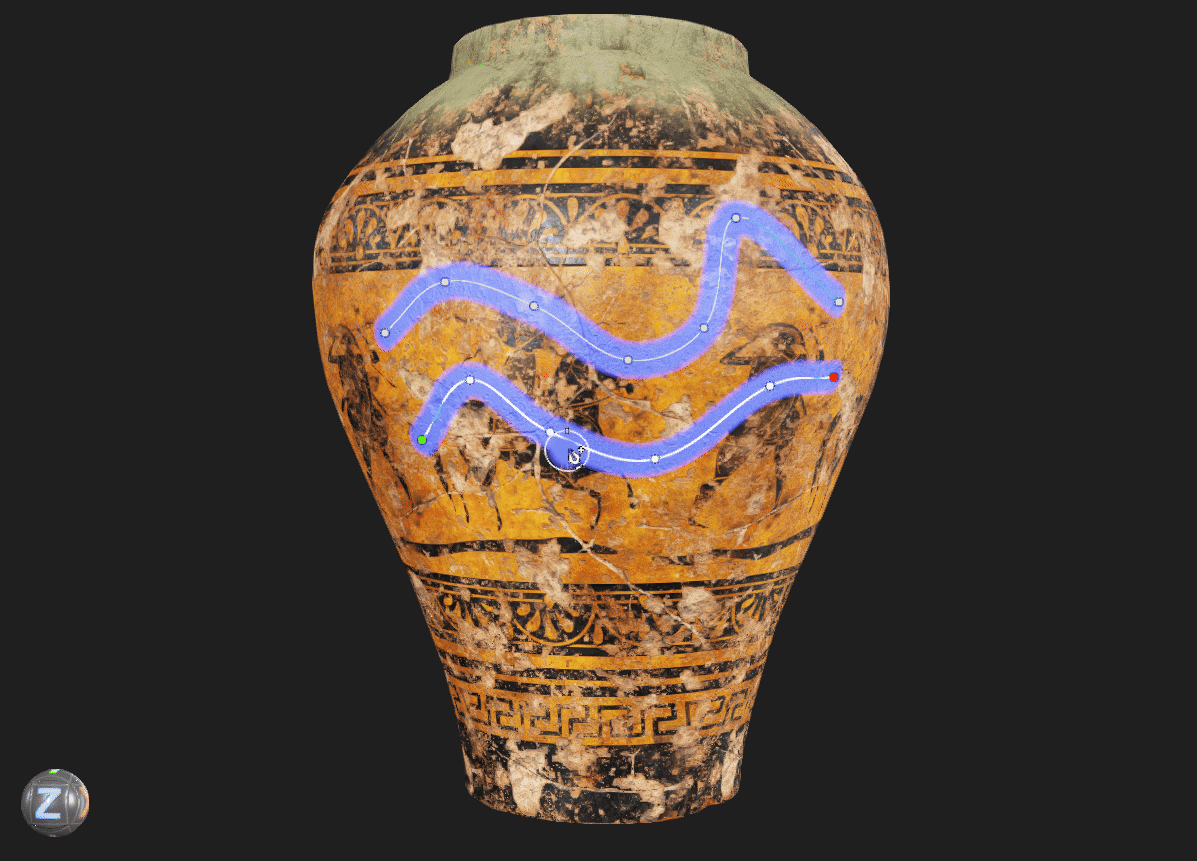
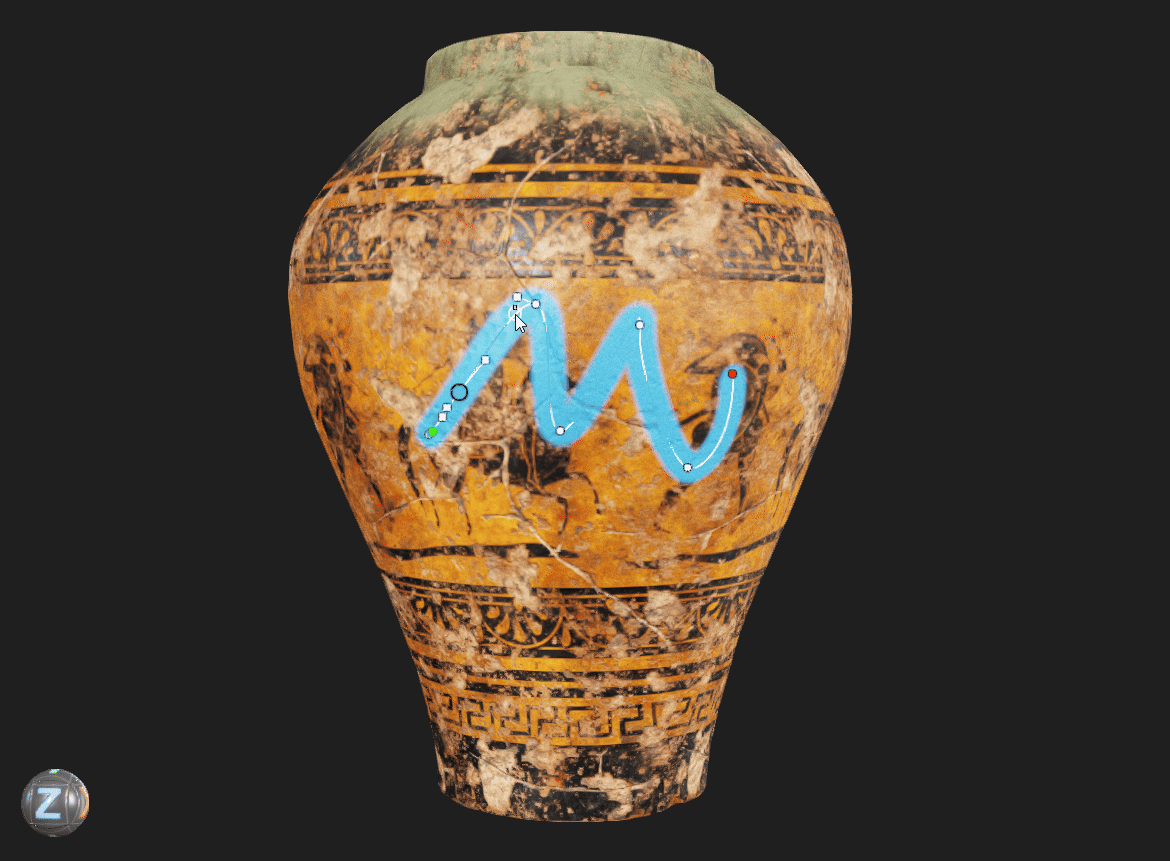
¶ Continue an Existing Curve
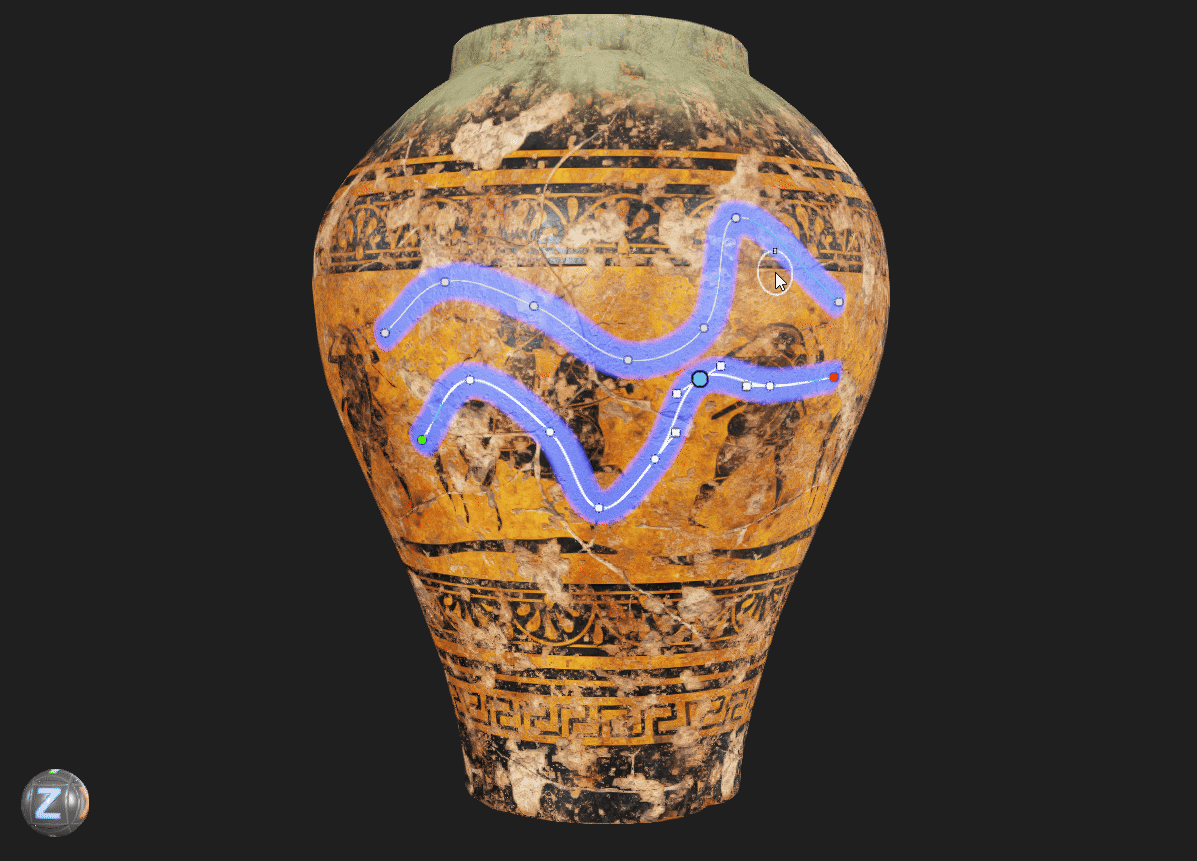 Left-click a curve to select it
 Viewport or in a curves layer's Curves panel, and continue clicking on the mesh to add additional points. These points will append to the end of the selected curve.
Click and Drag: After adding a curve point, you can continue holding the left mouse button and drag the cursor to shape the curve while inserting it.
¶ Removing Points or Curves
 Select a curve point or curve and press Delete or Backspace.
¶ Previewing Curve Point Placement
 Hold Shift before clicking to preview the next point’s position.
¶ Closing Curves
 Hold Shift while hovering over the first point of the curve, then click to close the curve.
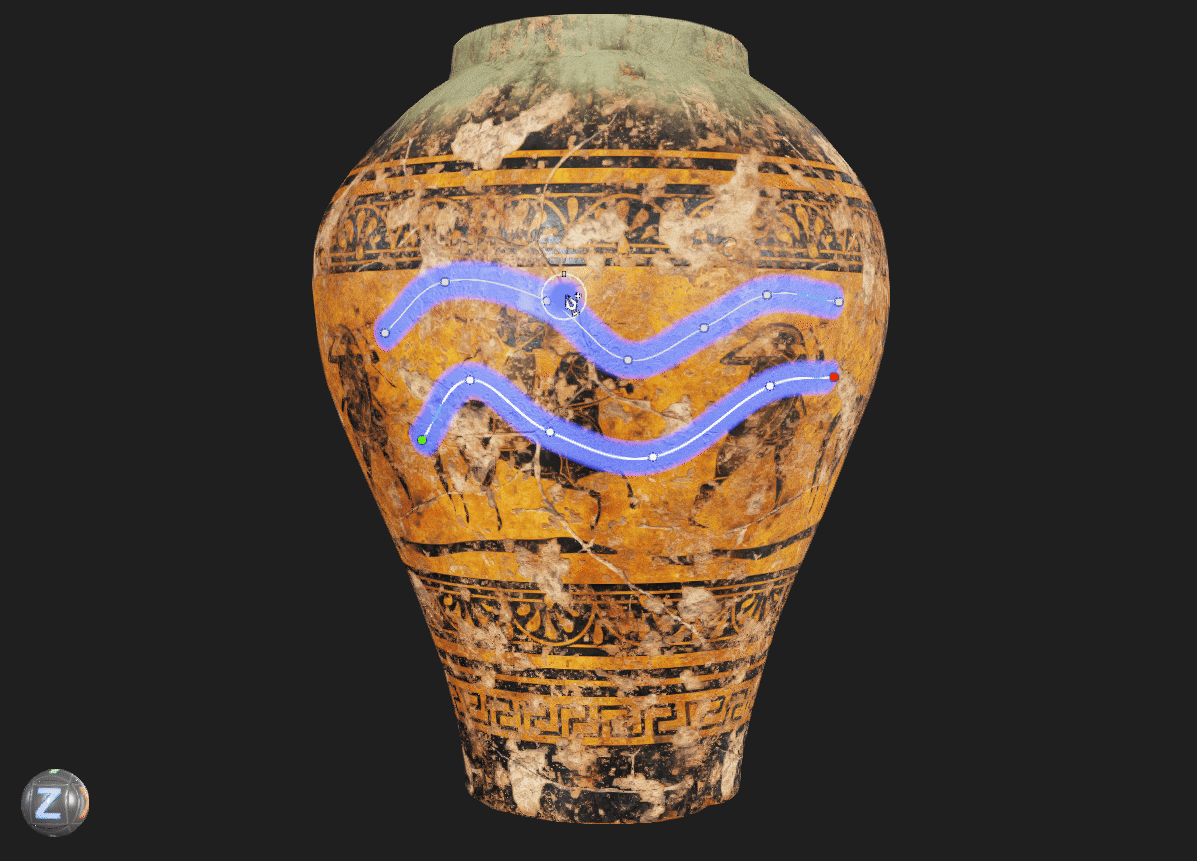
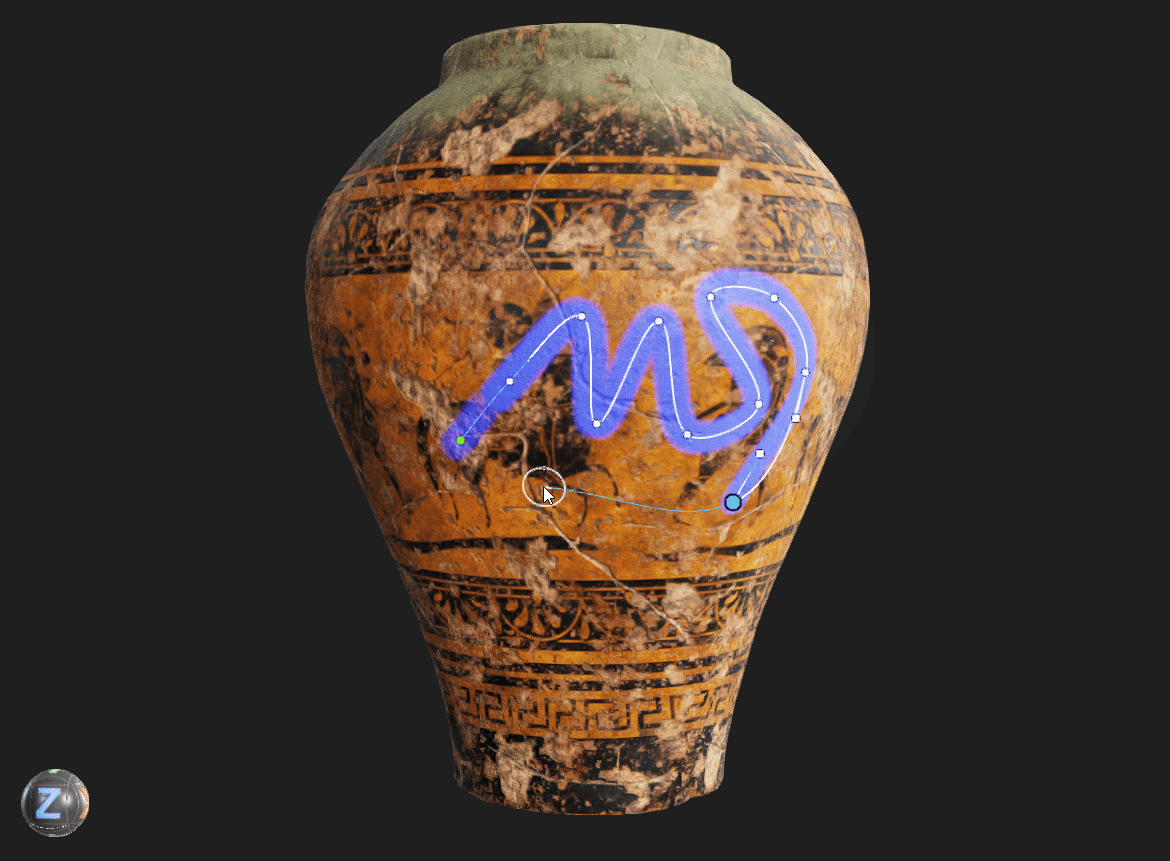
¶ Add Sub-Curves to the Same Curves Layer
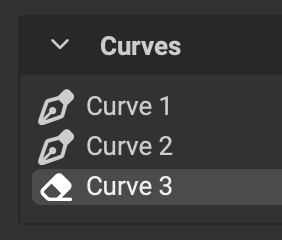 Curves layers support having multiple sub-curves. Sub-curves can be found in the
 Curves list in the Layer Channels panel. Sub-curves can be reordered by dragging and dropping to determine their drawing order. Curves get painted from top to bottom in the list. Adjusting the order is helpful when setting a curve to erase instead of paint. (See below)
Sub-curves can be renamed by double clicking them in the Curves list, or by right clicking a curve in the menu to reveal the contextual menu. The contextual menu can also be used to rename, oreorder, and remove curves from the list.
 Press Ctrl/Cmd + Shift + C to add additional sub-curves to the active curves brush layer.
Additionally, a sub-curve can be added by clicking the at the top of the Curves list. Once added, click on the mesh to add the first curve point.
¶ Erasing with Curves
 Click the
 Paint Eraser button in the viewport toolbar to remove paint data along a curve. Use sub-curves that paint and erase in the same curves layer to produce complex, non‑destructive effects.
¶ Translating, Rotating, and Scaling Curves
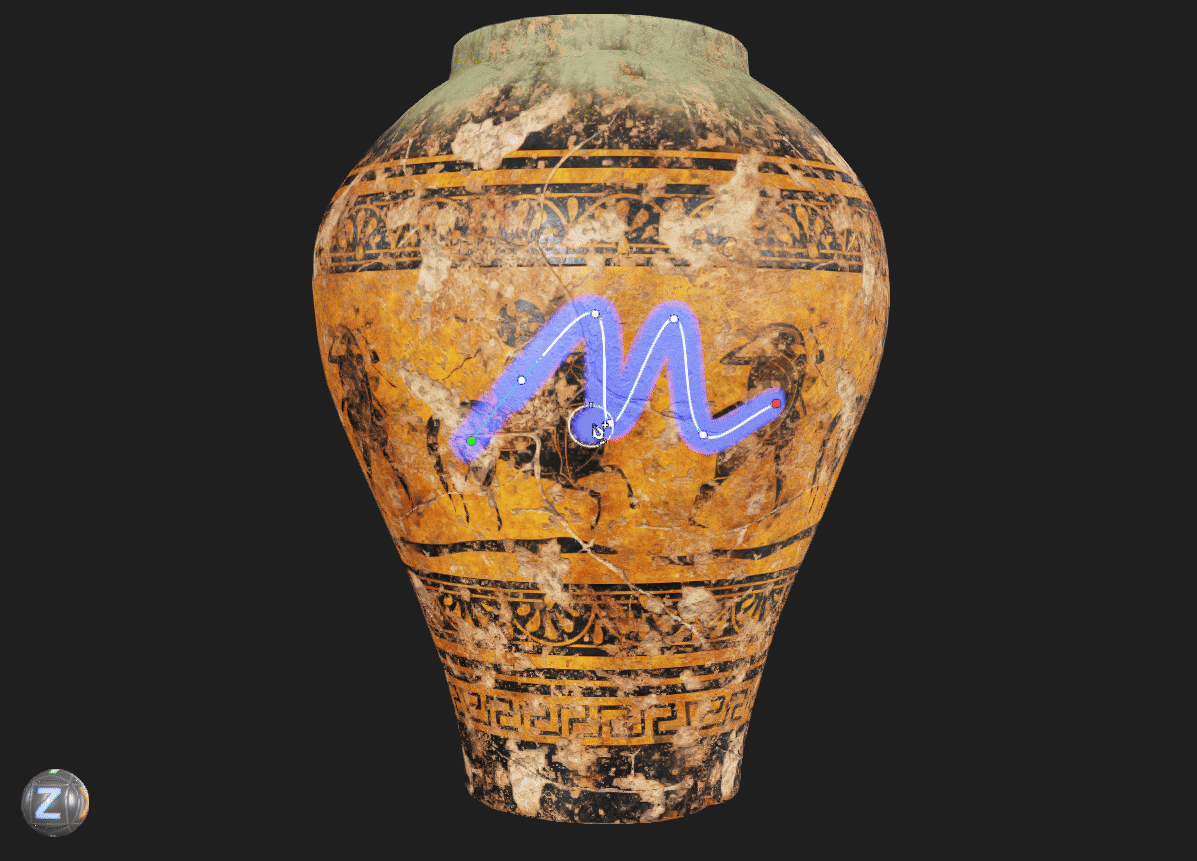 Use W (Translate), E (Rotate), and R (Scale) to manipulate entire curves with the viewport gizmo. Press the key again to disable the gizmo.
¶ Curve Point and Handle Types
 Curve points use a selection of types to determine how they connect between segments. To change a point type, select a point and click the
 Curve Point Type button in the painting toolbar at the top of the main window.
The following point types are available:
- Linear: Creates a straight, non‑curved segment between adjacent points.
- Smooth: Maintains a continuous tangent through the point. Handle lengths may differ to vary curvature on each side.
- Symmetrical Point: A constrained Smooth point. Handles are equal in length, producing mirrored curvature—useful for balanced, circular, or oval features.
- Cusp: Allows a sharp directional change. Handles are independent (angles and lengths are unlinked). Ideal for pointed corners and stylized breaks.
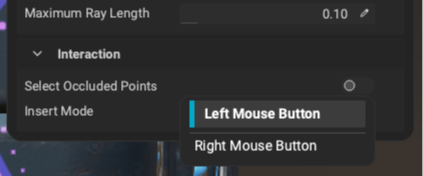
¶ Curves Settings
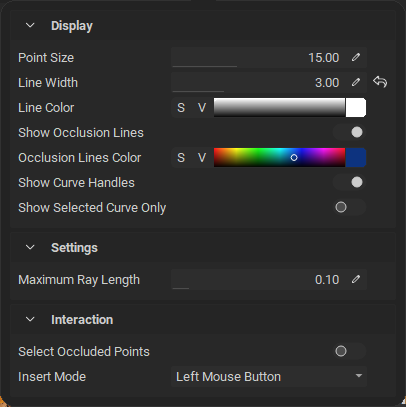 Additional curves settings are available in the painting toolbar at the top of the main window to configure how curves display and behave. Click the
 Curves Settings button to reveal the following settings:
- Point Size: The size of the a curve point's visualization.
- Line Width: The thickness of the visualization of a curve's path.
- Line Color: The color of the visualization of a curve's path.
- Show Occlusion Lines: Shows or hides the visulization of occluded curve segments.
- Occlusion Lines Color: The Color of the visualization of occluded curve segments.
- Show Curve Handles: Show or hide point handles
- Show Selected Curve Only: Enable to visualize only the active curve.
- Maximum Ray Length: Sets the maximum distance a curve can be from the mesh to project paint strokes.
- Select Occluded Points: Enable to allow interaction with occluded curve points.
- Insert Mode Sets the mouse button used for inserting curve points.
¶ Where to Learn More
Learn more about InstaMAT's asset texturing and painting workflows with the following articles:
- Layering Interface: Discover and learn the interface elements that make up InstaMAT's Layering UI.
- Creating Your First Asset Texturing Project: Learn how to quickly get up and running with InstaMAT's Layering by creating your first project with this step-by step guide.
- Getting Started with Painting: Learn how to quickly get starting with painting in InstaMAT Studio.