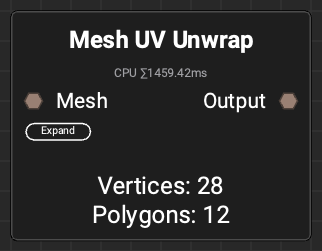
 InstaMAT Studio makes it possible to automatically unwrap a mesh's UVs to prepare it for texturing. This can be done with the Mesh UV Unwrap node in the Canvas. Additionally the Mesh UV Pack node can be used to pack the UV shells into an alternative layout without unwrapping to preserve their shell shapes. This can be done to pack them in a more efficient layout.
The following article details how to unwrap a mesh's UVs using an Element graph.
¶ What is UV Unwrapping?
A UV map is the flat representation of the surface of a 3D model, typically used to display textures. The process of creating a UV map is called UV unwrapping.
¶ The Mesh UV Unwrap Node
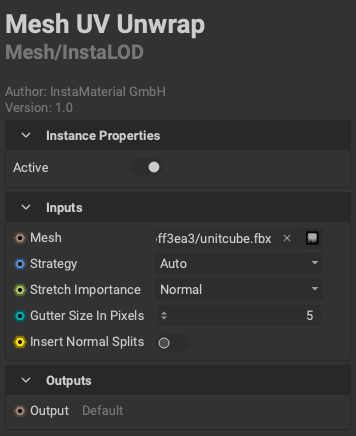 The
The Mesh UV Unwrap node utilizes technology from InstaLOD to create efficient UV layouts for any input mesh. The following overviews the settings for the Mesh UV Unwrap node:
- Mesh: The input mesh to unwrap.
- Strategy: The type of unwrapping strategy to use when creating the UV layout. See the Unwrap Strategies section below.
- Stretch Importance: Changes the importance of UV shell stretching. Increasing the importance generates less warping/stretching but increases the number of UV splits.
- Gutter Size in Pixels: Determines the min distance between UV shells when packing. It can be used to remove potential mipmap bleeding.
- Insert Normal Splits: Automatically inserts a normal split where UV splits are made. This ensures that no artifacts are visible on the model where a UV split is made.
¶ Unwrap Strategies
The unwrap strategies use different algorithms to optimize the layout of hardsurface and organic models.
¶ Hardsurface Axial
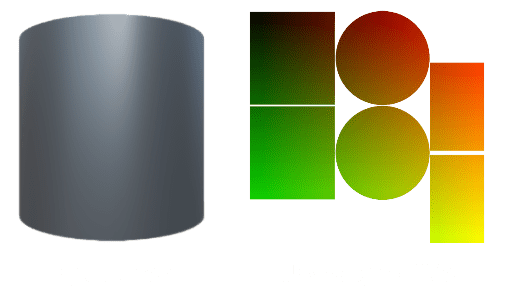
The Hardsurface Axial algorithm uses an axial projection and stitches individual UV shells together to generate fewer and larger patches than other software solutions, as can be seen below. This technique works very well for hard surface models that have flat surfaces pointing towards the world-space axis.
¶ Hardsurface Angle
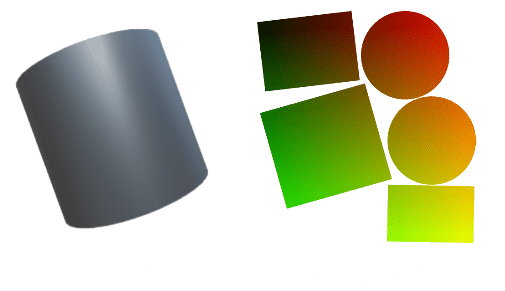
The Hardsurface Angle algorithm evaluates the scene and projects UVs from different world-space angles. This Technique works very well for hard surface models that don't have their surfaces pointing directly towards the world-space axis.
¶ Organic
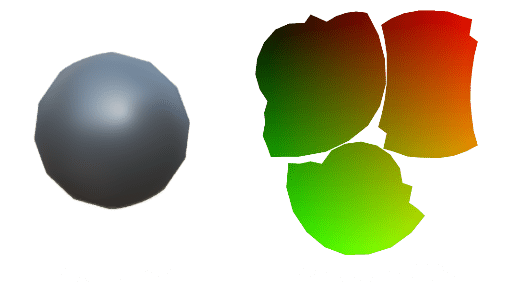
The Organic algorithm follows the edge flow of models when generating UVs to improve the unwrapping of organic models. Using the Organic mode typically generates larger and fewer UV shells than the other Unwrap Strategies.
¶ Automatic
The Automatic algorithm evaluates the scene and chooses which of the available algorithms is best to apply to the scene (tendency towards Organic).
¶ How to Unwrap a Mesh's UVs with an Element Graph
To unwrap a mesh's UVs in InstaMAT Studio, create a new Element Graph project and import the mesh to unwrap. Meshes can be imported into the currently active InstaMAT Package by dragging them into the Package Management panel then dragged into the Canvas, or linked with an absolute path by dragging the mesh directly into the Canvas and choosing Link with absolute path from the presented dialog.
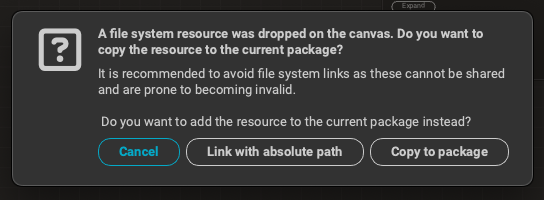
Once the mesh has been imported and dragged into the Canvas, create an instance of the Mesh UV Unwrap node either with Quick Search or by locating it in the MAT Library panel and dragging it into the Canvas alongside the mesh's node.
Connect the mesh's output to the Mesh UV Unwrap node's Mesh input.
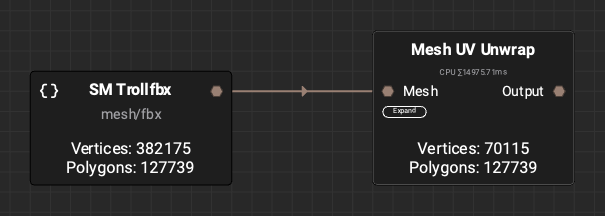
We can view the output of the Mesh UV Unwrap node in the Viewport by clicking on its Output pin. From there, click the (Export Viewport Scene) button in the Viewport's toolbar to save the unwrapped mesh to disk.
Alternatively, you can create a mesh output for the Element graph and use the Image and Data Output Export window to export the mesh. This can be done by dragging a connection off of the Mesh UV Unwrap node's Output pin and letting go to spawn Quick Search, then choosing Expose 'Output' as graph output.

This graph can then be reused to unwrap additional meshes by changing the input mesh. To input another mesh in the current InstaMAT Package, double click the mesh resource's node in the Canvas to bring up the Resource Picker panel or import another mesh.