¶ Non-linear Node Concepts
Working in the Canvas is like building a recipe. Instead of performing each step manually, the instructions themselves are created in the form of nodes. These nodes pass information from left to right via node connections which then get processed down the chain until they reach a graph output. This graph output can contain various types of information, such as images, meshes, numerical values, point clouds, and more. With the Canvas the possibilities are limitless.
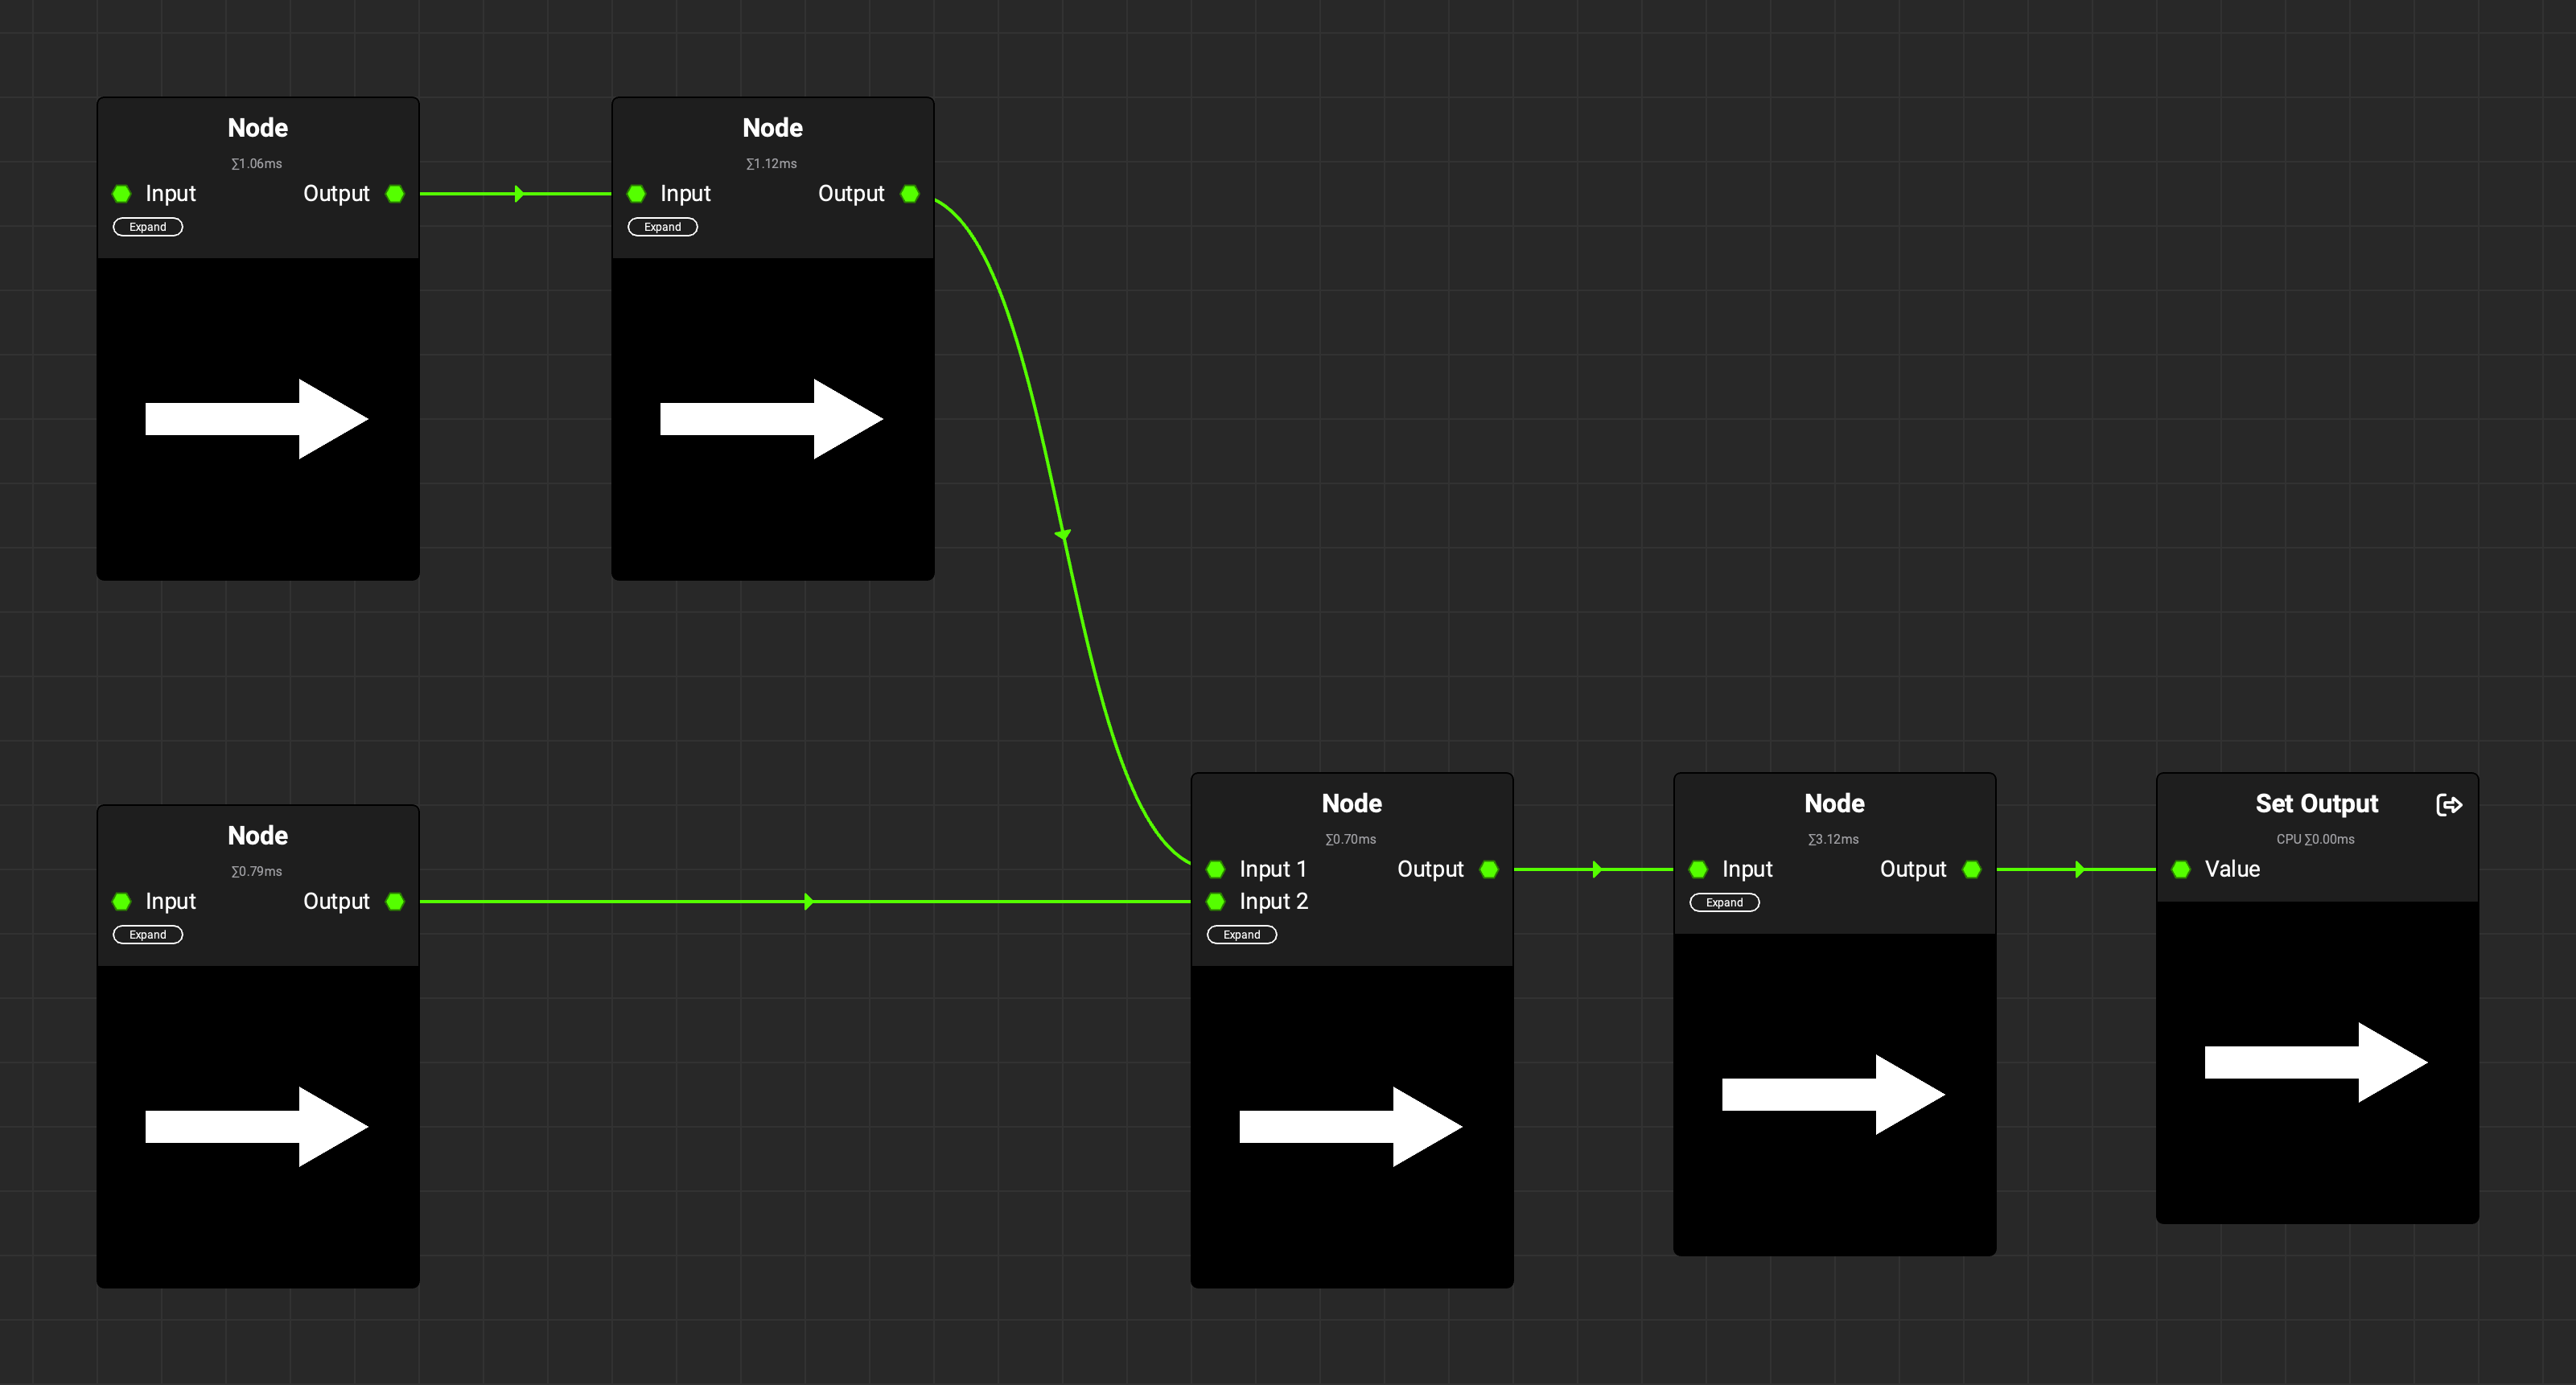
Nodes are the graphical representation of a non-destructive, non-linear workflow. This workflow is different from a linear process as each set of instructions can build upon the next. One of the key benefits of this approach is that nodes can be modified, removed, or replaced at any point in the sequence. This makes working with nodes astronomically more powerful where drastic changes can be made just as easily as small tweaks.
Furthermore, the ability to modify, remove, or replace nodes at any point in the sequence means that changes made earlier in the sequence can significantly affect the final result. This means that working with nodes is more flexible and allows for easy experimentation and iteration.
¶ Instancing Graphs
A node is a graph packaged up into a singular form. Every time a node is brought into the Canvas, the result is a graph that is being instanced. This means that any change to the parameters or properties of this node are specific to this instance and do not change the defaults of the original graph. Any graph can be turned into a node by dragging it from the Package Management panel into another graph in the Canvas view.
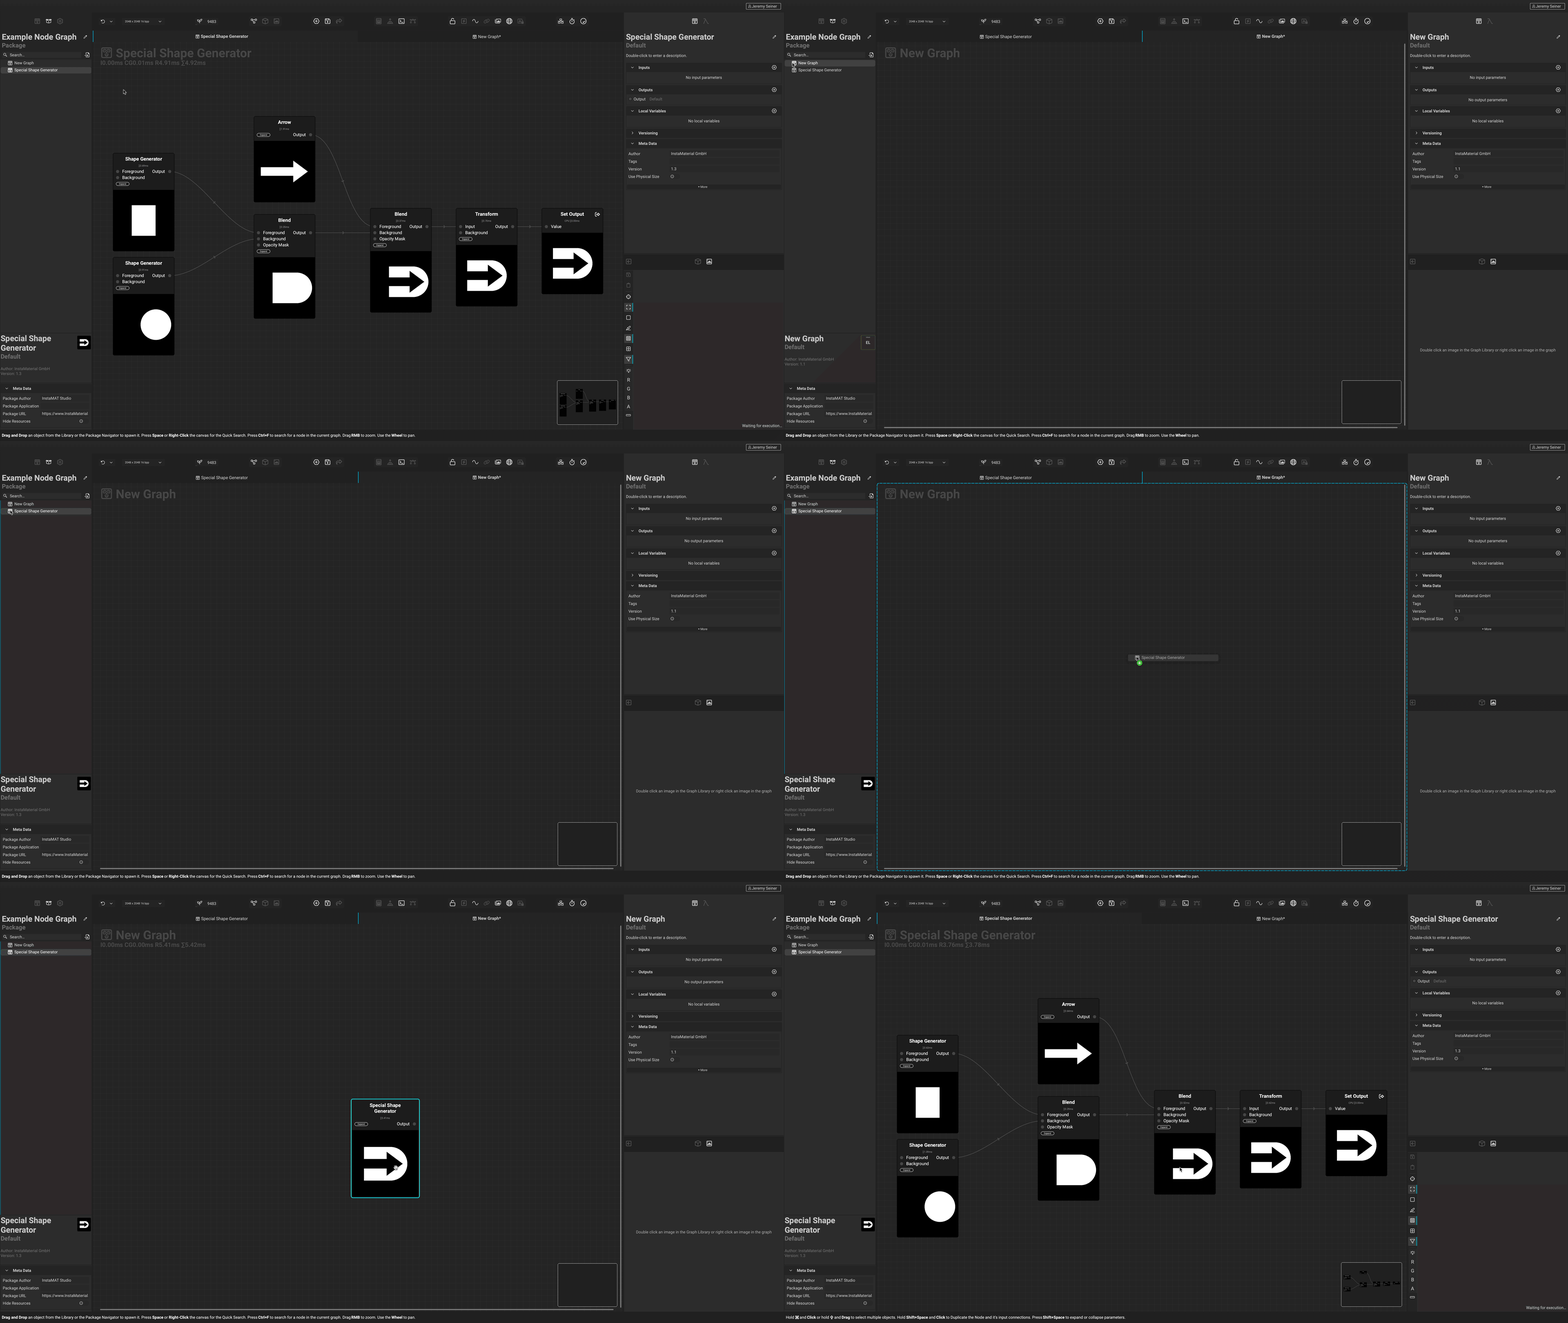
In InstaMAT Studio, entire projects such as a Layering project or Materialize Image project can be dragged into the
Canvasview and used as a singular node.
You can think of nodes as "sub-graphs". Being able to compartmentalize graphs into sub-graphs is one of the benefits of a node-based workflow. If you find yourself performing the same set of actions multiple times, packaging up a set of nodes into a sub-graph will allow you to reuse that functionality.
Most nodes in InstaMAT Studio are made with the same tools and project types available to you. For example, the
Blendnode is an Atom Graph. TheMesh Scatter on Topologynode is an nPass Element Graph. Even theMesh Rendernode, which is an entire PBR renderer, was created within InstaMAT Studio. To learn more about how they were constructed, Double Click on a node to dive into and explore its contents.
¶ Creating and Exposing Graph Inputs (Custom Parameters)
InstaMAT Studio lets you pick and choose properties from the nodes within a graph and combine those settings together into one location for easy tweaking and adjustments. This process is called exposing graph inputs. Once exposed, these properties can be controlled from outside of the graph, whether it has been instanced in another graph, used in another project like in layering, or controlled with one of our Integrations.
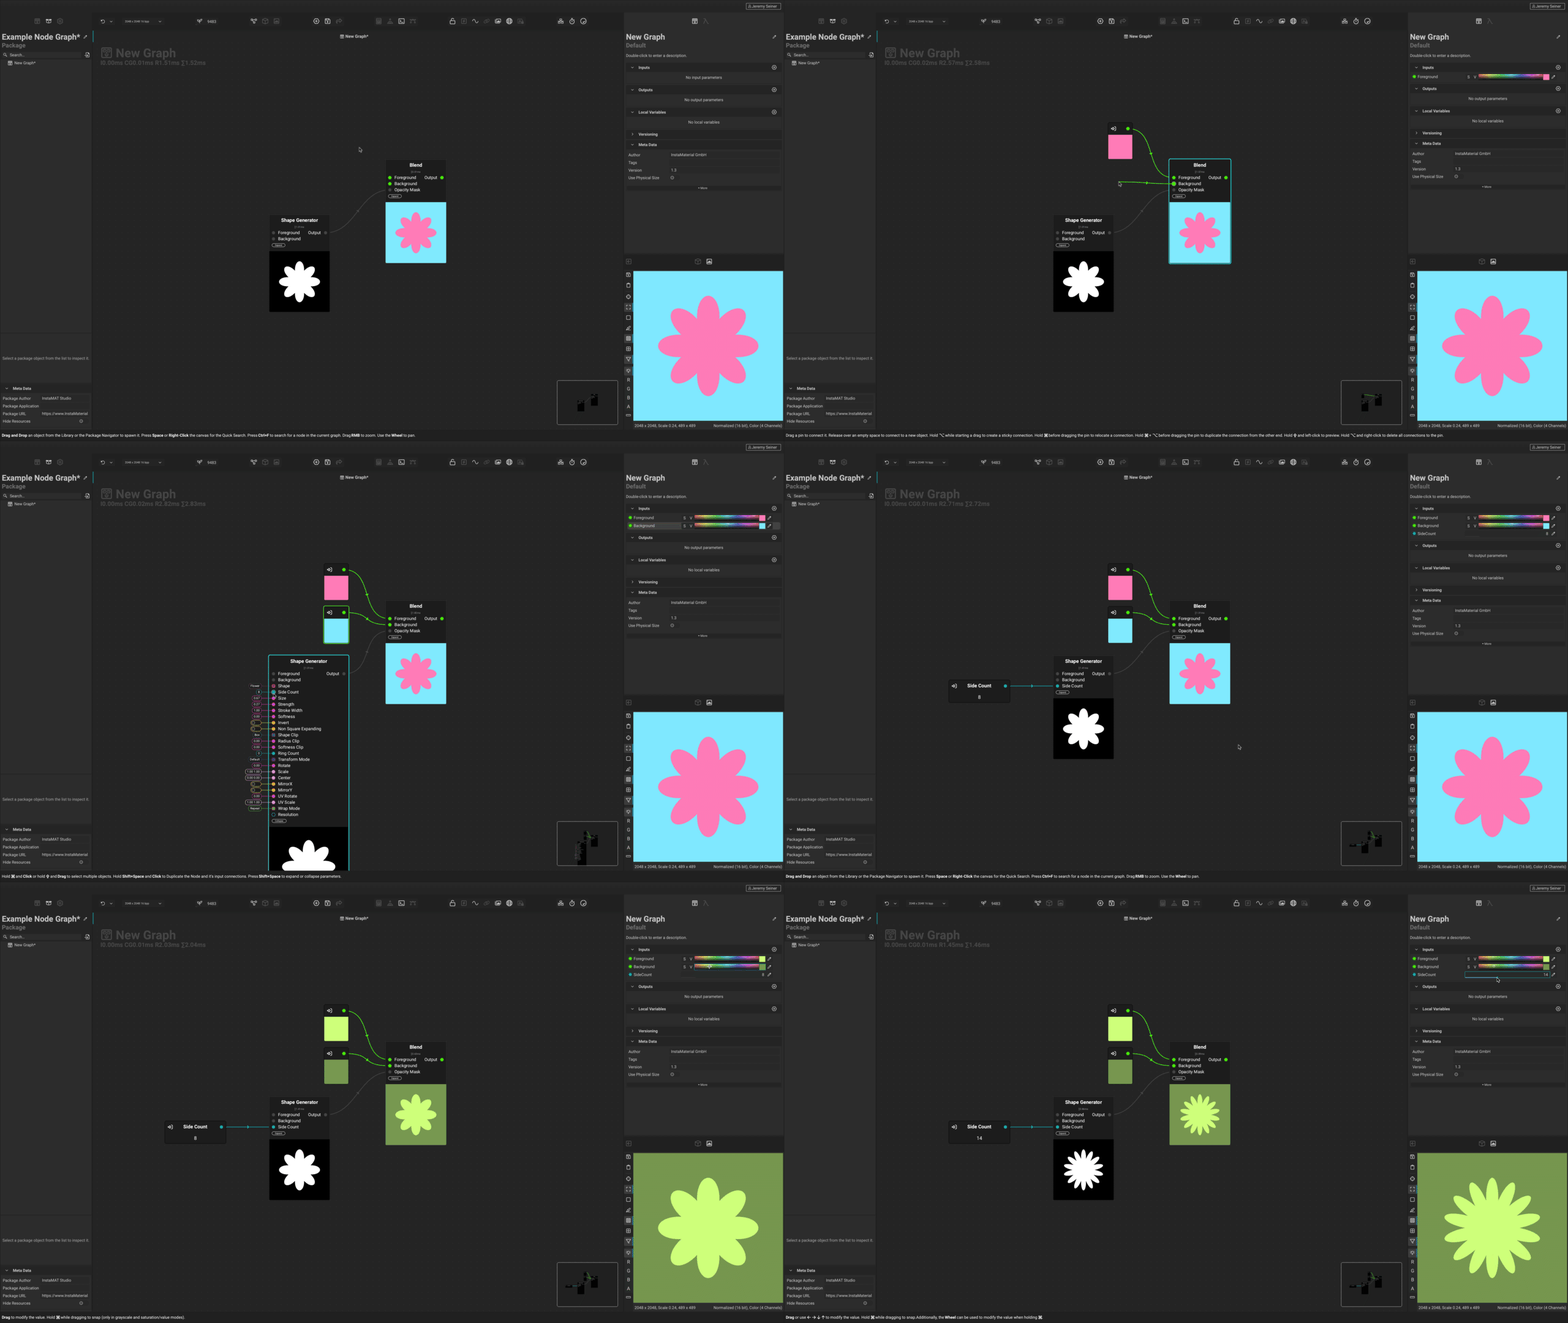
With exposed graph inputs, InstaMAT materials become infinately more reusable. For example, a forest ground material with options to change the amount of grass, twigs, and scattered leaves now has the ability to be used in any future project where a similar ground texture is needed. The material only needs to be created once, then an artist can customize the physical characteristics needed for any use case.
To learn more about creating graph inputs, please read our dedicated article on the Graph Object Editor. Additionally, graph inputs can be created with with
Quick Search. For more information on usingQuick Searchto create graph inputs, please read our dedicated article here.
¶ Global/Local Execution Resolution and Seed
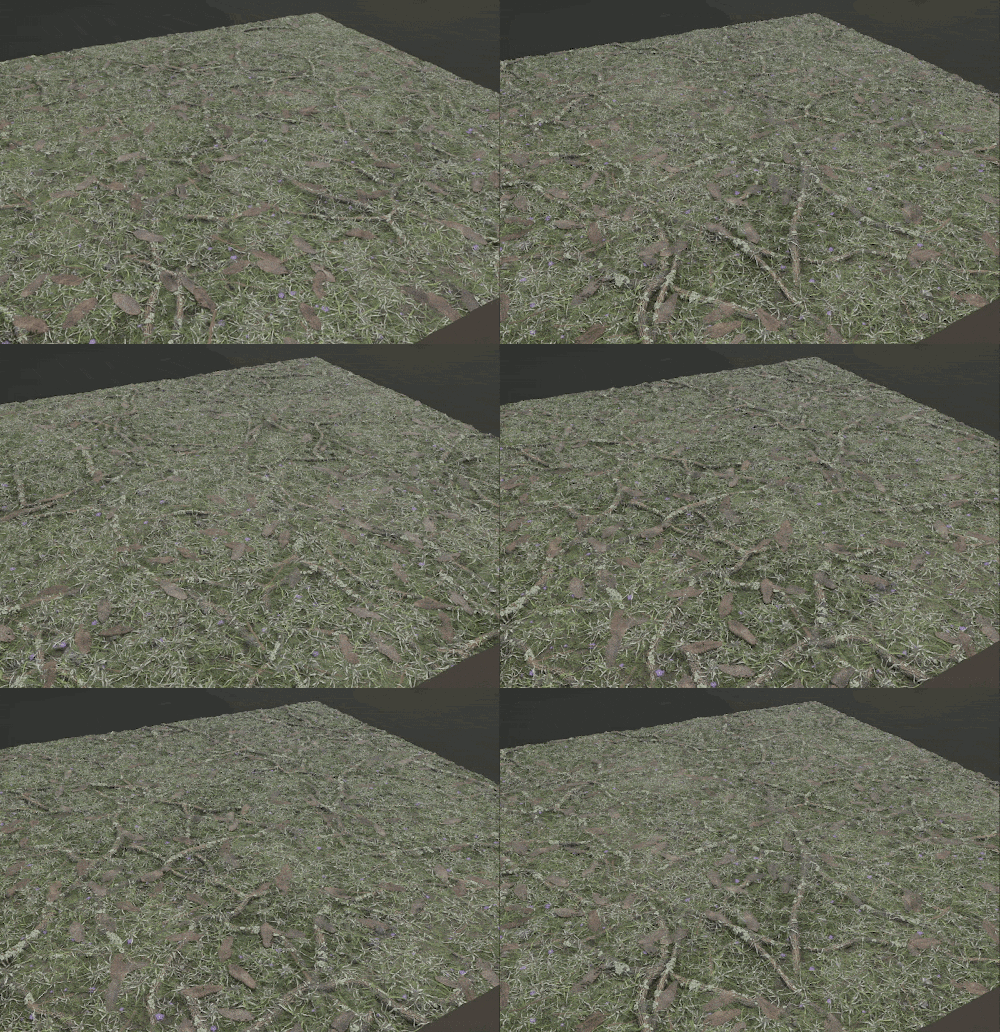 Each graph in InstaMAT has a global seed number. This can be found in the Canvas Toolbar marked with a icon. This number is used to generate the randomized values for the nodes within the graph that contain characteristics with variation.
For example, the Tile Scatter node which randomly distributes images across the texture square has an Offset Varaince parameter. When increased, the tiles will have randomized positions. Once changed, the Global Seed will reshuffle all nodes that have randomized attributes like this one.
When building a procedural material in the Element Graph, adjusting the Global Seed value will result in a new material that follows the same recipe but with varried results. This makes it easy to provide an infinite amount of variations of the same material.
The Local Seed belongs to a singular node. Changing this value will only reshuffle the randomized properties of the node it belongs to. This is useful if you'd like to find an alternative result without changing the outcome of every other node in the graph.
The Local Seed can be found at the top of the Graph Object Editor under the Instance Properties section after selecting a node in the Canvas.
¶ Inheritance
 In the
 Canvas, nodes are able to pick up particular attributes from either their parent graph or the node providing them input information. In other words, nodes can inherit traits.
The traits that can be inherited are:
- Format Type
- Width
- Height
This means that a node can determine its size and format based on the size and format of the node providing its input information or the graph that it resides in. Therefore, if the parent's traits change, these adjustments carry through to any nodes that inherit that information.
These properties can be located at the top of the Graph Object Editor panel under the Element Format section after selecting a node in the Canvas view.
Inheritance can be applied by setting the node's Format Type to any of the following:
Inherit: The format will be inherited from the parent graph.DeriveFromFirstAvailableImageInput: The format will be set based on the node connected to the first available 'Image' type graph input.InheritFormatDeriveSizeFromFirstAvailableImageInput: The format will be inherited from the parent graph and the size will be set based on the node connected to the first available "Image" type graph input.
¶ Templates
Templates are a special type of graph instance. Templates appear as a resource in the Package Management panel and in the MAT Library. They allow for a node's parameters to be saved as a preset which can then be reused in other graphs. They can then be added to a machine's user library for use in other InstaMAT packages.
Templates appear as "first-class citizens" meaning that when searching for them with Quick Search or in the MAT Library they will appear the same as a resource or project made directly from a graph.
For example, when creating a PBR material using the Element Graph, templates can be made for often-used variations. These templates can be assigned to a category in the library and easily accessed with Quick Search.
Many of the materials that ship with InstaMAT Studio are created using the template system. To discover how these materials were created, double click them in the
MAT Library. If a material is a template, a special graph will be shown in theCanvasview. double clicking the node in this graph will reveal the original Element Graph that the template was made from.
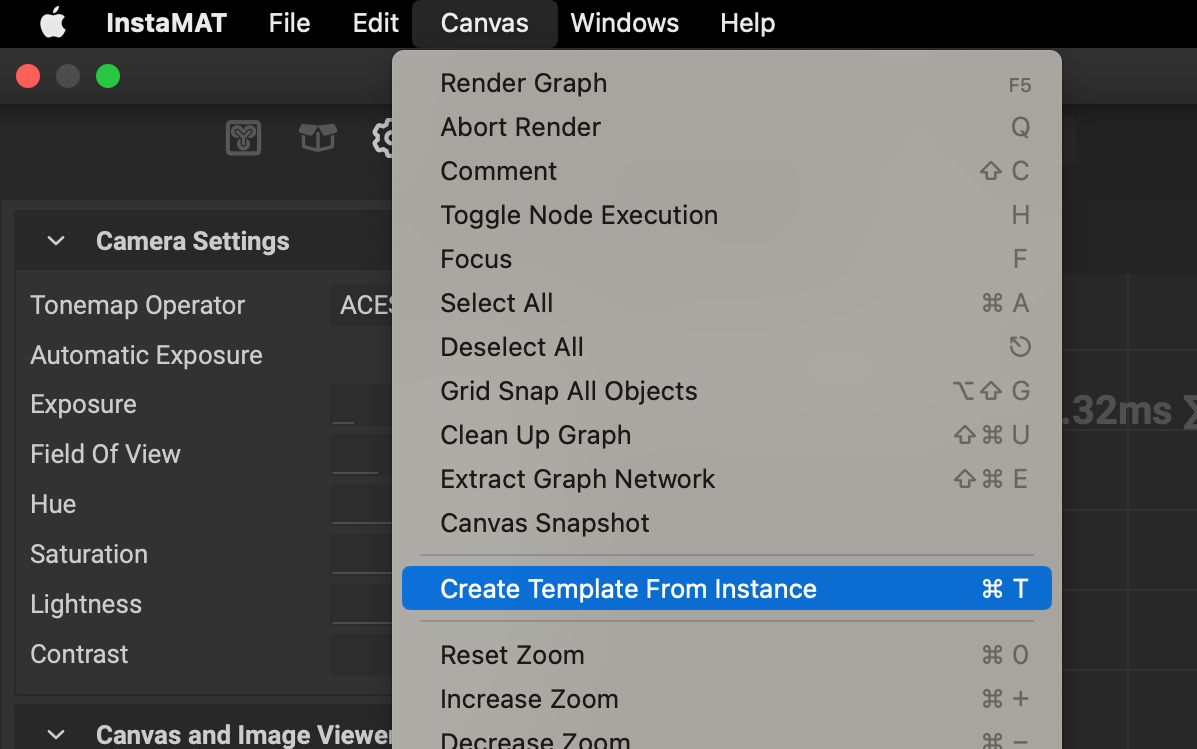 To create a template:
- Select a single node instance in the
Canvasview. - Go to
Canvas>Create Template From Instanceor use the keyboard shortcut Cmd/Ctrl + T. - In the provided dialog, give the template a name, category, and description and click
Okay.