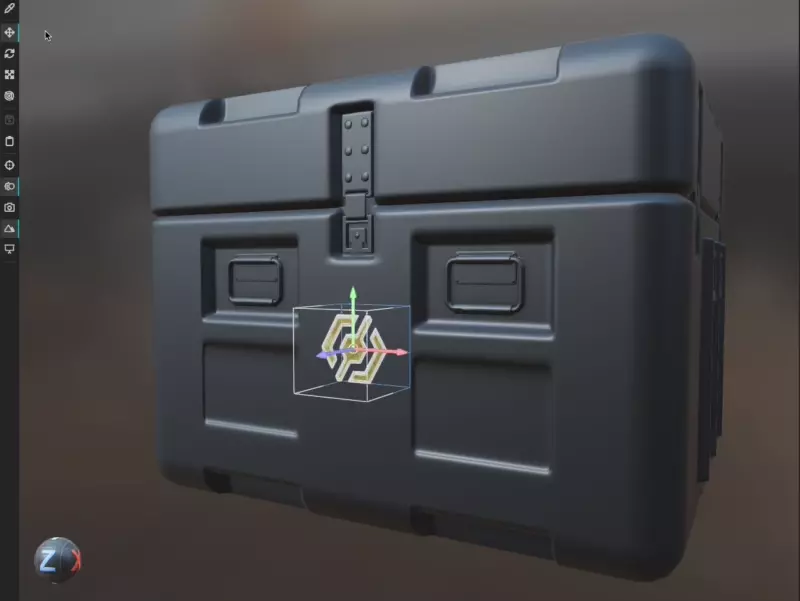
Decals are often used used to apply logos, patterns, or any other visual element onto the surface of a model. In InstaMAT Studio, a decal can contain multiple channels of information including the BaseColor, Roughness, Normal, and Height information from a PBR material. They often include Alpha or transparency information allowing them to be easily placed and manipulated on the model's surface. Decals can be scaled, rotated, and positioned as needed to achieve the desired visual effect.
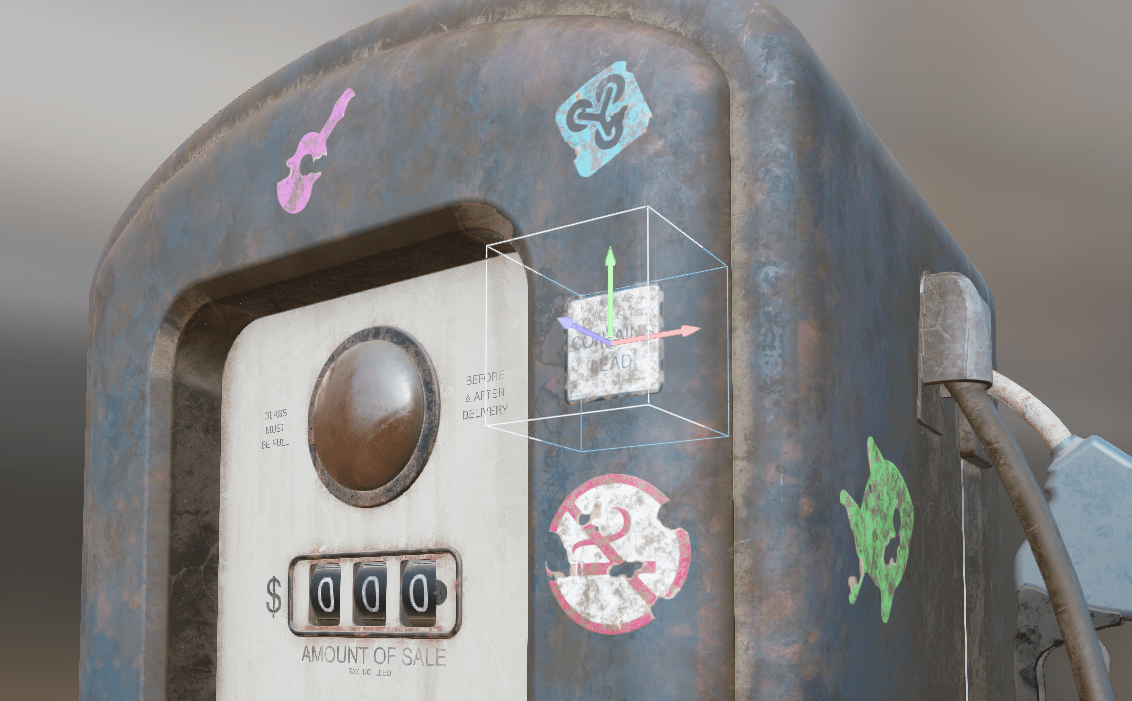
¶ Creating a Decal in an Asset Texturing Project
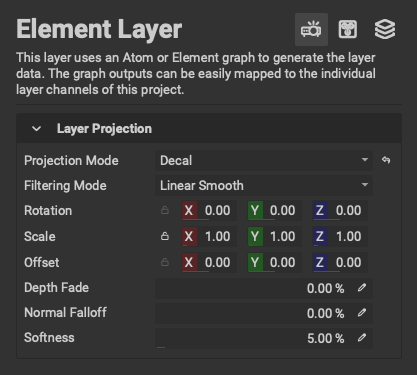 Creating a decal in an Asset Texturing project is done by adjusting a layer's
 Projection Mode.
To set a layer as a decal:
- Select the layer in the Layer Stack.
- Navigate to the Layer Projection panel in the
Layer Editor. - Change the
Projection ModetoDecal.
¶ Creating a Decal from an Image
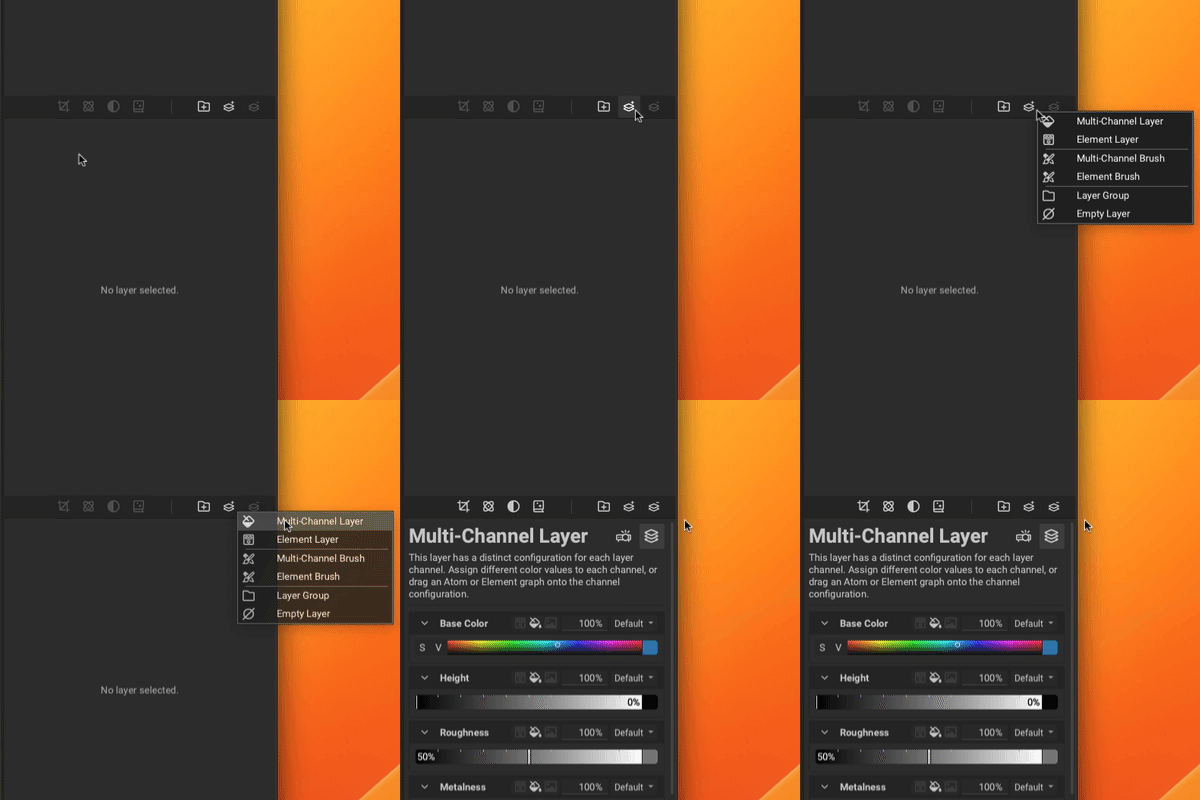 To create a decal from an image, first create a new Multi-Channel Layer by clicking the (Add New Layer) button either located below the
 Layer Stack or in the main toolbar, then choose Multi-Channel Layer from the popup menu.
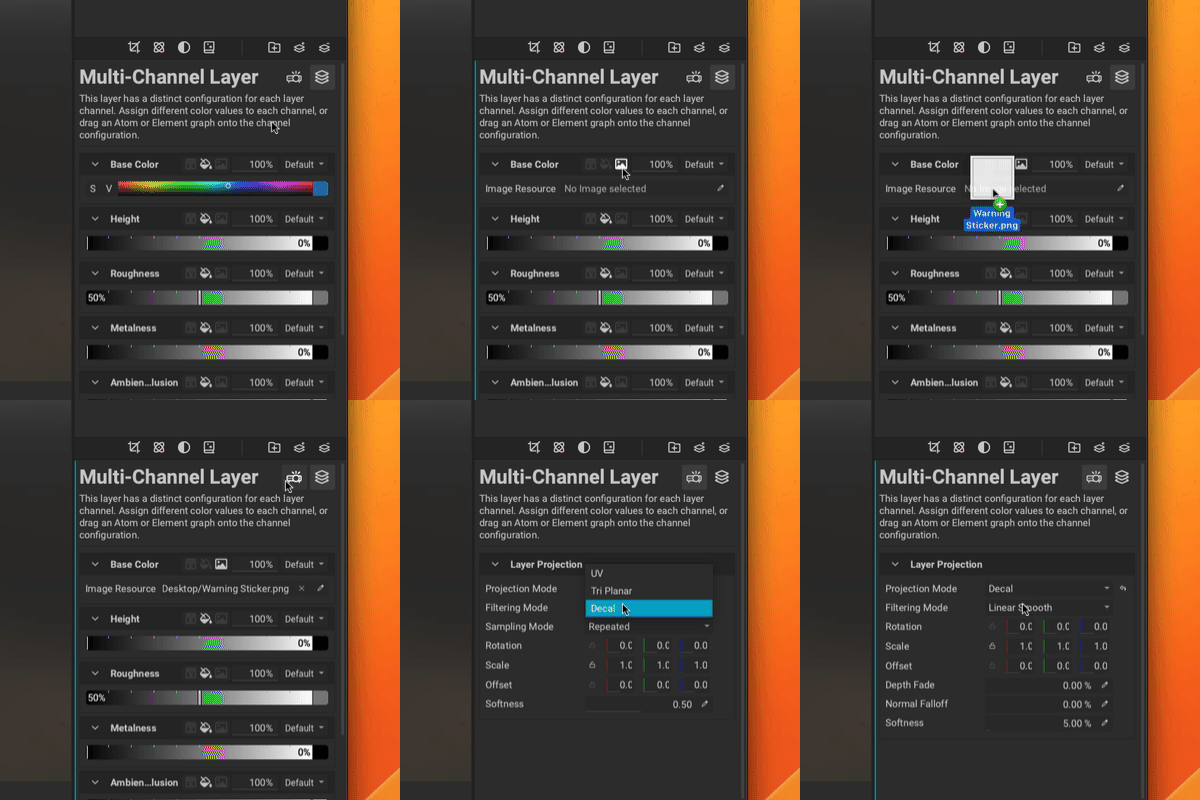 If the image is coming from a local file location on your machine, select the image icon next to the
 Base Color channel in the Layer Channels panel and drag the image into the Image Resource widget. Then switch to the Layer Projection panel and change the Projection Mode to Decal.
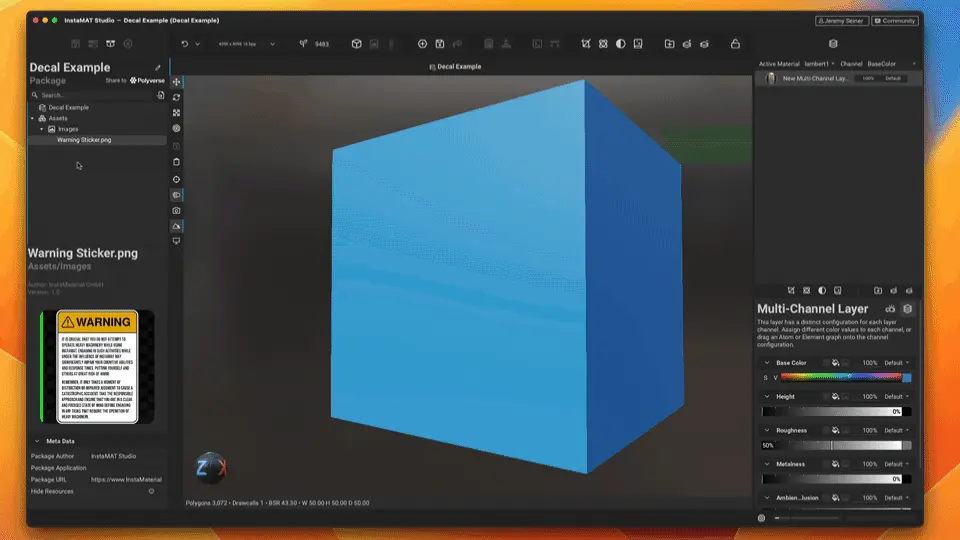
If the image has been imported into the current package, simply drag the image resource from the Package Management panel into the Base Color channel for the layer in the Layer Channels panel.
¶ Manipulating Decals with Gizmos
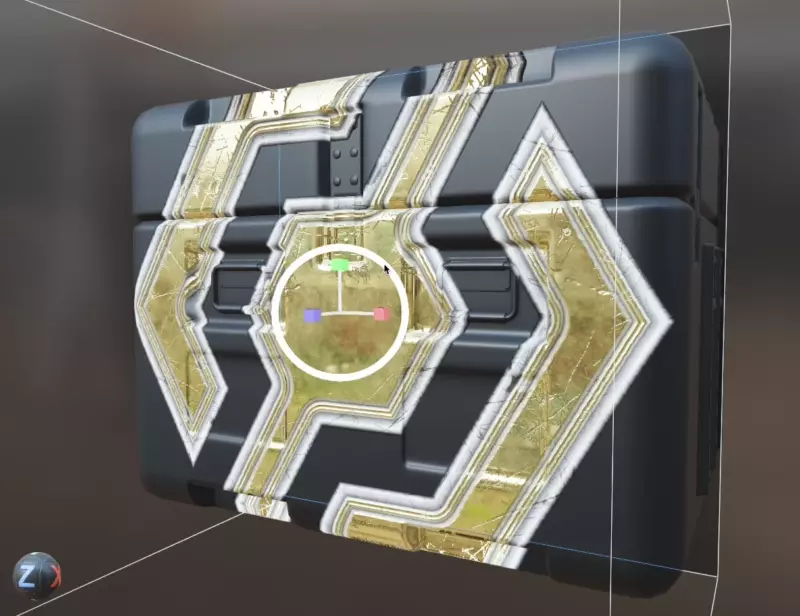
Once the Projection Mode for a decal has been set, InstaMAT's viewport gizmos can be used to manipulate the position, scale, and rotation of the decal in 3D space. Use the keyboard shortcuts W, E, R to quickly switch between the Move, Rotate, and Scale gizmos.
¶ The Decal Picker
The Decal Picker can be used to quickly place a decal onto the surface of a mesh. InstaMAT will place the decal based on the normals of the mesh surface that was clicked on.
The Decal Picker tool can be accessed by clicking the picker icon in the toolbar for the 3D Viewport or by pressing the Q key. The Decal Picker can only be chosen if a layer's Projection Mode has been set to Decal.
