InstaMAT Studio contains a set of nodes known as Scene nodes. These nodes can be used in an Element Graph to create your own hierarchy of objects in a 3D scene with transforms, attributes, materials and even embedded textures. When you export your scene graph as a graph output, you can export it as FBX or even USD and it would contain all the material data and embedded textures!
In this article we're going to cover how to create a scene in an Element Graph, add some geometry, set materials, then export the scene with the textures embedded.
¶ Creating the Scene
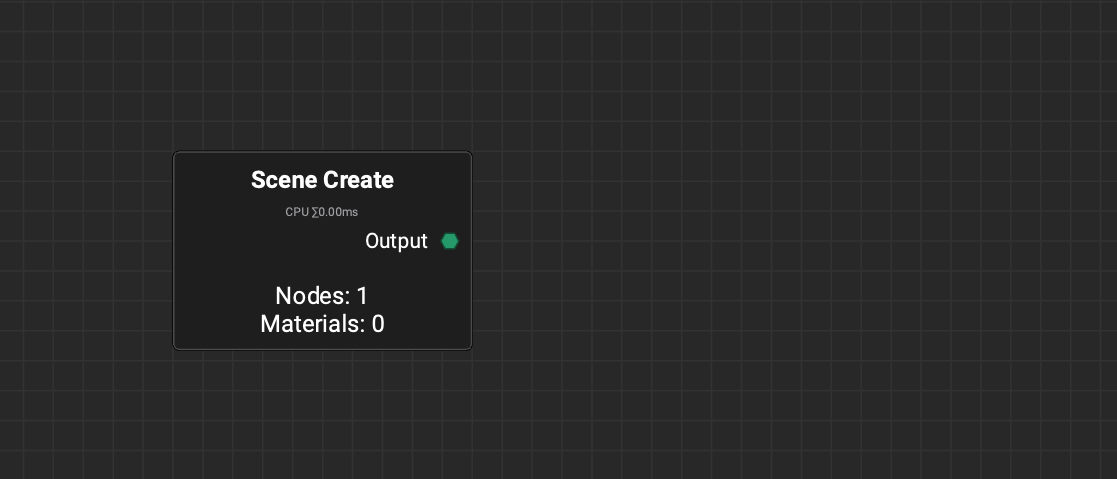
To begin, create a new Element Graph project. The first node we'll bring in is the Scene Create node. This starts us off with a blank scene that we can add meshes and materials to.
¶ Adding Materials to the Scene
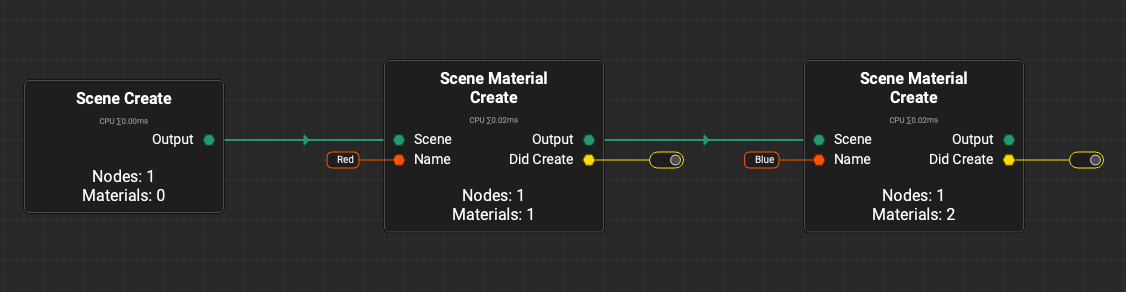
Next we're going to add two materials to our scene. The names of these materials must match the names of any materials already assigned to the geometry that we will bring into the graph in the next step.
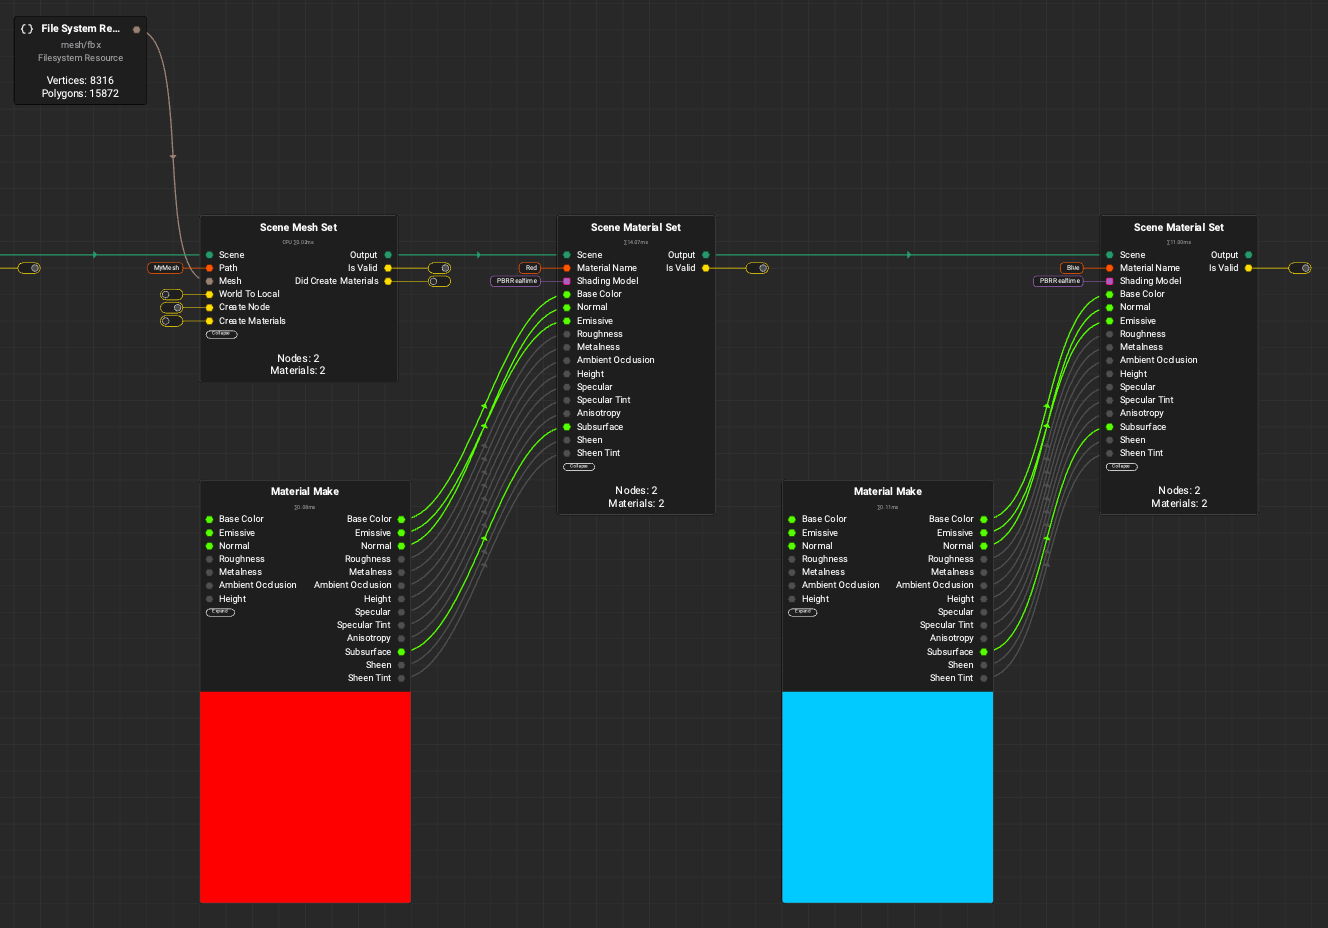
We can create materials with the Scene Material Create node. In this case, we'll add two materials to the scene: "Red" and "Blue".
¶ Adding Meshes to the Scene
Now lets add our geometry to the scene. In this case we have a simple mesh example of two spheres overlapping each other. Each sphere has a different material assigned.
To add a mesh to our scene we can use the Scene Mesh Set node. We can set the path of the mesh using the Path input. To nest submeshes the pipe | can be used. Enabling the Create Node toggle will create the scene node for us.
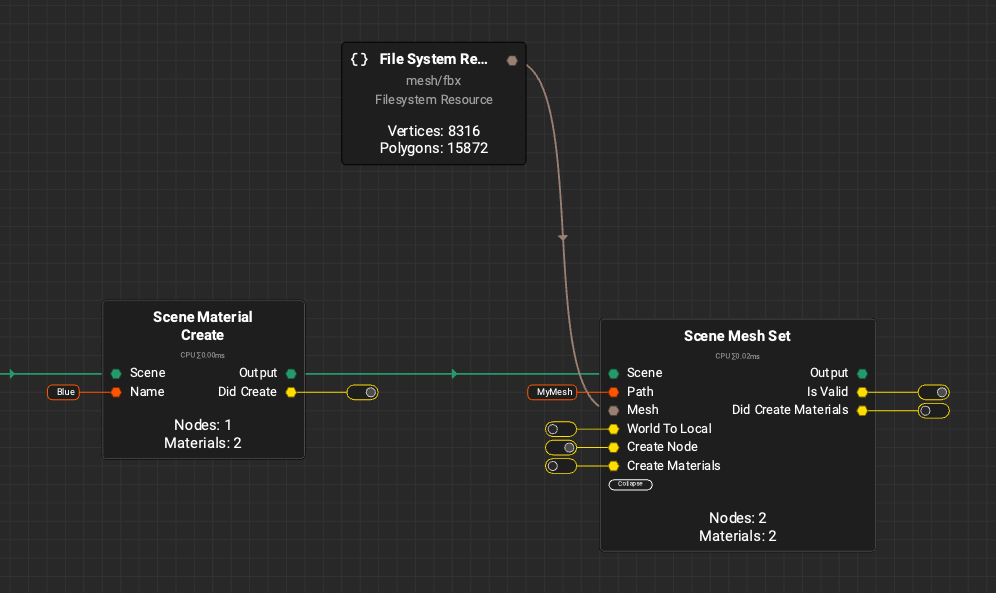
The
Scene Mesh Setnode has an option to automatically create materials with theCreate Materialstoggle. This means that you don't have to create them with separate scene nodes like in the previous step, but the step was included in the tutorial for demonstration purposes.
¶ Loading a Mesh as a Scene
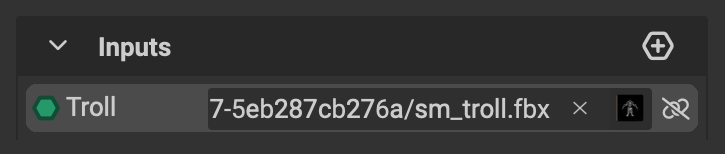 A mesh can be loaded as a scene with its submeshes and materials created automatically. To do this, an
 ElementScene can be created as a graph input or local variable using the Graph Object Editor panel.
- Click on an empty space in the
Canvas. - In the
Graph Object Editor, click theAddbutton in either theInputsorLocal Variablessection and chooseElementScenefrom the popup menu. - Optionally, double click the name of the new entry to give it a custom name.
- Drag the mesh you would like to load as a scene from either the Package Management panel, or your computer's file system and drop it onto the input widget to load it as a scene. Alternatively, click the icon to use the Resource Picker panel.
- Drag the new scene from the
Graph Object Editorand drop it into theCanvasto represent it as a node in the graph.
¶ Setting Material Properties
Now that our scene has materials and geometry, let's dial in the properties for our Red and Blue materials. We can do this with the Scene Material Set node. With this node, we can assign material properties to a material in the scene.
Make sure to set the Material Name input of each Scene Material Set node to match the available materials in the scene.
In this example, we'll use two Material Make nodes to act as our materials.
¶ Create a Scene Output
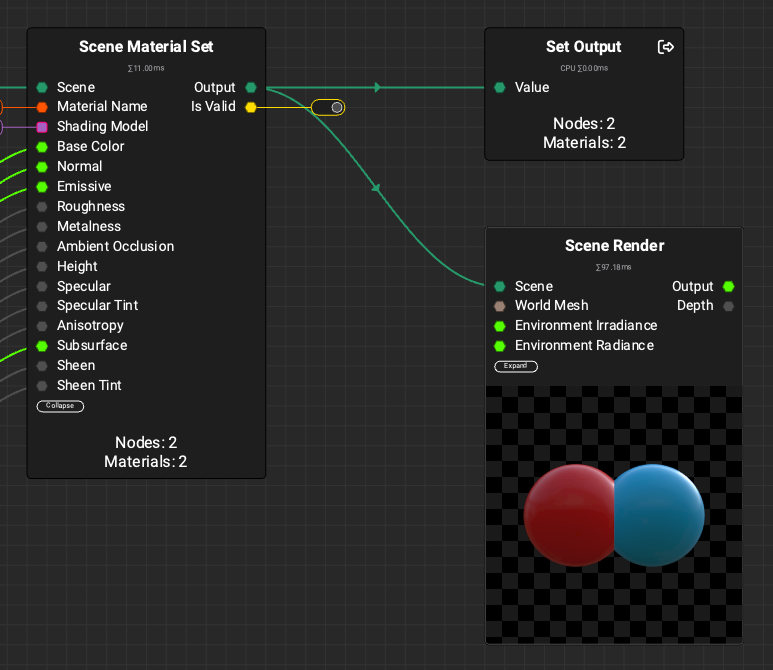
Next its time to create a Scene output. We can do this easily with Quick Search. Drag a connection from the last Scene Material Set node's Output pin and let go to invoke Quick Search. From there you can enter a name for your output or keep the default and click Expose Output as graph output.
We can also visualize our scene and generate renders using the Scene Render node.
¶ Export the Scene
Now all that's left to do is export the scene. This can be done from the Image and Data Output Dialog which can be found in the main toolbar. When a scene or mesh output becomes available in a graph, a Mesh File Format Extension dropdown appears providing the available file formats for export.
Select the format you would like to export to, then click Export. InstaMAT Studio will then export all of the mesh and texture data contained in the scene. If the file format supports it, these textures will be embedded into the scene file.