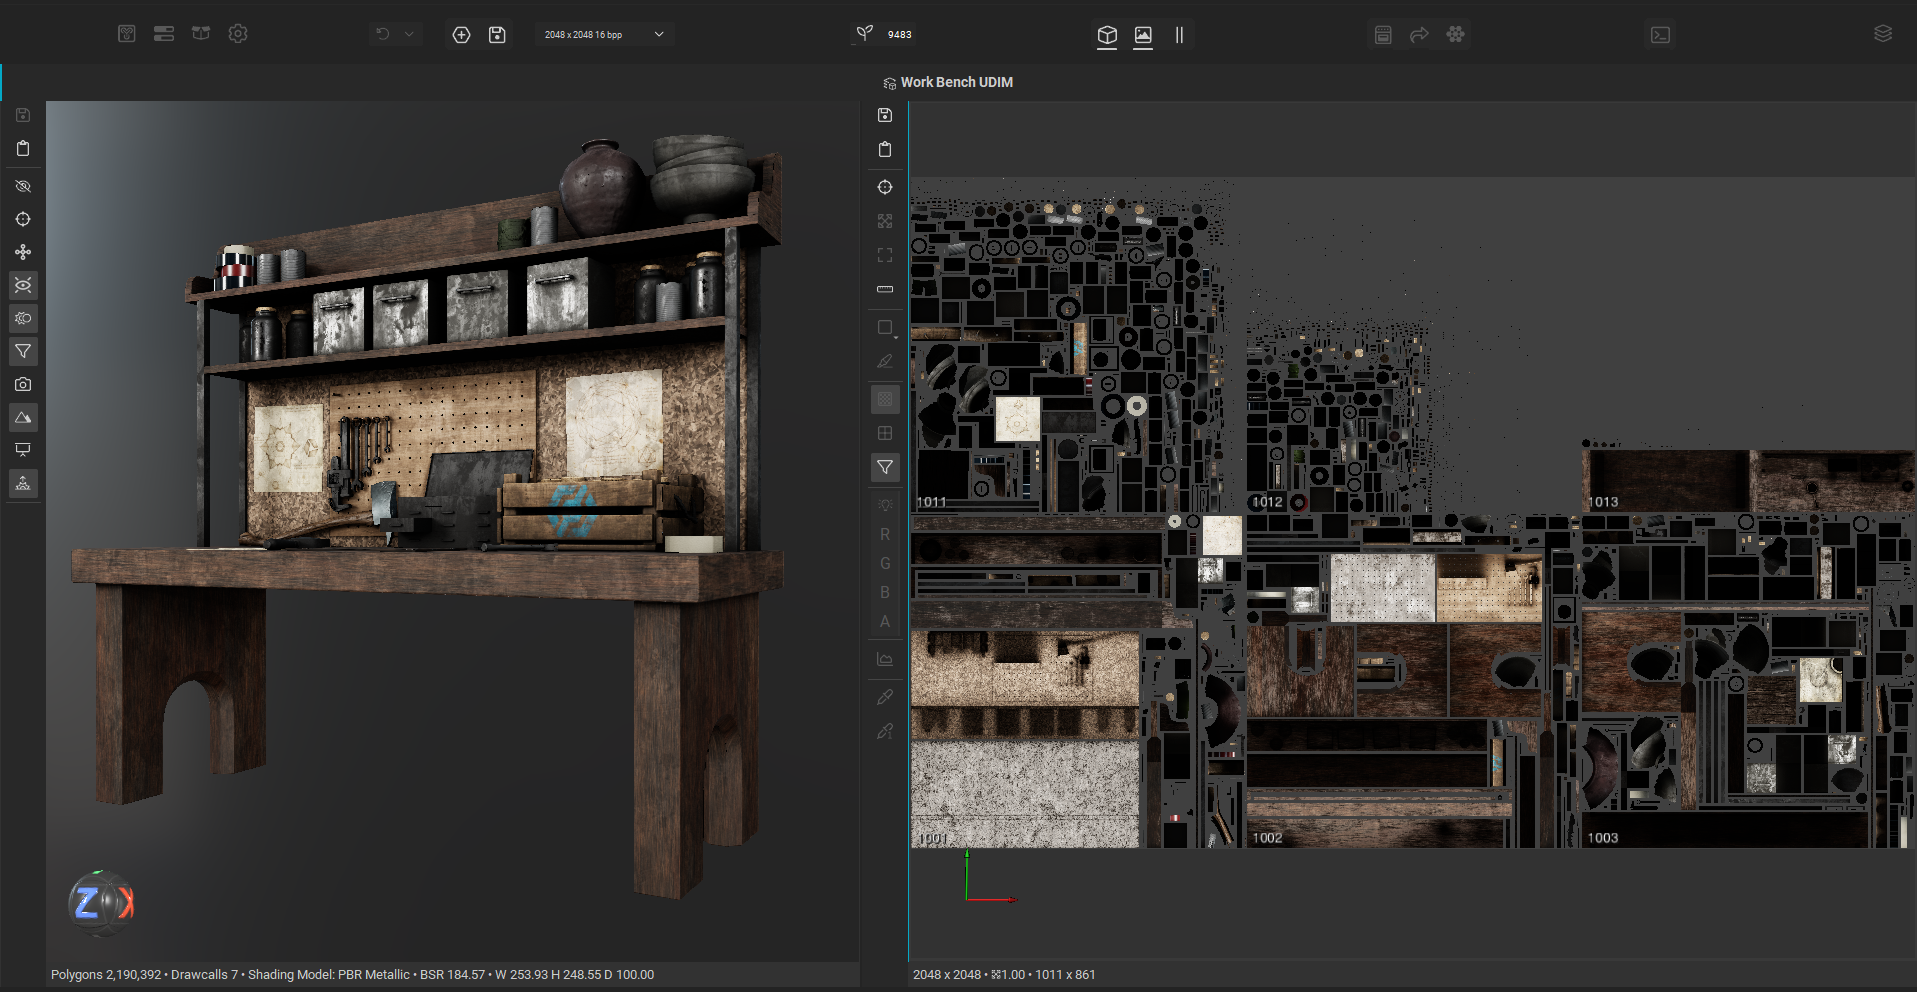
InstaMAT Studio’s 2D UV Painting workflow allows artists to paint and texture directly on a mesh’s UVs. While InstaMAT also supports painting directly on the 3D model in the viewport, UV Painting focuses on texture-space editing, making it especially useful for assets with clearly laid out UVs, such as panels, labels, seams, trim details, decals, or other elements that benefit from being painted directly on the texture layout. The workflow uses the same layer stack and texture data as the 3D view, making it easy to move between both painting approaches.
¶ Opening the 2D Image Viewer
The Image Viewer can be opened using the button in the top Asset Texturing toolbar.
Once enabled, the viewer displays the UV layout of the active material section and allows painting and other texturing operations to be performed directly in texture space. By default, Image Viewer displays a real-time view of the asset and its textures with accurate lighting that matches the 3D view.
¶ Changing the 2D Image Viewer’s Split Orientation
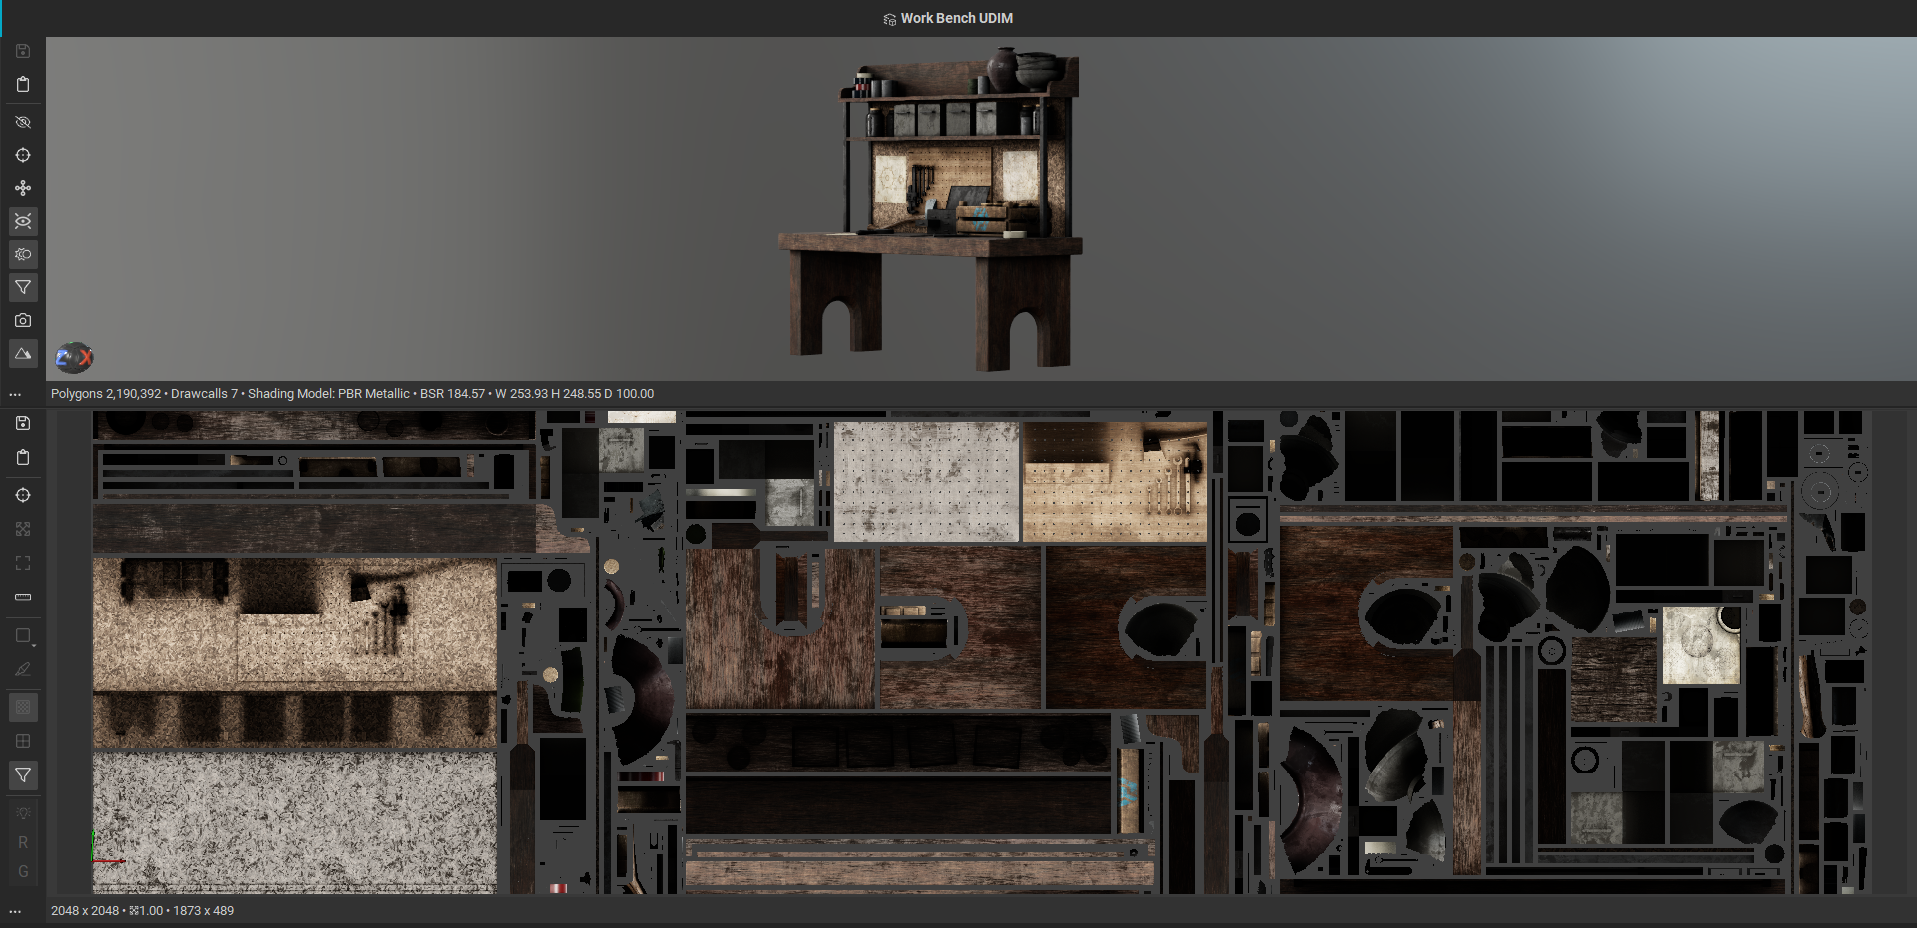
The Image Viewer can divide the center area of the Asset Texturing UI vertically or horizontally. To switch between orientations, click the Split Orientation button in the top Asset Texturing toolbar.
¶ Navigation
The UV view in the Image Viewer uses the same navigation conventions as the 3D viewport. This helps provide a consistent texturing experience, but it may differ from navigation behavior found in other 2D views within InstaMAT.
The following is how to navigate in the UV view:
- Pan: Middle Mouse Button, or Cmd/Ctrl + Option/Alt + Left Mouse Button
- Zoom: Right Mouse Button, Scroll Wheel
- Focus (Reframe View): F
¶ Texturing Workflows
The 2D Image Viewer supports the same core texturing workflows available in InstaMAT's 3D asset texturing workflow.
¶ Painting and Erasing
Brush-based painting can be performed directly on the UV layout, making it easy to add texture detail with precise control over placement.
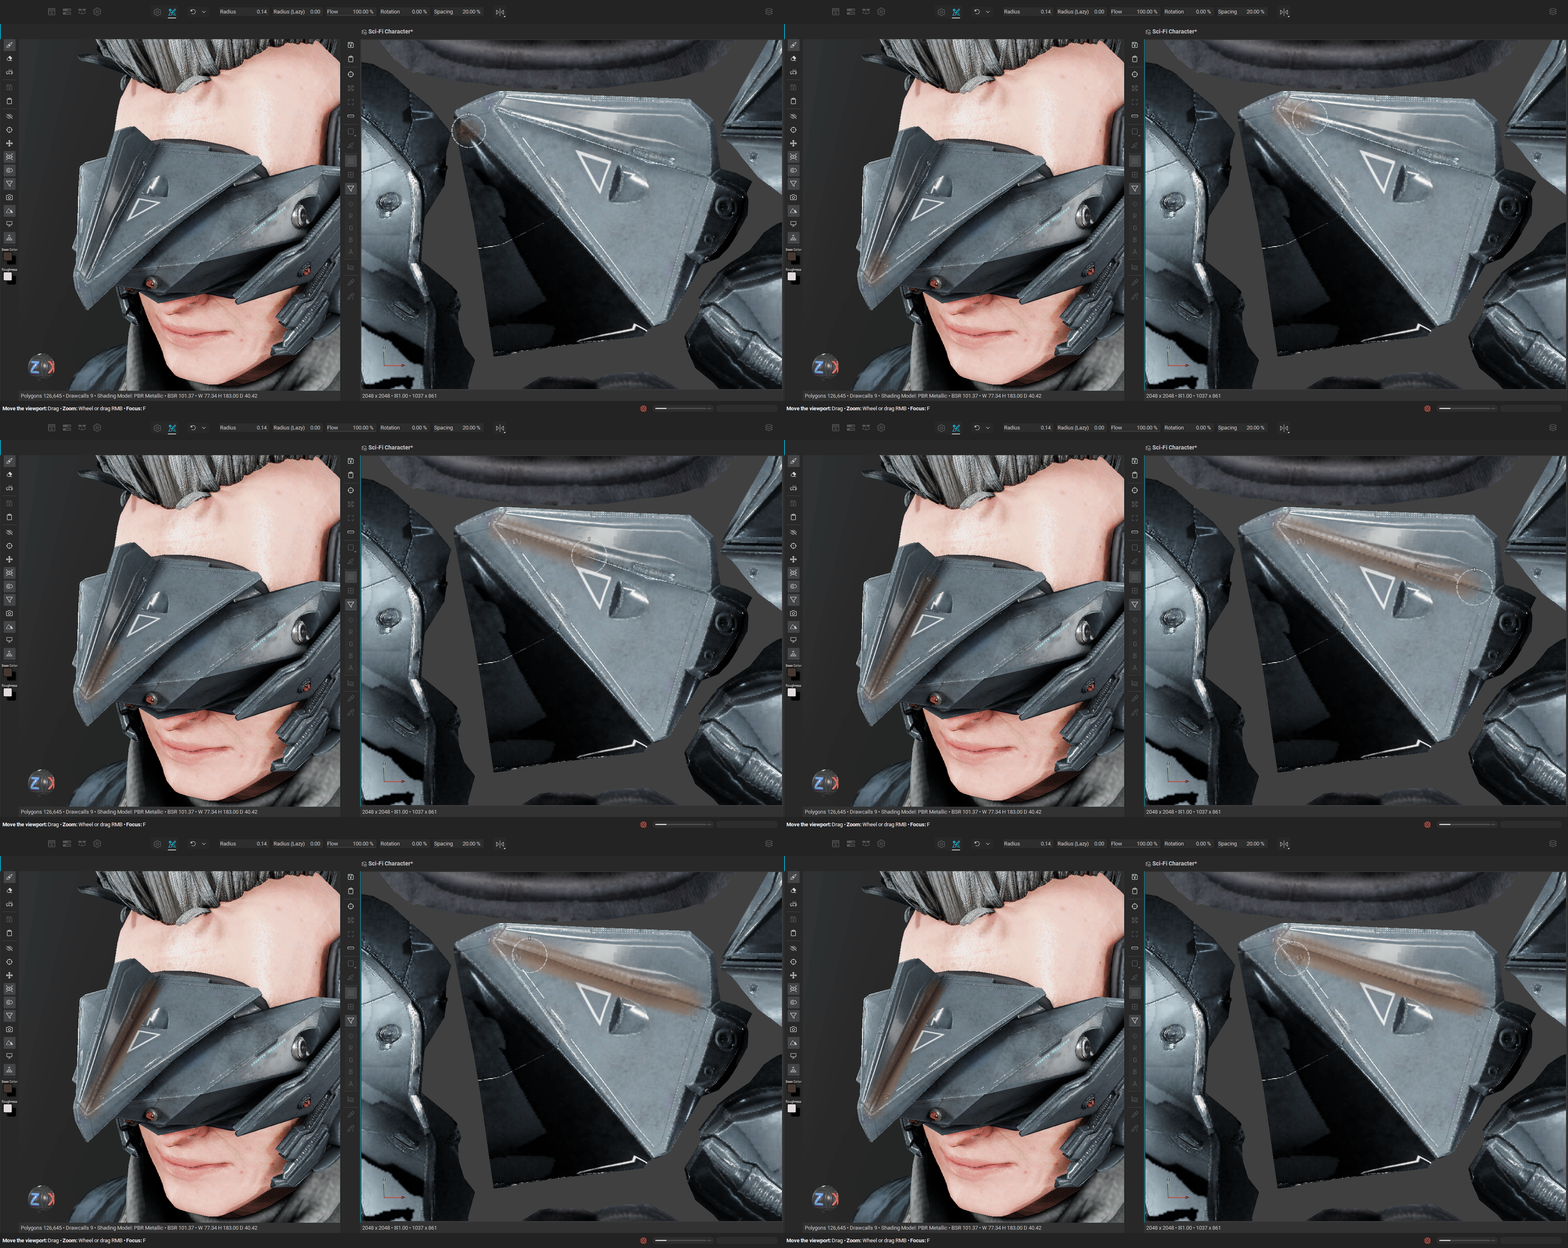
To learn more about Painting in InstaMAT Studio and how to create brush layers, please read our article on Getting Started with Painting.
¶ Projection Painting
The Paint Projector can be used in the Image Viewer to place images and texture information directly onto UV space.
This workflow is particularly useful when positioning graphics, decals, patterns, and other texture elements that require precise alignment.
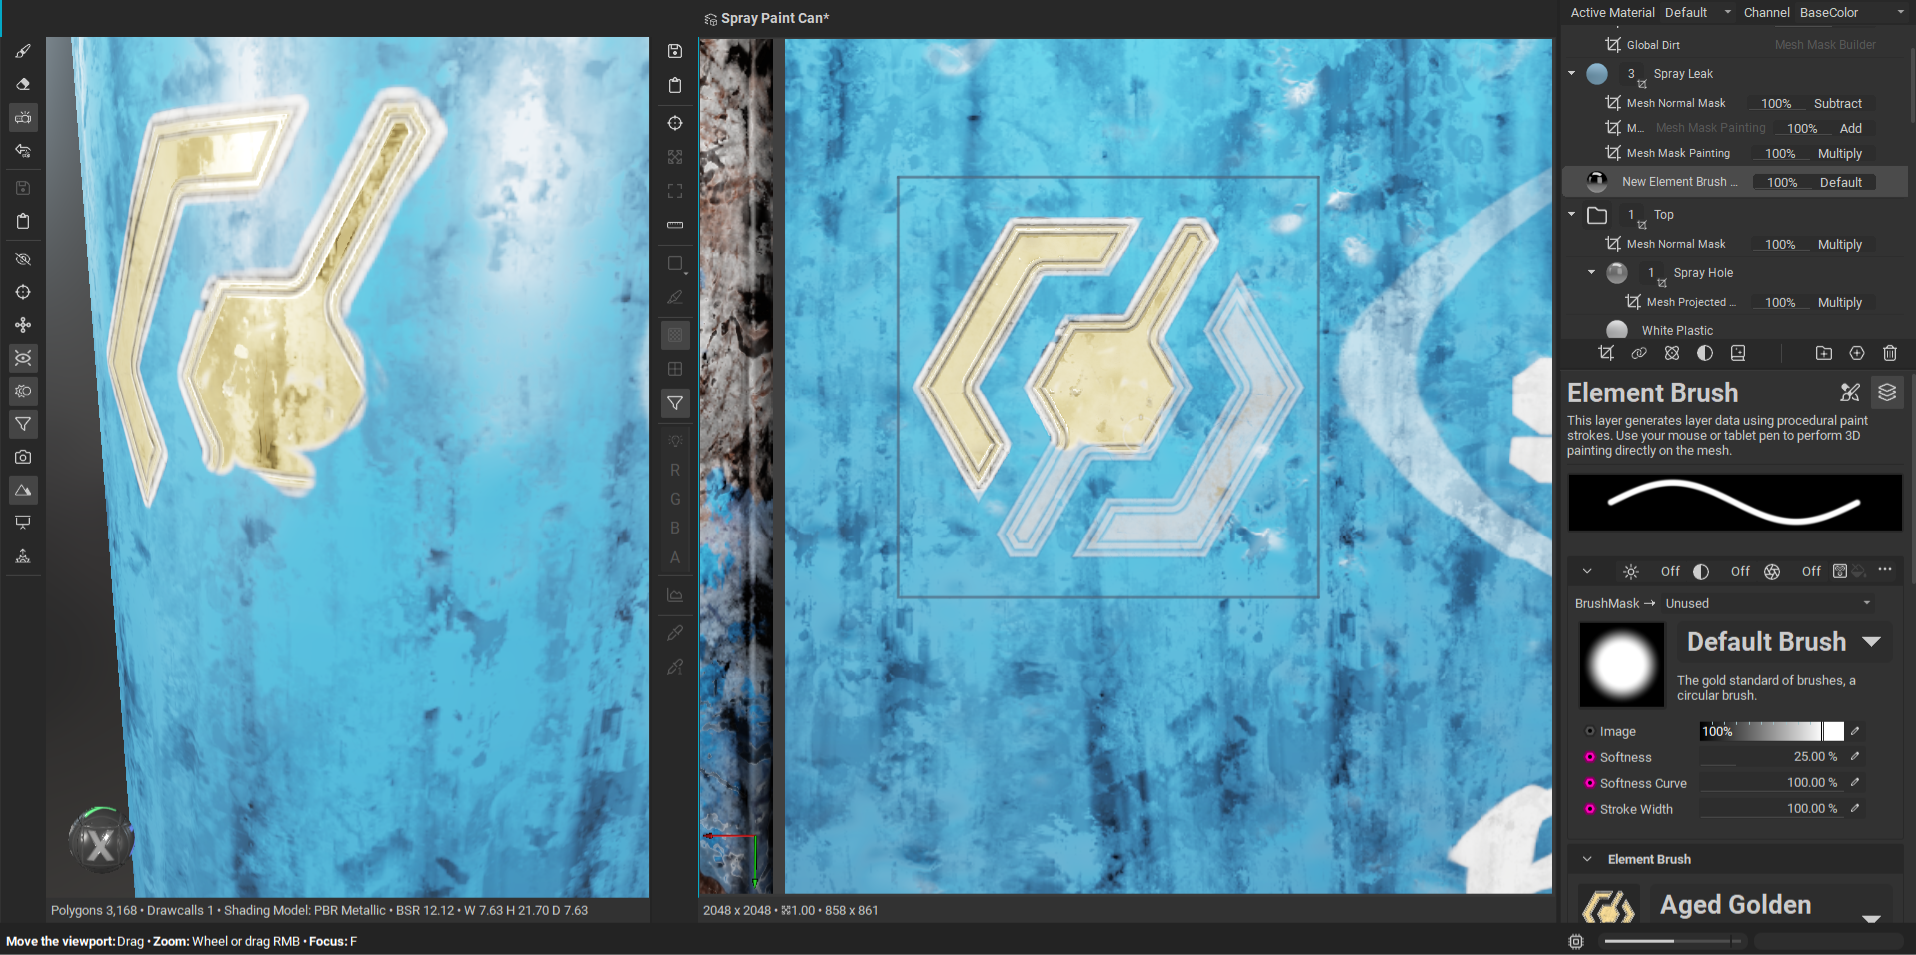
To learn more about the
Paint Projectorin InstaMAT Studio and how to use it, please read our article about Projection Painting.
¶ Curve-Based Painting
Curves can be created and edited directly on the UV layout using Curves Brush layers.
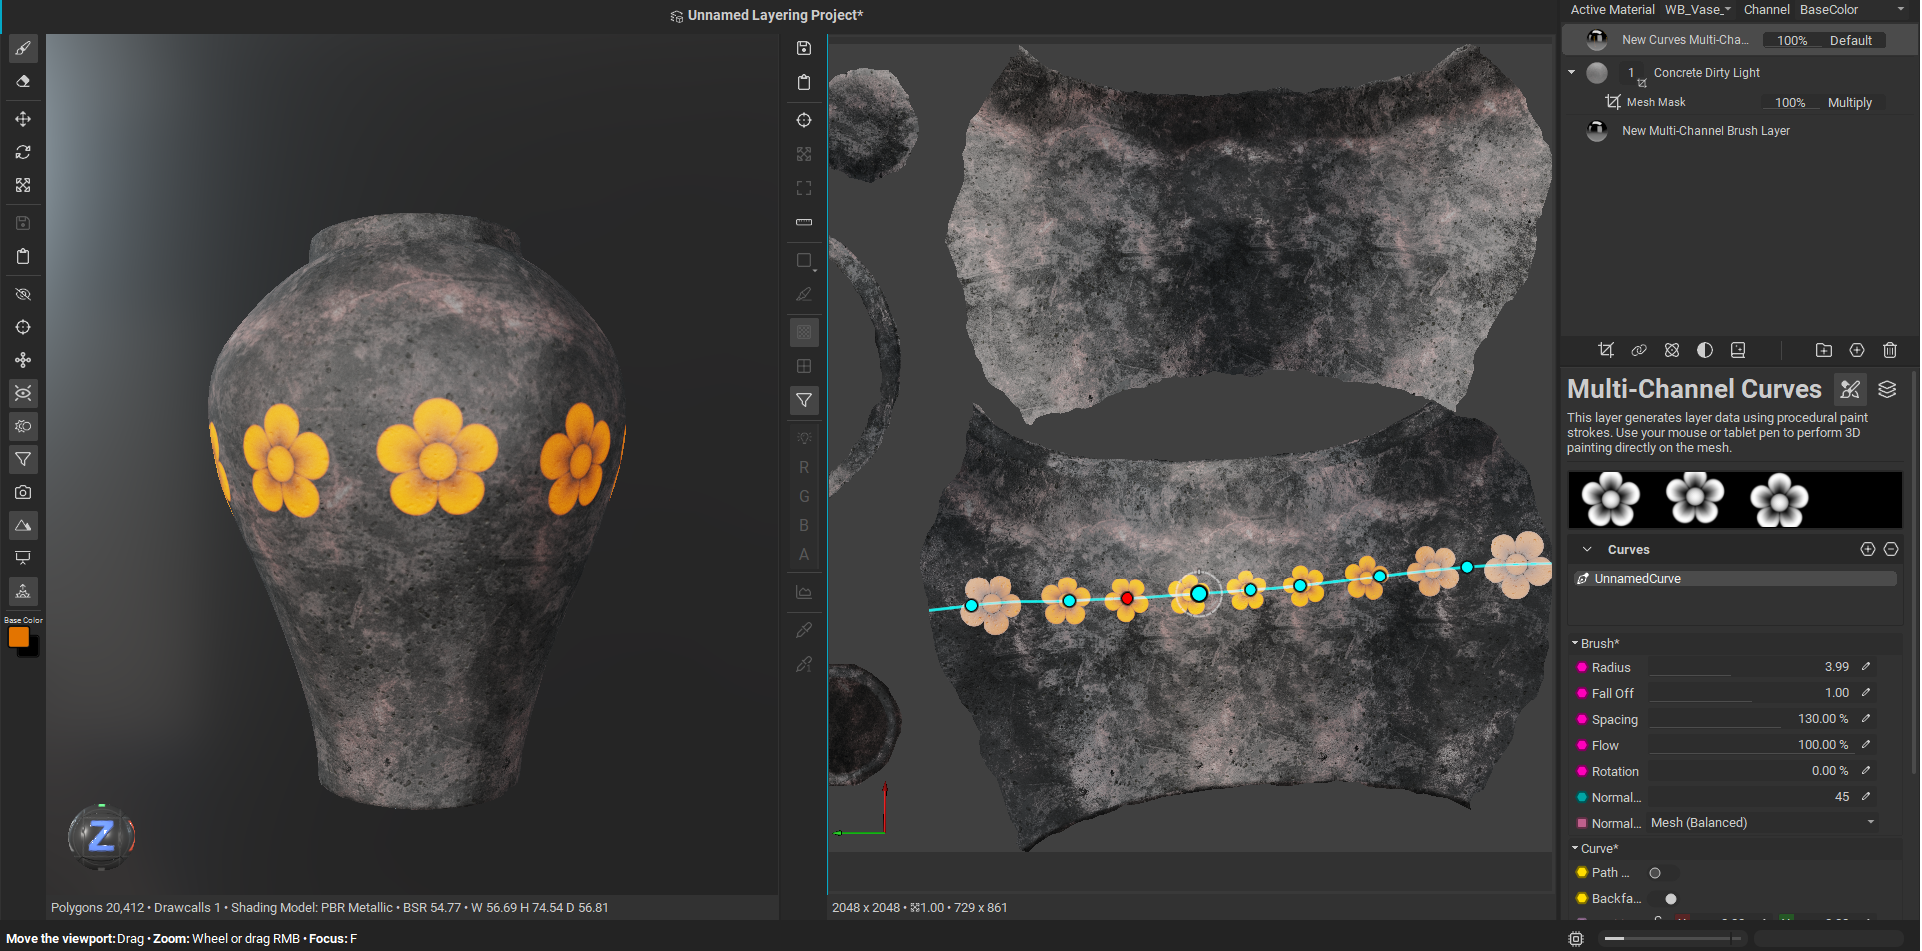
To learn more about Curves Brushes in InstaMAT Studio and how to create curve layers, please read our article about Curves Brushes.
¶ Working with Masks
Many of InstaMAT’s powerful mesh masks are available to use in both the 2D and 3D views. Some particularly useful mask workflows for UV painting include:
¶ Mesh UV Shell Mask
The Mesh UV Shell Mask allows effects and painting operations to be isolated to specific UV shells.
¶ Mesh Normal Mask
The Mesh Normal Mask can be used to target surfaces based on a polygon normal angle threshold. This makes it easy to isolate difficult portions of a mesh.
¶ Mesh Projected Mask
One of the most powerful UV painting workflows is the use of the Mesh Projected Mask set to UV Projection.
This workflow allows artists to position and manipulate images and masks directly in UV space while maintaining a fully procedural setup. It is particularly useful for decals, logos, and other labels.
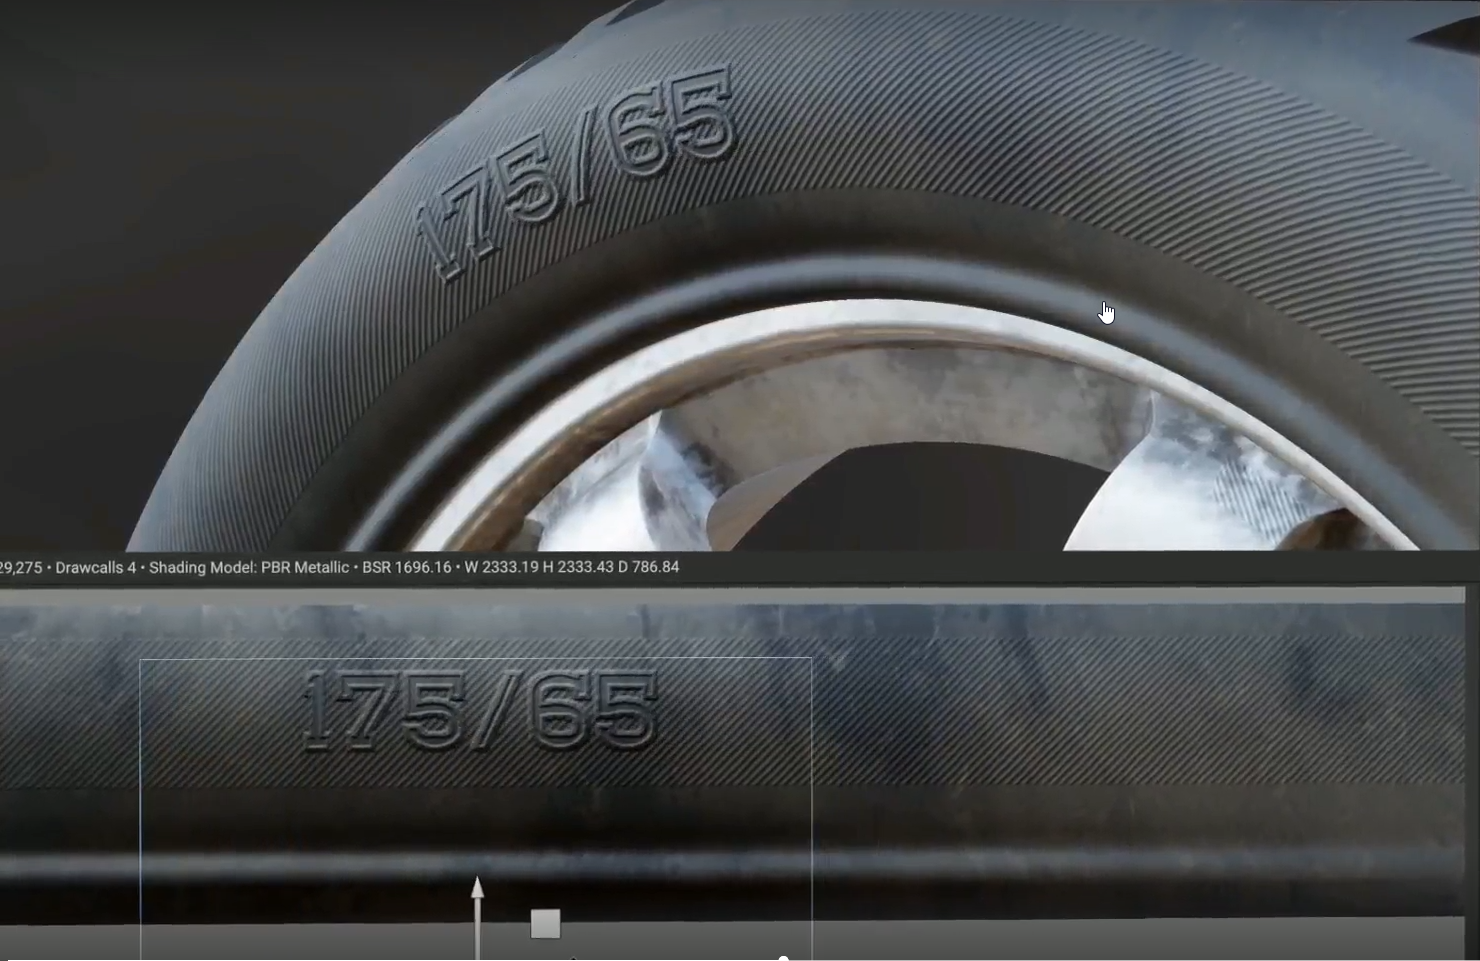
In the example above, a decal is being placed on a tire using a Mesh Projected Mask directly within the 2D Image Viewer.
To learn more about masks in InstaMAT Studio, please read our article about Masks.
¶ Viewing PBR Channels
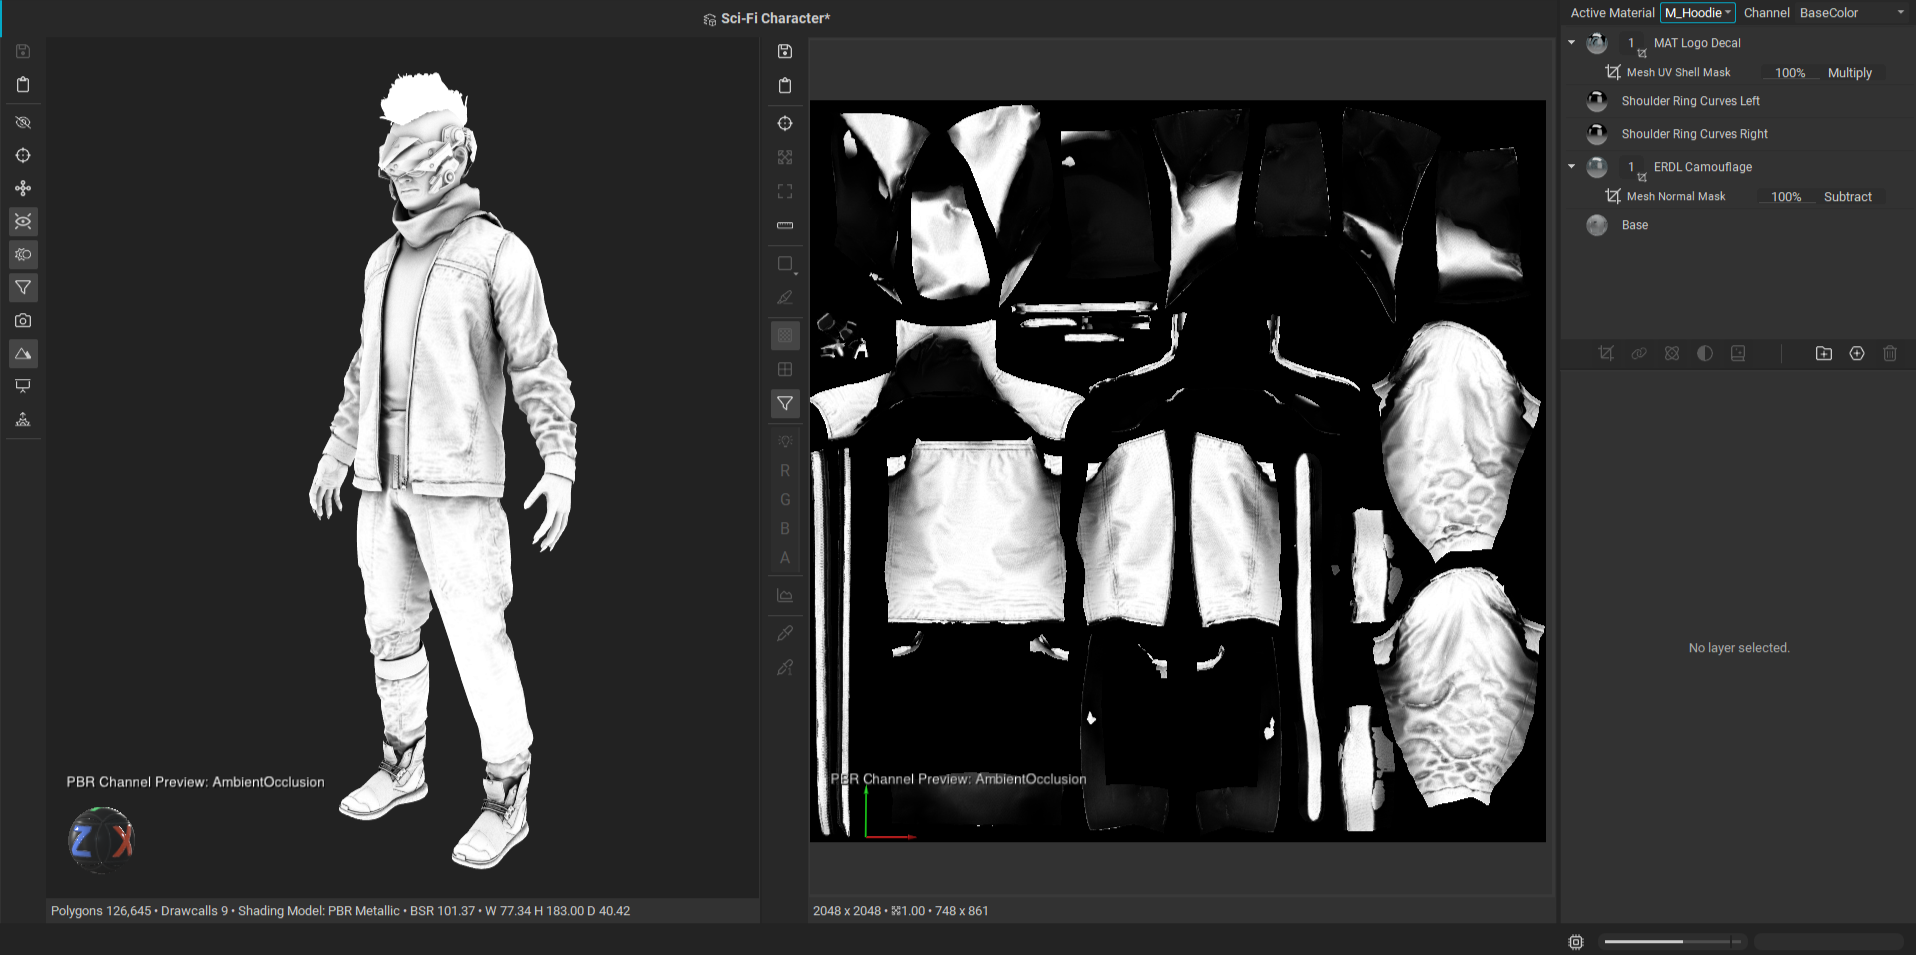
The 2D Image Viewer supports visualization of individual material channels, allowing artists to inspect and edit specific texture information.
Use the following shortcuts to switch between viewing modes:
- C: Cycle through available material channels
- Shift + C: Reverse-cycle through available material channels
- M: Return to the full PBR material preview
¶ UDIM Support
The 2D Image Viewer includes support for UDIM-based workflows, allowing artists to visualize the complete UDIM layout with tiles displayed side by side within a single view.