InstaMAT Studio allows you to create custom masks with the Element Graph that you can use in Asset Texturing projects.
¶ Element Graph Requirements
 To create a mesh mask that automatically works in Asset Texturing projects, the Element Graph must be configured properly. This involves creating specific inputs, outputs, and setting a specific project category.
¶ Creating the Graph Inputs
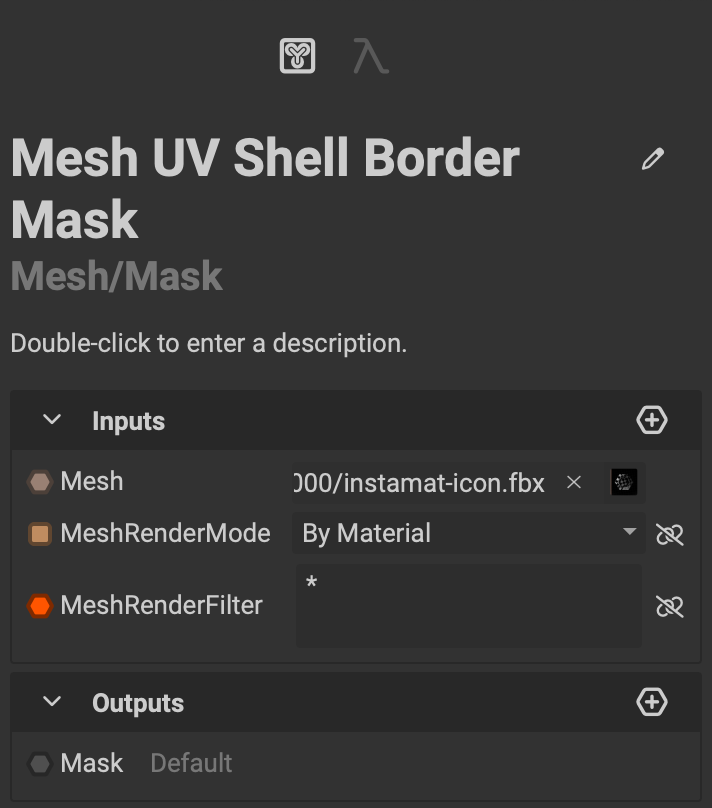
The graph must have the following inputs:
- An
ElementMeshinput with the name "Mesh". - An
Enuminput with the name "MeshRenderMode.- The enum options must be
By MaterialandBy Submesh.
- The enum options must be
- an
ElementStringinput with the name "MeshRenderFilter".- This parameter can contain the
*initially to include all meshes by default.
- This parameter can contain the
¶ Creating the Graph Outputs
The graph must have a ElementImageGray output with the name "Mask".
¶ Setting the Project Category
The graph project must have its category set to "Mesh/Mask".
¶ How to Create the Graph Inputs
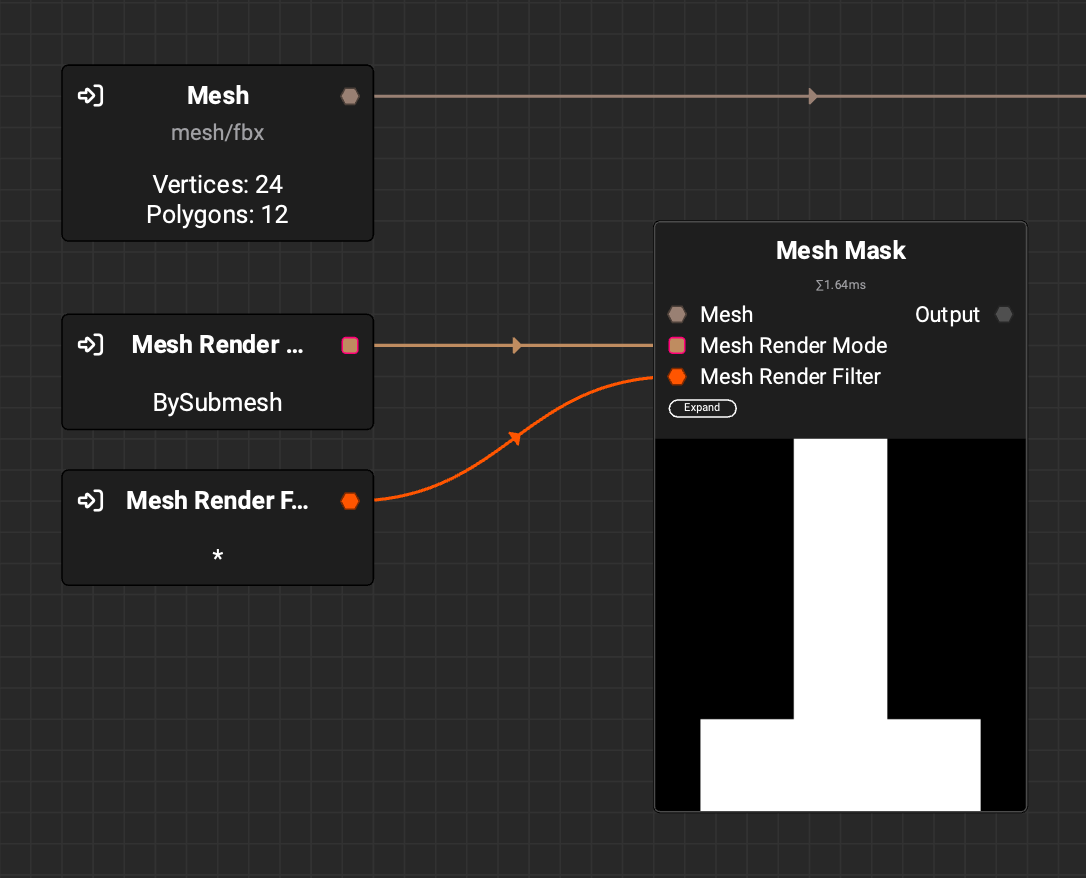
A quick way to create the proper graph inputs for the mask is to bring in a Mesh Mask node and expose its inputs. The Mesh Mask node does not need to be connected to any other nodes in the graph.
In this example you can see that the Mesh Render Mode and Mesh Render Filter inputs have been exposed from a disconnected Mesh Mask node while the Mesh input is used for further processing in the graph.
¶ Using the New Mask in Asset Texturing Projects
Once created, the mask can now be used in Asset Texturing projects by doing the following:
- Select the layer or group to add the mask to.
- Click the
Add Maskbutton and selectPick from library...from the dropdown menu. - Double-click the mask to apply it to the layer.
Note: If the mask is in the current package, make sure the
Show Objects from the Current Packagefilter is selected in the Resource Picker's toolbar.