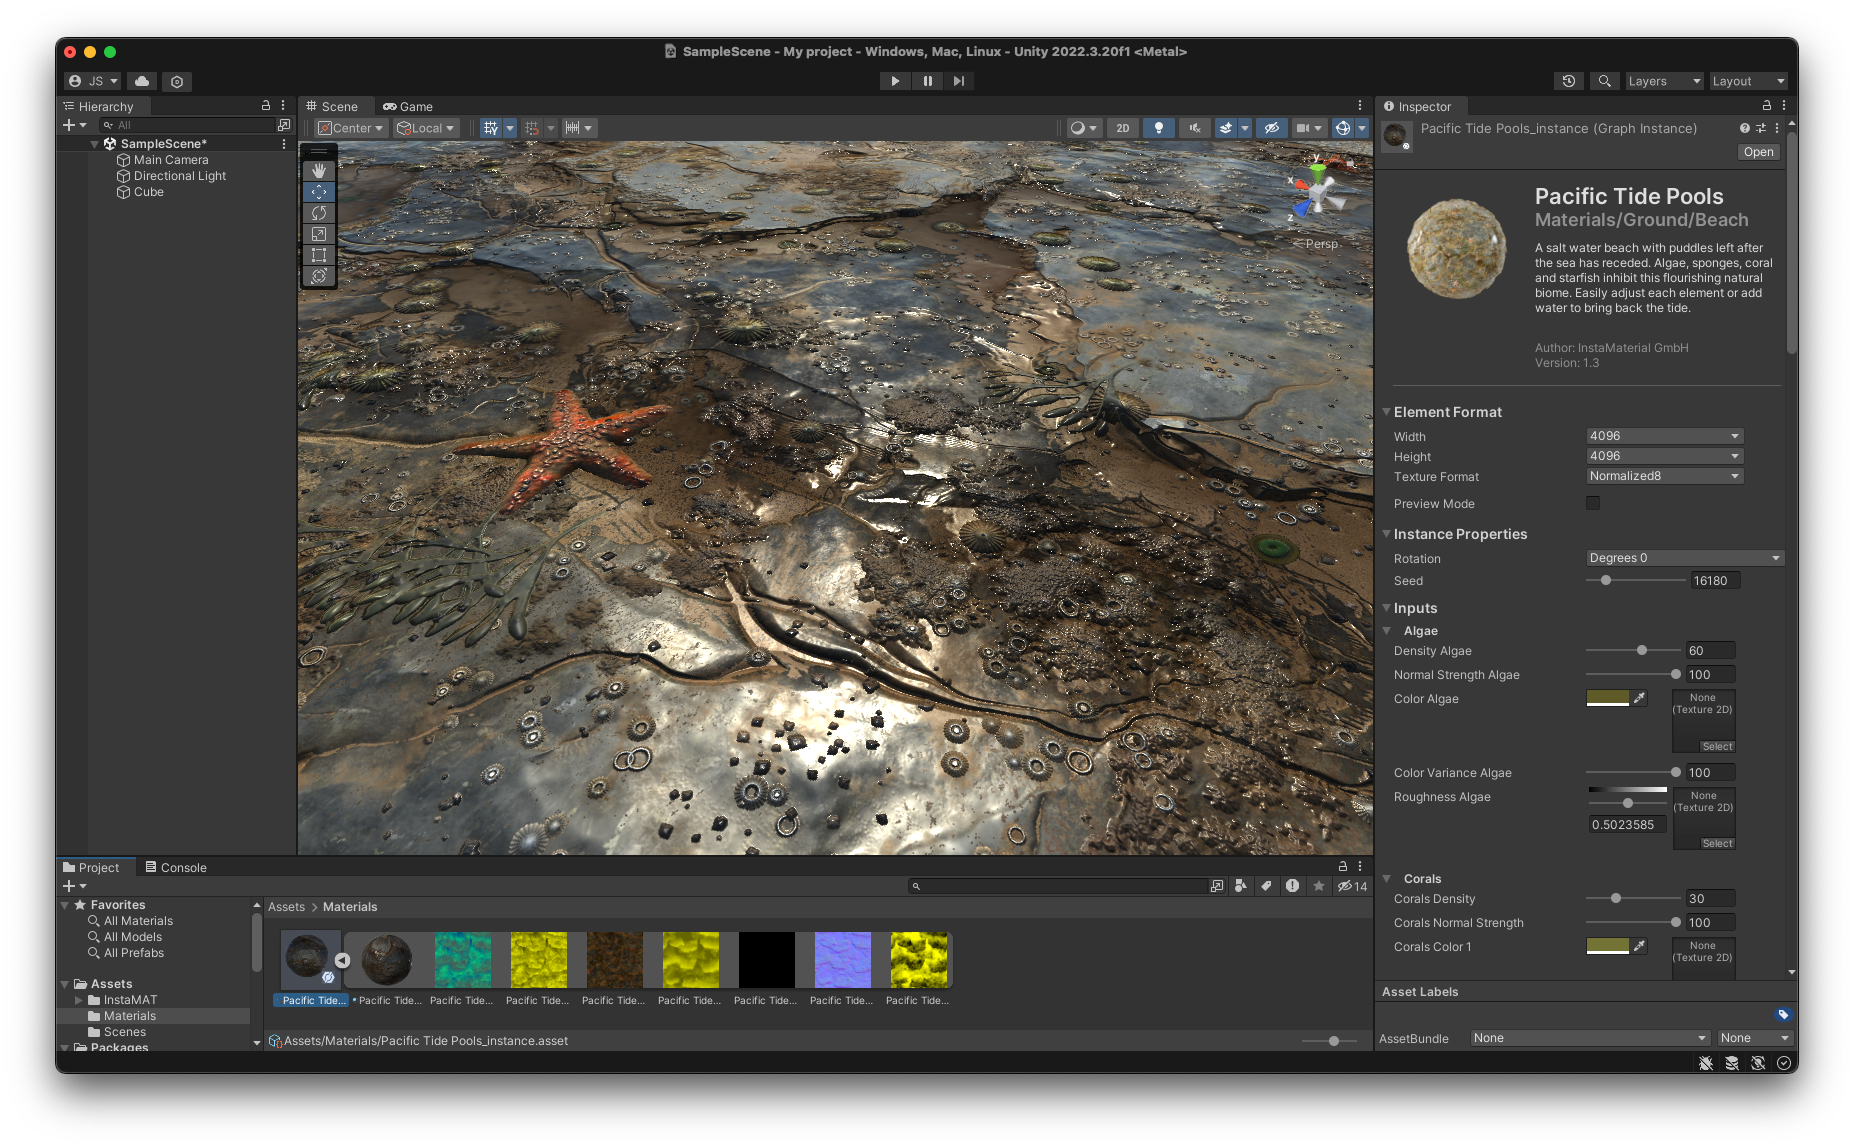
¶ What is InstaMAT for Unity?
InstaMAT for Unity enables you to create and tweak procedural assets generated in InstaMAT Studio such as textures and meshes within Unity.
¶ Compatibility
InstaMAT for Unity runs on both MacOS and Windows.
InstaMAT for Unity always supports the latest Unity version on both Windows and macOS on the market. Support for the latest Unity version is typically added shortly after the official release. The plugin is maintained to be fully compatible with the newest version only.
¶ Prerequisites
The following prerequisites must be met in order to use InstaMAT for Unity.
¶ InstaMAT Studio
InstaMAT for Unity requires an installed and authorized version of InstaMAT Studio.
¶ Visual C++ Redistributables for Visual Studio 2022
InstaMAT has been built on Windows using Visual Studio 2022 and requires the installation of the Visual C++ Redistributables for Visual Studio 2022. If you have already installed Visual Studio 2022 or later on your workstation, the installation of the Visual Studio 2022 redistributables is not necessary.
¶ Where to Download InstaMAT for Unity
InstaMAT for Unity is available to download in the InstaMAT License Management Web App under the Your Files section of the home page.
¶ Installing InstaMAT for Unity
To install InstaMAT for Unity you need to manually copy the files from the InstaMAT for Unity.zip archive into your Unity project's assets directory.
- Download and extract the
InstaMAT for Unity.ziparchive. - Inside the extracted
InstaMAT for Unityfolder, copy theInstaMATfolder into your project'sAssetsdirectory.
The next time you open your Unity project, InstaMAT for Unity will be available and ready to be configured.
¶ Machine Authorization
A workstation needs to be authorized before InstaMAT for Unity can be used. If you haven’t authorized InstaMAT on your workstation before, you will be asked to do so when opening the integration. Enter your license information and press Authorize to request a license for your workstation. Your workstation is now authorized for use with InstaMAT.
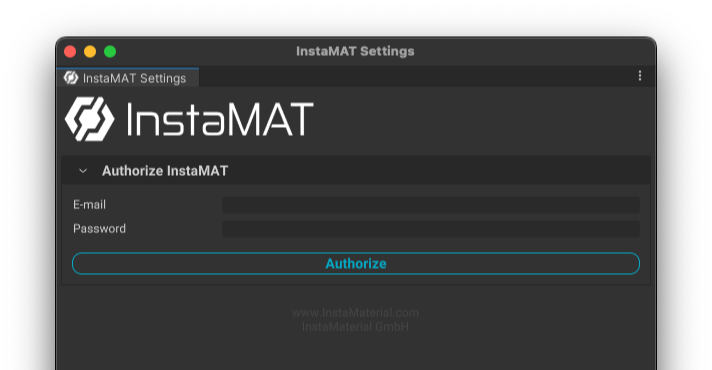
Make sure to deauthorize your workstation before uninstalling InstaMAT.
¶ Machine Deauthorization
To deauthorize your workstation before uninstalling InstaMAT for Unity, open the InstaMAT Settings Window and go to the Deauthorize panel. Enter your credentials in the panel, and click the Deauthorize button.
¶ Setting Up InstaMAT for Unity
Before InstaMAT for Unity can be used, the plugin needs to be configured.
Open the InstaMAT Settings panel by going to Window > InstaMAT Settings from the main menu. A dialog will appear noting that the path to InstaMAT Studio is required to use the integration. Accepting the dialog will open a file browser. Navigate to where InstaMAT Stuio is located on your machine and choose the path to continue the setup process.
Note for MacOS: Loading InstaMAT for Unity might need permission as the plug-in is currently not notarized. Once the plugin is being initialized MacOS will notify you that it's not loadable. Navigate to your System Settings and permit the load under the
Privacy & Securitytab.
To finish the integration setup, a user path must be defined. A user path is the location of your InstaMAT user folder. This is commonly in your user's Documents directory. For example: ~/Username/Documents/InstaMAT.
To configure the path, open the InstaMAT Settings panel via the main menu Window > InstaMAT Settings.
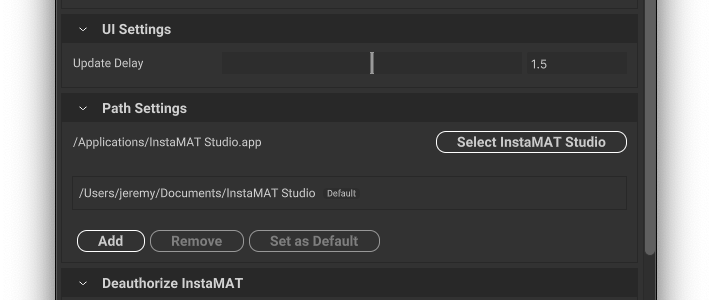
Once the path has been assigned, the setup process for InstaMAT for Unity is now complete.
¶ Importing a Material
Materials from the InstaMAT Library can be found in the Library Browser window via the main menu Window > InstaMAT Library.
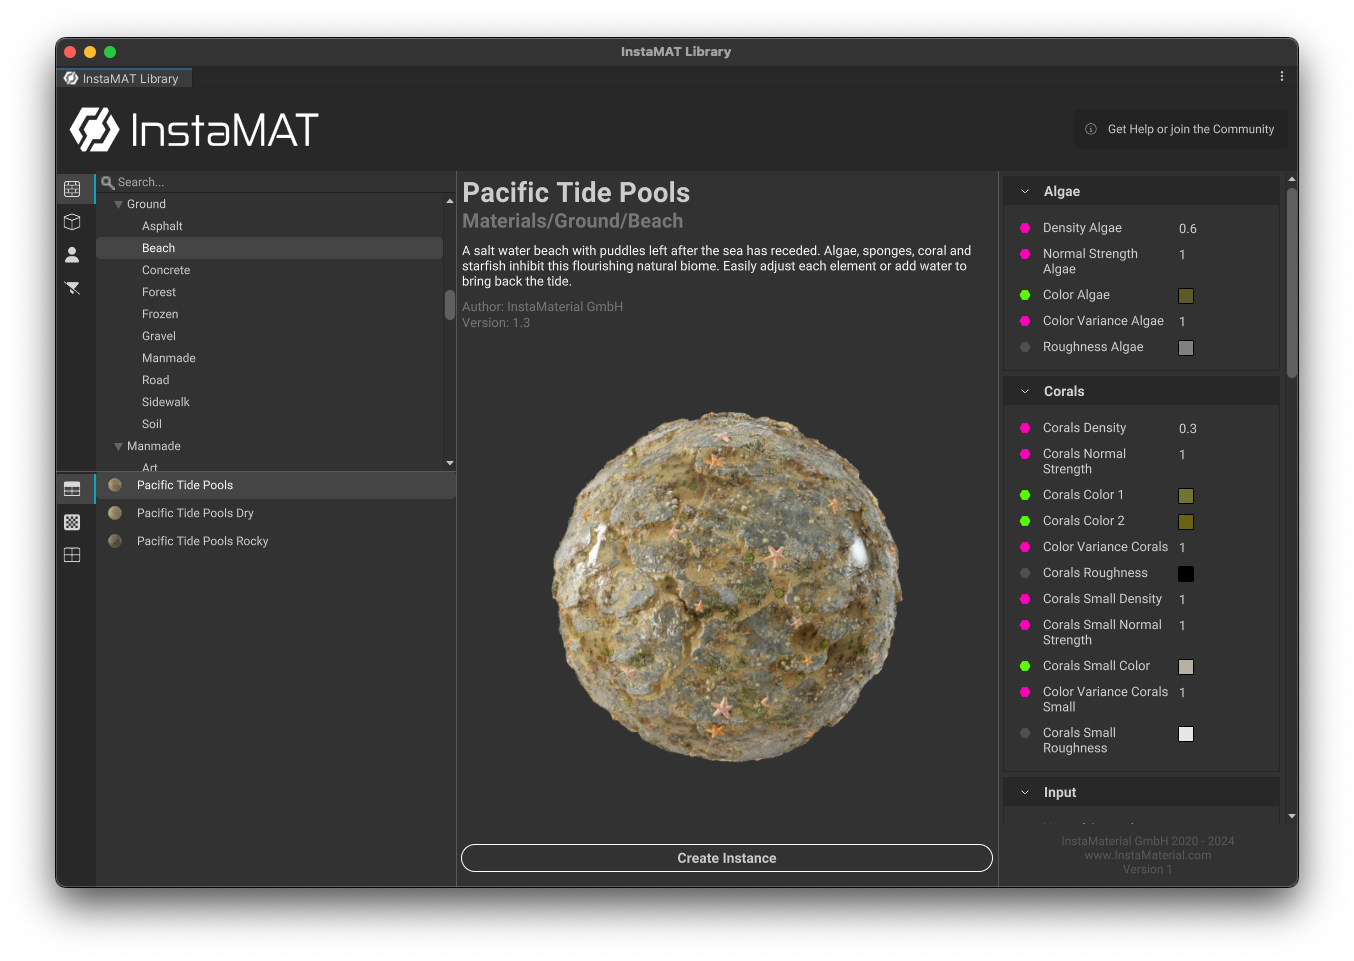
After clicking on a material, InstaMAT for Unity will display a larger preview of the material along with its dynamic parameters. To create a new instance of this material click Create Instance.
InstaMAT for Unity will then ask where you would like to save the graph instance. Once saved, the graph instance will become available in Unity's Project panel.

¶ Assigning and Configuring a Graph Instance
When a graph instance is created, it is represented by three parts:
- Graph Instance
- Material
- Texture Maps

To assign a material to mesh, drag the material onto its surface in the scene.
Materials from InstaMAT's library are tweakable through the settings of the instance. These settings include general parameters such as the material's resolution, execution format, and the seed as well as material-specific parameters to adjust its physical characteristics.
To adjust a material's dynamic parameters, click on the Graph Instance to display its settings in Unity's Inspector.
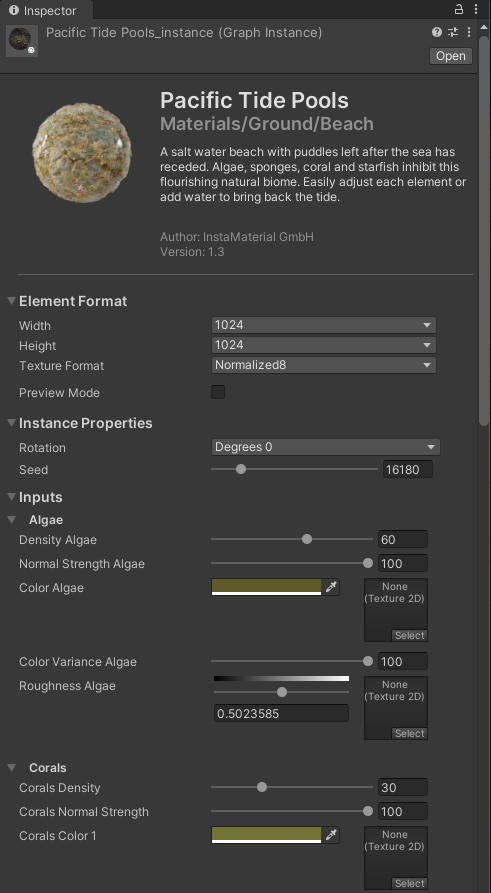
Adjusting a parameter will result in a re-execution of InstaMAT and a regeneration of the material will appear with the updates applied. The time between when a setting is altered and when the material is regenerated can be configured. This is known as the Update Delay and can be configured in the InstaMAT Settings panel found under Window > InstaMAT Settings in the main menu.

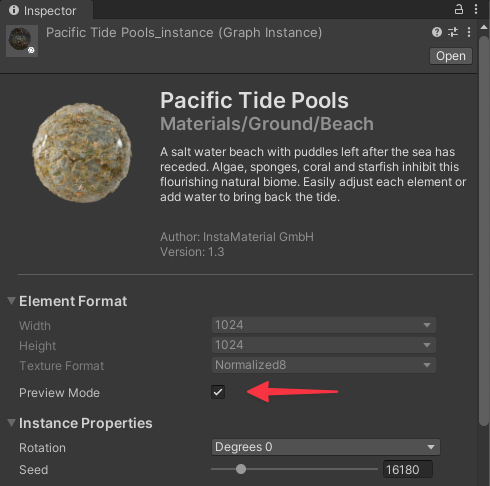
Increasing the material's resolution and Execution Format can increase the processing time for a material to update. For this, InstaMAT for Unity provides a preview mode with a predefined Preview Resolution found in the InstaMAT Settings panel. To use the preview mode, enable the Preview Mode check box found in the Element Format settings for the graph instance.
¶ Exporting Textures
Textures can be directly exported from within the graph instance. InstaMAT for Unity supports exporting textures to the following file formats:
- PNG
- JPG
- TGA
- HDR
- EXR